
This guide shows you how to invoice an initial consultation on a general or advices file in Law App. You’ll create a timesheet for the consult, build the invoice, and generate the document to send. Advices files are often used for general admin and general advice work, where a single file may be billed to many different parties — so the key step is choosing who the invoice is addressed to. Initial consults are usually a fixed-fee time entry, but your firm may charge them per hour instead.
Record the time entry
Before you can bill the client, the consult needs to be recorded as a finalised time entry against the file. Use Quick Time to add it. You can add the time in the regular timesheet if you prefer — the steps are similar.
- From the Home screen, select Quick Time to add an initial consult time entry to your general advices file.
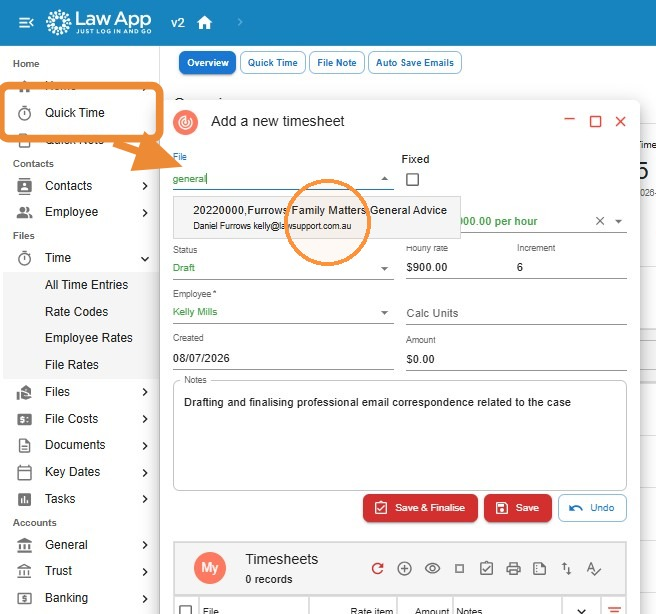
- Tick the Fixed checkbox to bill a fixed fee for the initial consult. If your firm charges hourly instead, leave it unticked and choose whichever rate item you need.
- Set the Rate Item to your initial consultation rate — for example, INITIAL – $600.00 (your firm sets its own value) — then enter the Quantity for the timesheet.
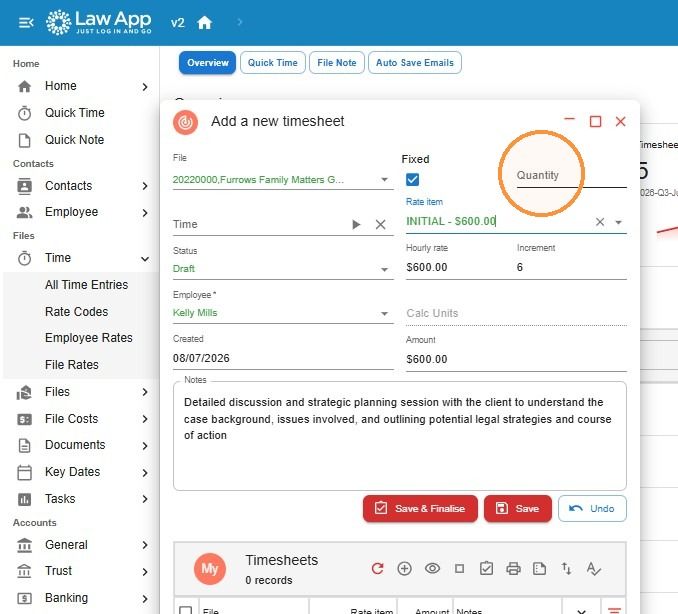
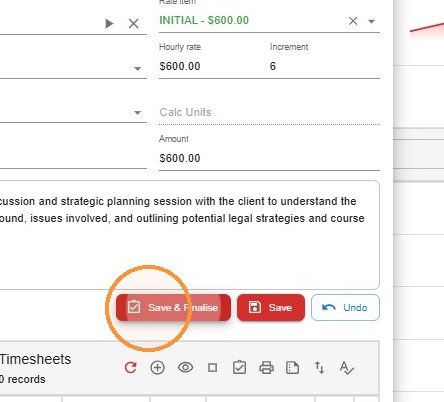
- Enter the client’s name in the Notes field so the entry is clearly identified, then click Save & Finalise.
Create the invoice
With the time recorded, you can now create your invoice.
- Open your file and head to Financials then Debtor.
- Click Add to create a new invoice.
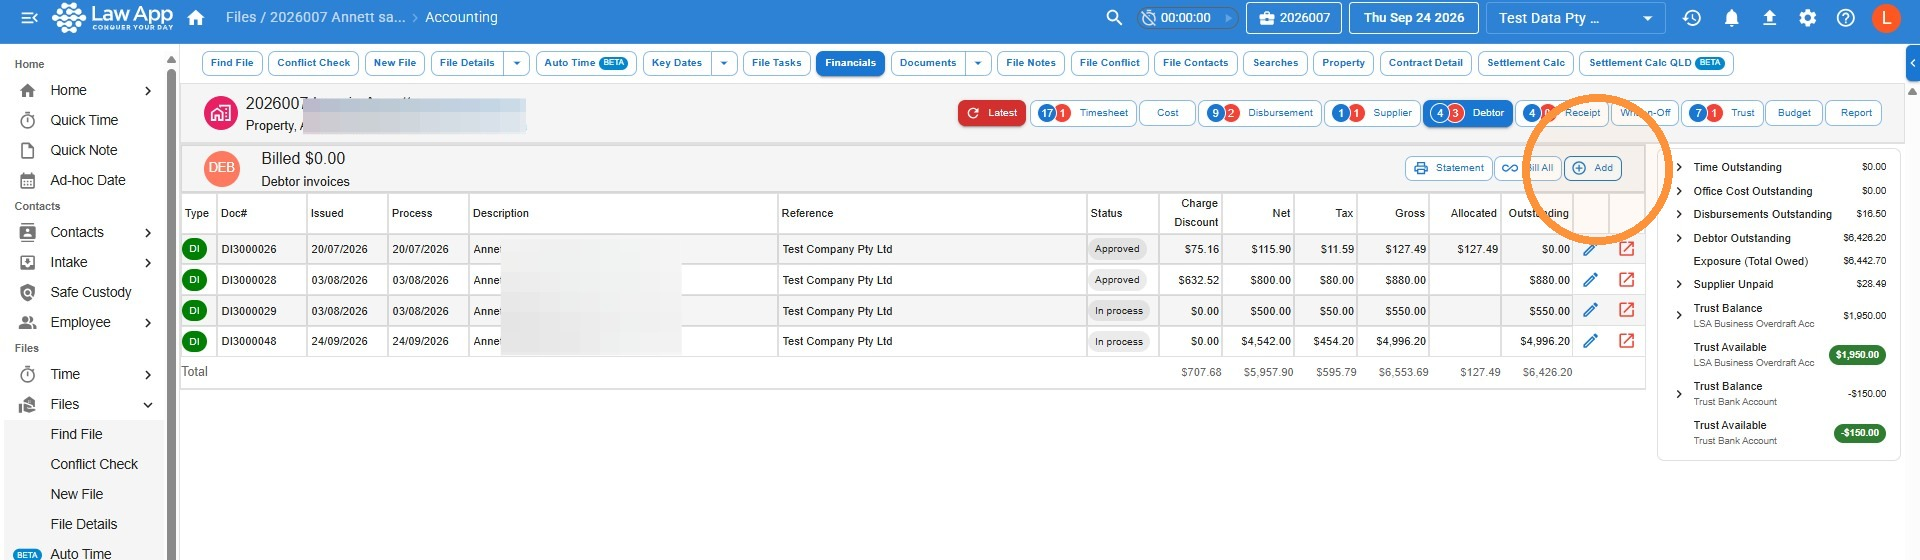
- On the next screen, just click Save to create a new invoice.
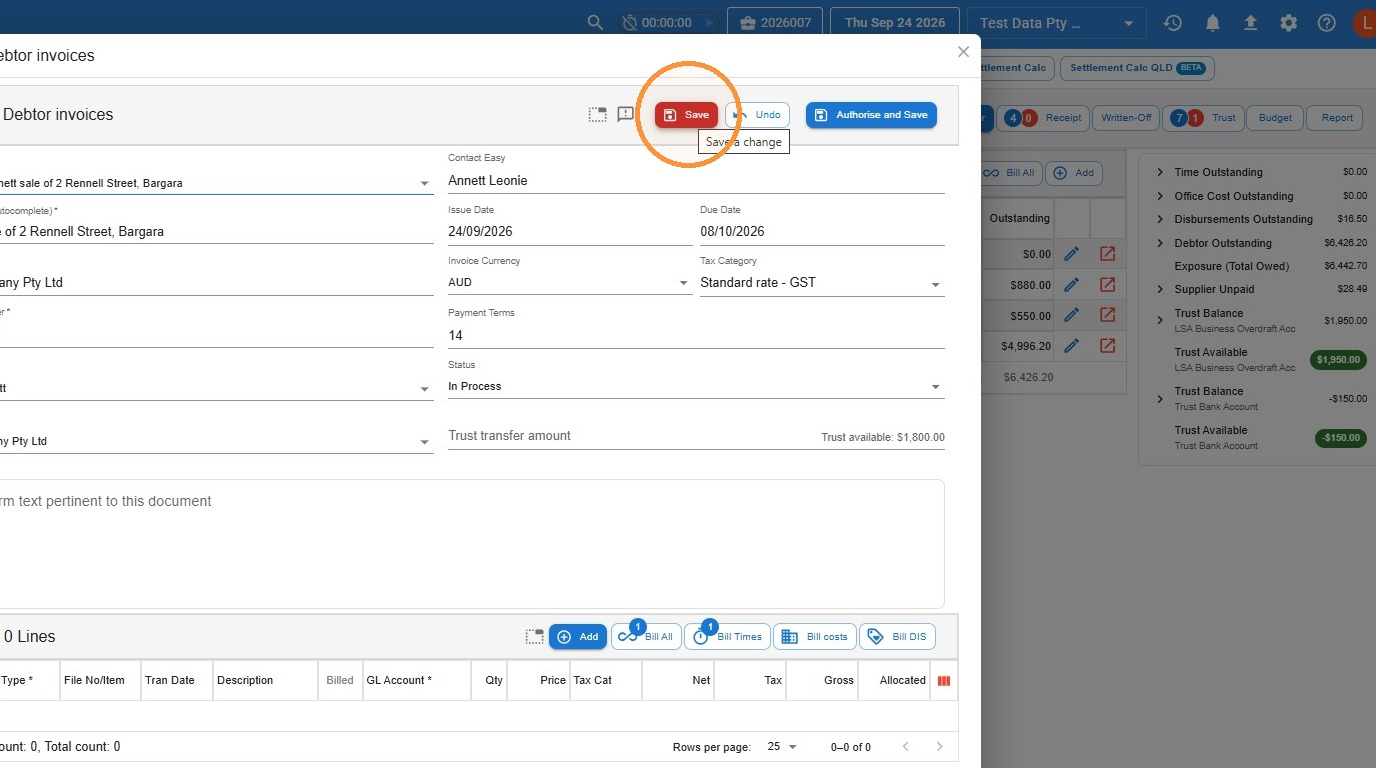
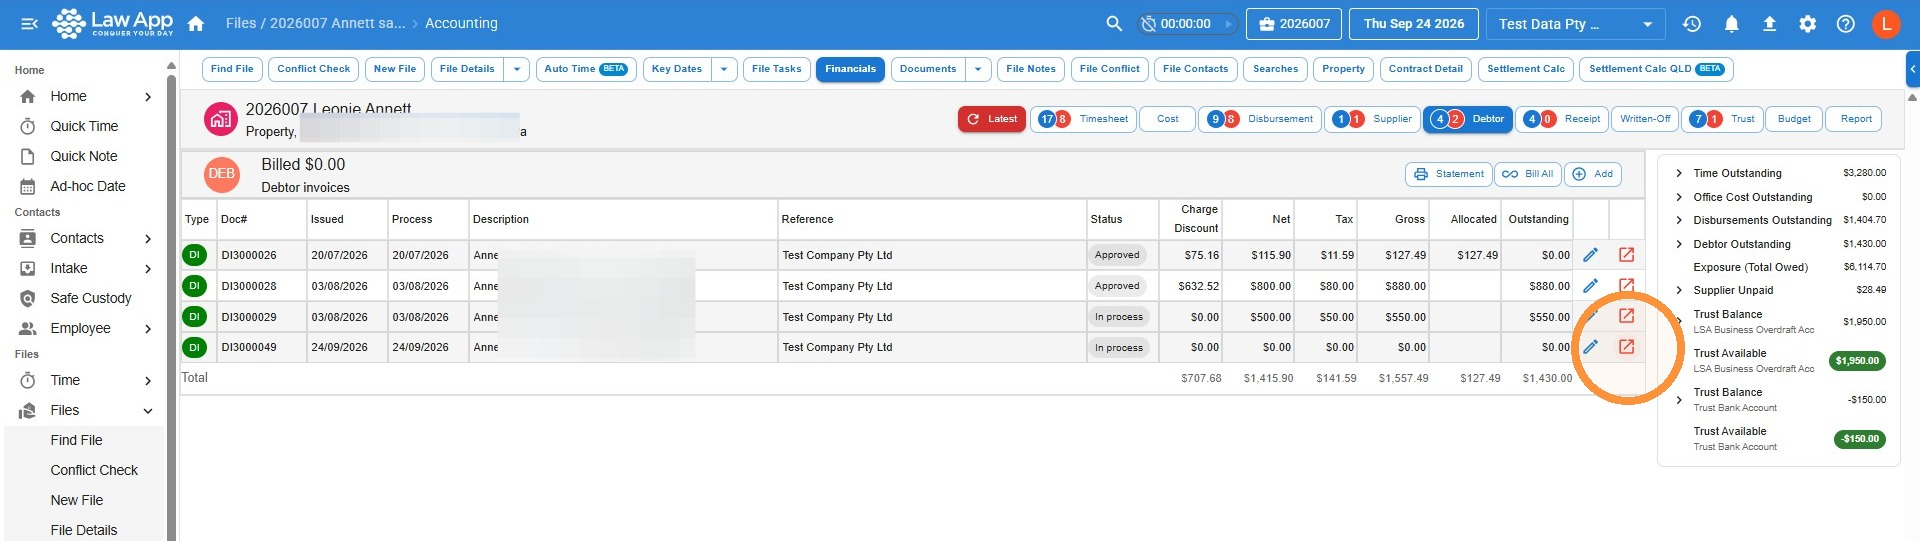
- On the next screen, locate and open the invoice you just created.
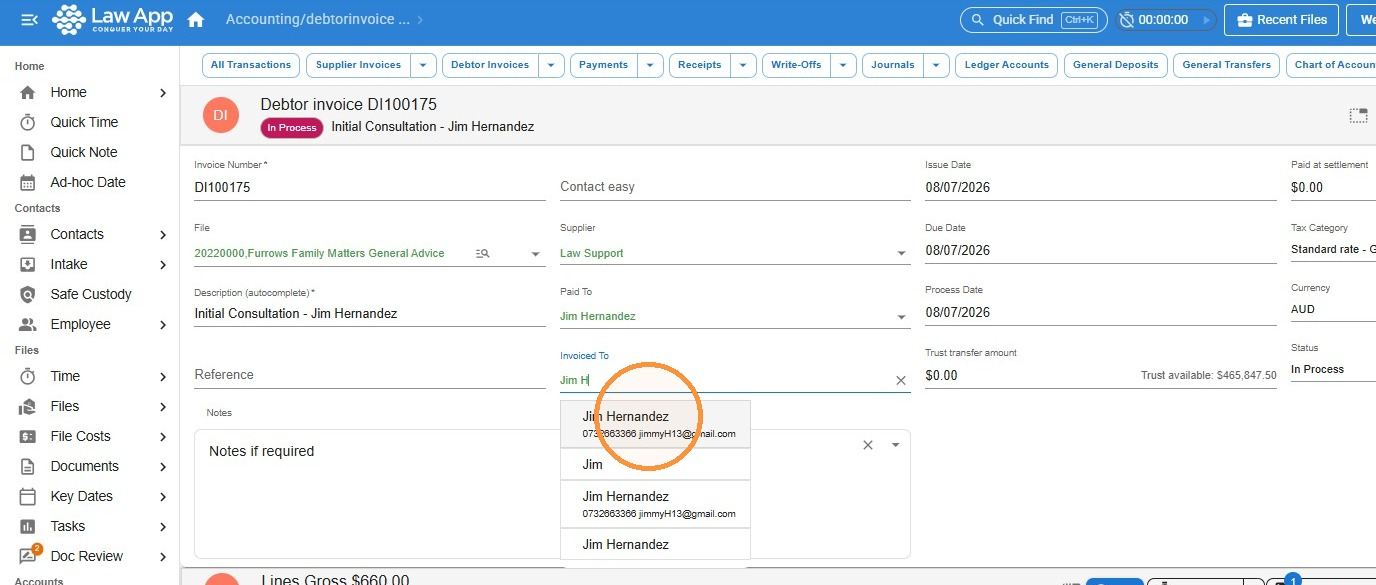
- Enter Initial Consultation in the Description field. It’s also worth inserting the client’s name here, as this will make the invoices easily distinguishable from each other in the Debtors area of your general file.
- In the Invoiced To field, select the contact you want to bill. The contact must already exist in your Contacts area before it will appear here.
Select the time to bill
Now attach the finalised time entry to the invoice.
- Open the Timesheets dropdown at the bottom of the invoice and choose Select to Bill.
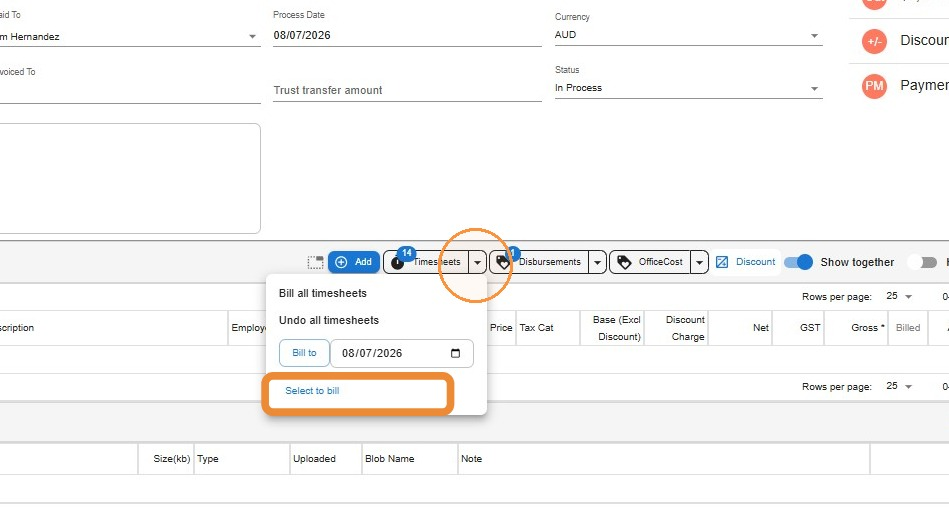
- Tick the time entry for the initial consult you are billing, then click Yes, Select to Bill.
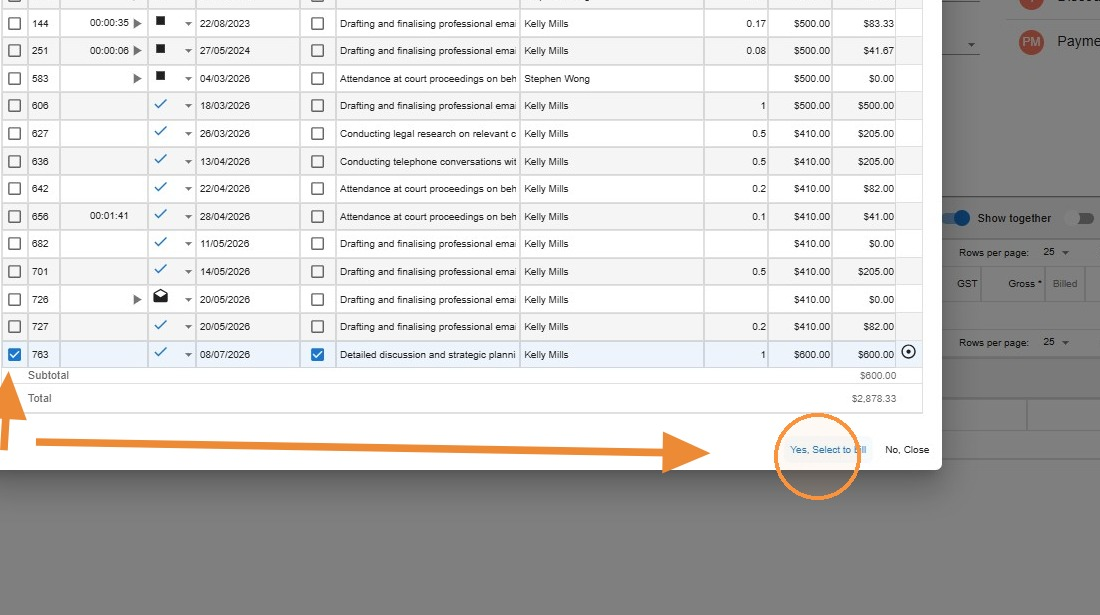
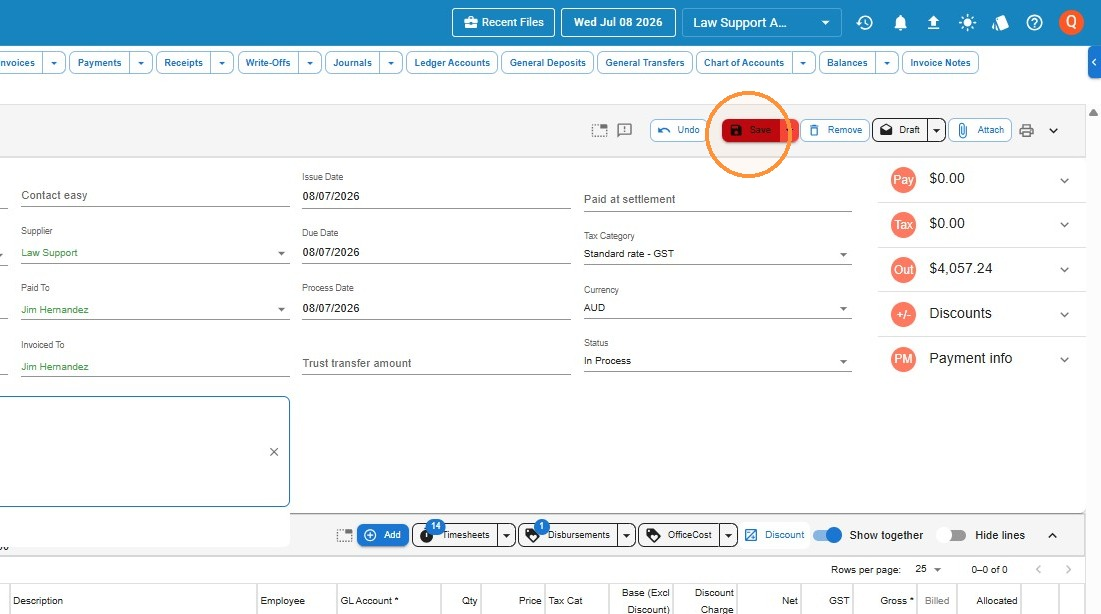
- Click Save to apply the update to the invoice.
Generate the invoice document
Finally, produce the invoice document to send to your client.
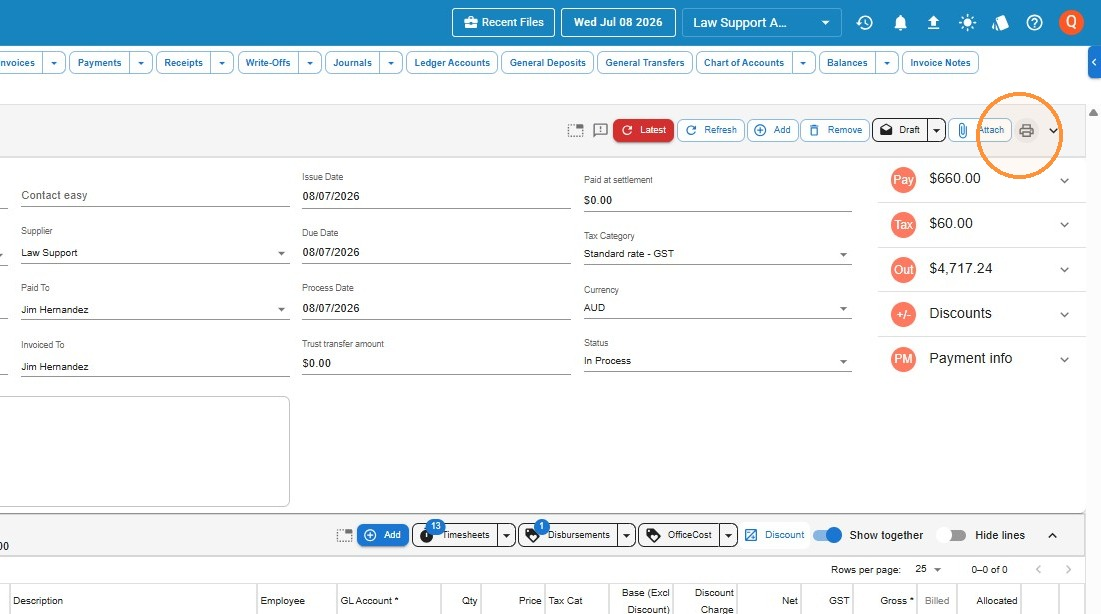
- Click the print icon to open the invoice document generator.
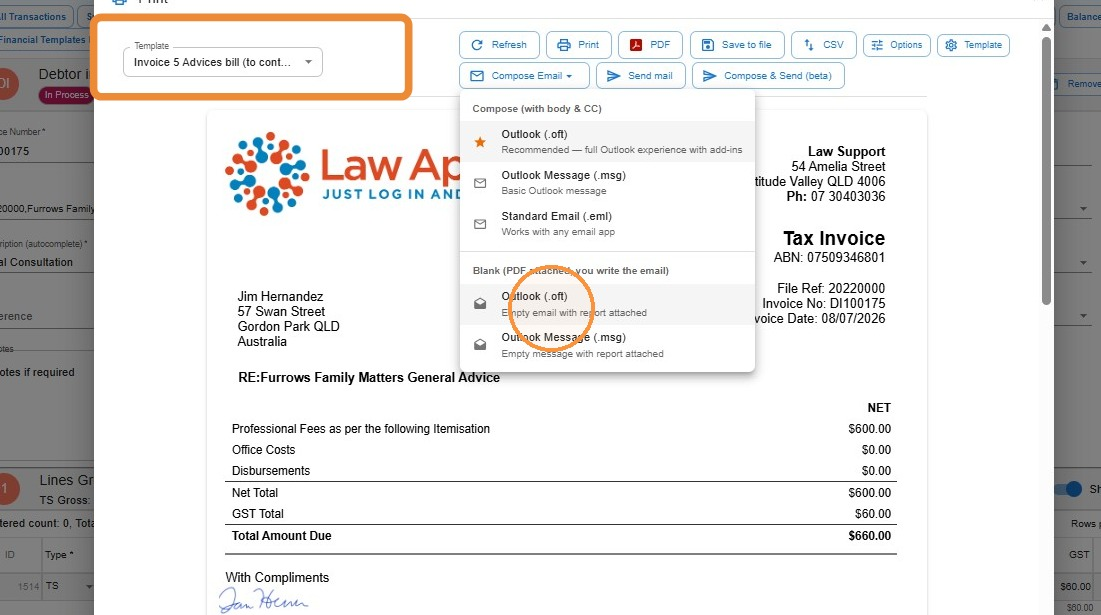
- Choose the Invoice 5 Advices template, then select Empty email with report attached from the Compose Email menu. Write your covering email and send it to the client, or print the invoice and hand it over.
Leave a Reply