
A supplier invoice is a bill you’ve received from outside the firm — a search provider, an expert, the phone company, your accountant — that you want to record in Law App so you can pay it and keep your books straight. The same form handles two very different cost types: costs that get billed back to a client file as a disbursement, and costs that are just an expense of running the firm. The key is to set the line type correctly for each line.
Disbursement
A cost incurred for a specific client matter — a search, a court filing fee, an expert report. Attaches to a file and gets billed back to the client.
General
A cost of running the firm — telephone, software subscription, office supplies. Posts to a normal GL expense account and isn’t attached to any file.
A single invoice can be a mix of both. A monthly ASIC bill, for example, might cover five company searches that each go to different files, plus one search you’ve decided to write off to the firm. You add a line for each item and set the type per line.
Mark the contact as a supplier
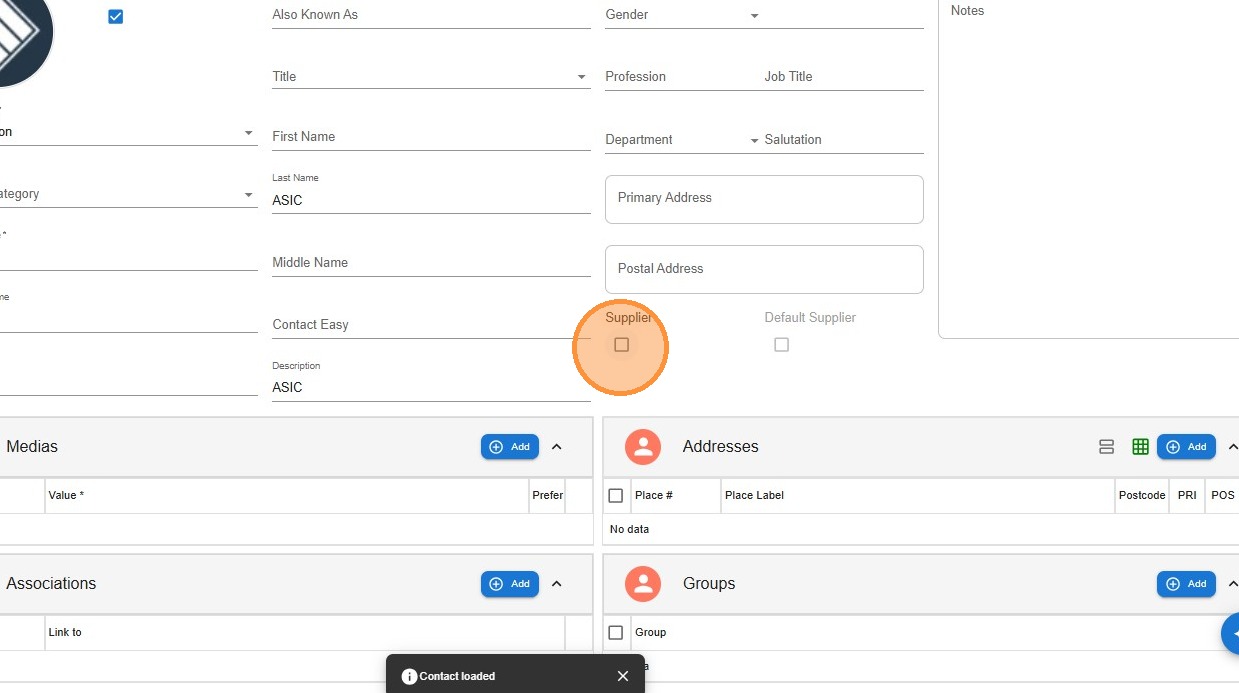
Before you can enter a supplier invoice for someone, their contact record has to be flagged as a Supplier. This only needs doing once per supplier — after that, they show up in the Supplier dropdown whenever you enter a new invoice.
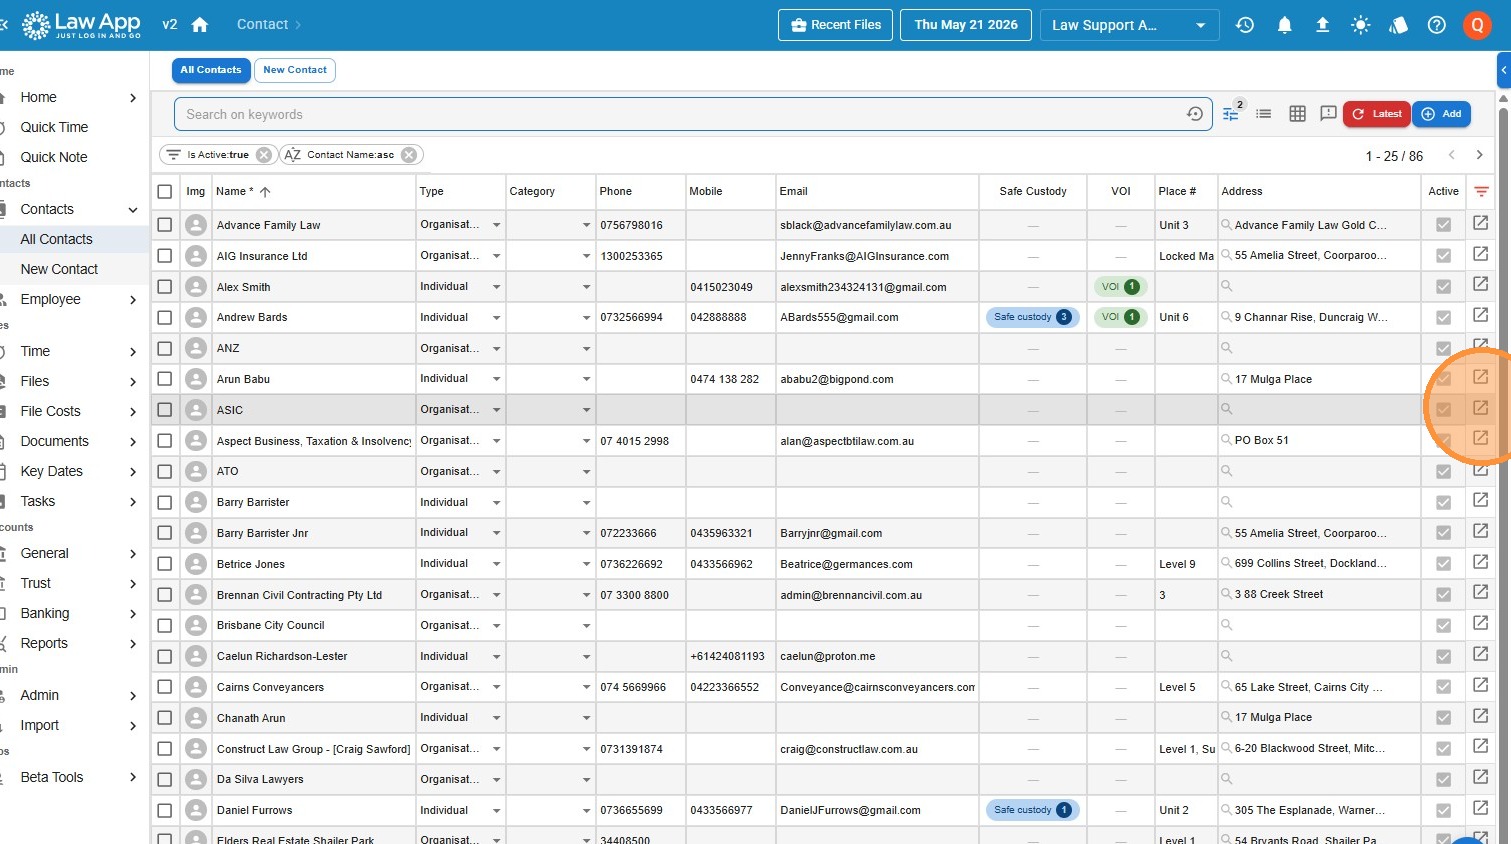
- Open Contacts from the main menu.
- Find and open the contact you want to mark as a supplier — in this example, ASIC.
- On the contact’s profile, switch the Supplier toggle on.
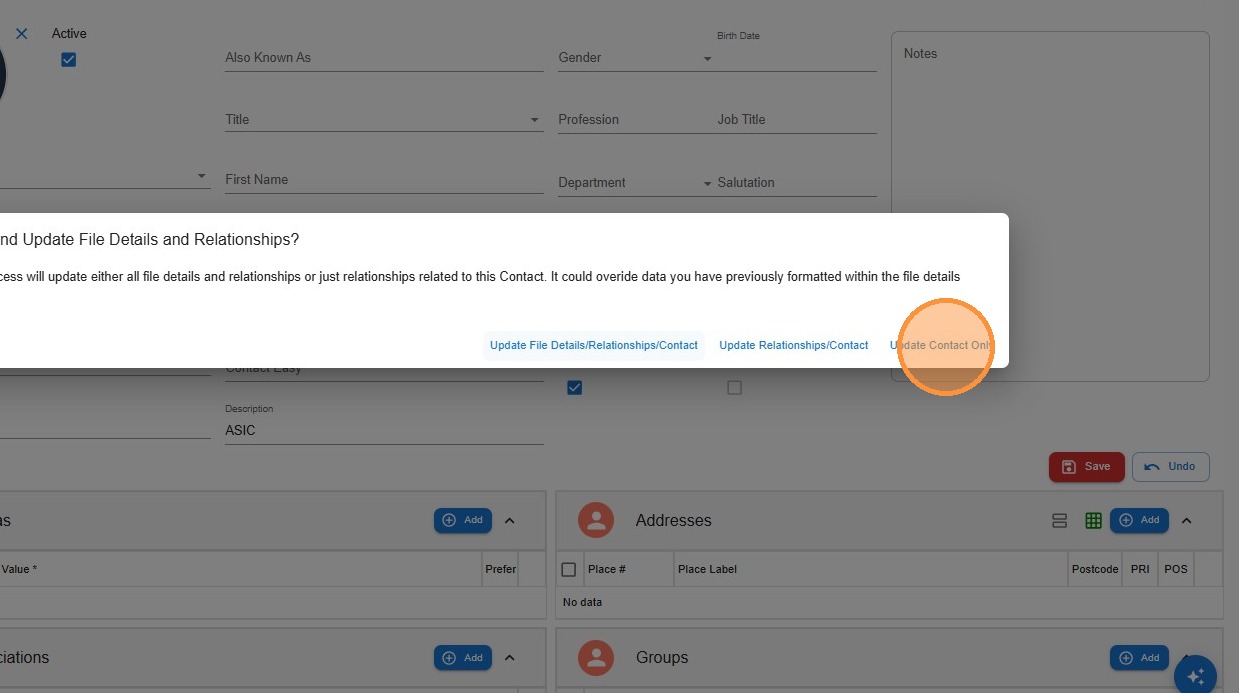
- Click Update Contact to save. Any save action will do — there’s nothing special about that button.
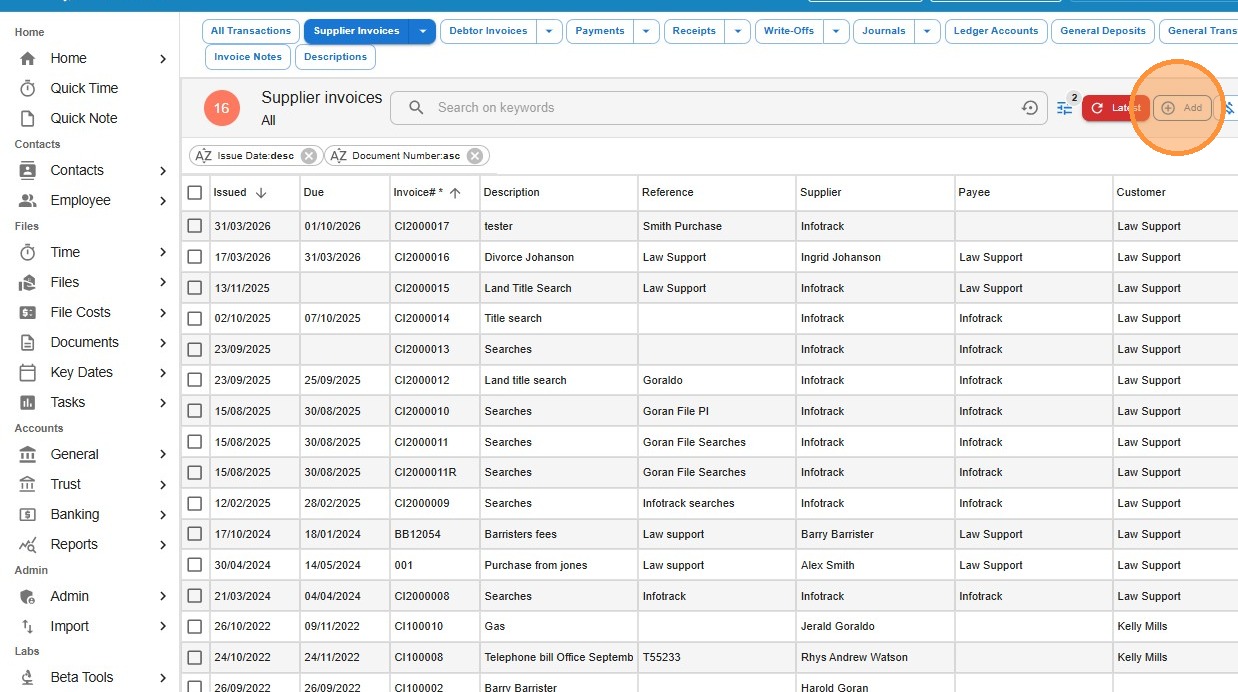
Enter the supplier invoice
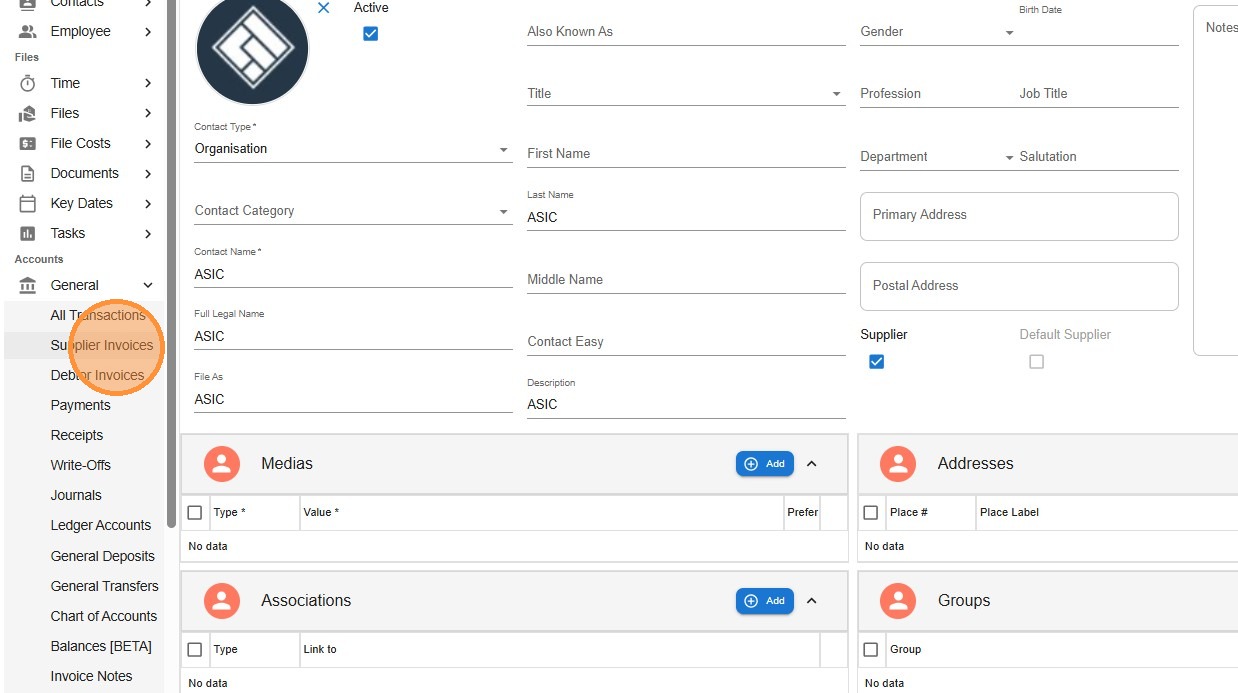
Once the contact is flagged as a supplier, you can record a new invoice from the General accounting area.
- From the main menu go to General, then Supplier Invoices.
- Click Add on the supplier invoice list to start a new invoice.
- Fill in the invoice header: set Supplier to the contact (e.g. ASIC), enter a Description (e.g. “Company Searches”), set Payable to (usually the same contact), and enter the Due Date — either the actual due date on the bill or the date you plan to pay it.
- The Tax Category defaults to GST. You can override the tax type on each line individually if a particular line is GST-free, input-taxed, or anything else.
Add the line items
For each line on the invoice, set the line type to either Disbursement or General.
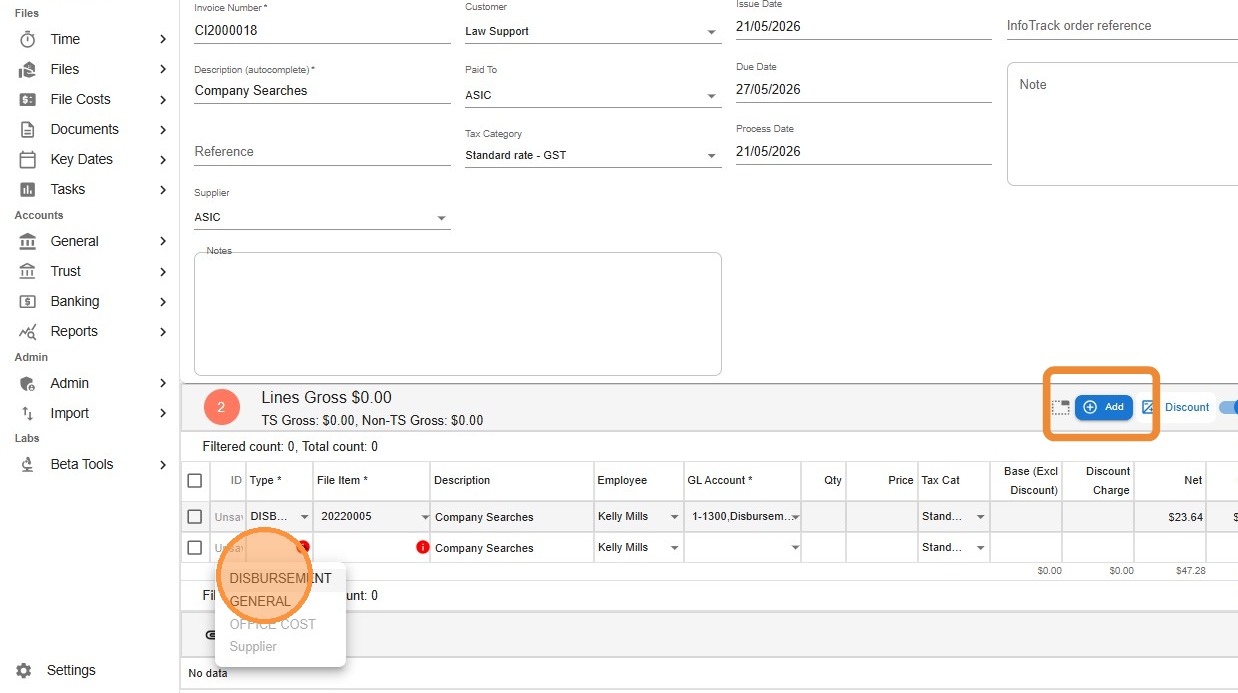
- For a Disbursement line, pick the File the cost relates to. The GL Account will automatically be the disbursement control account, 1-3000.
- For a General line, choose whatever GL expense account fits the cost — for example, an Office Telephone expense for a phone bill, or a Searches Unrecoverable expense code for a search you can’t bill back to a client.

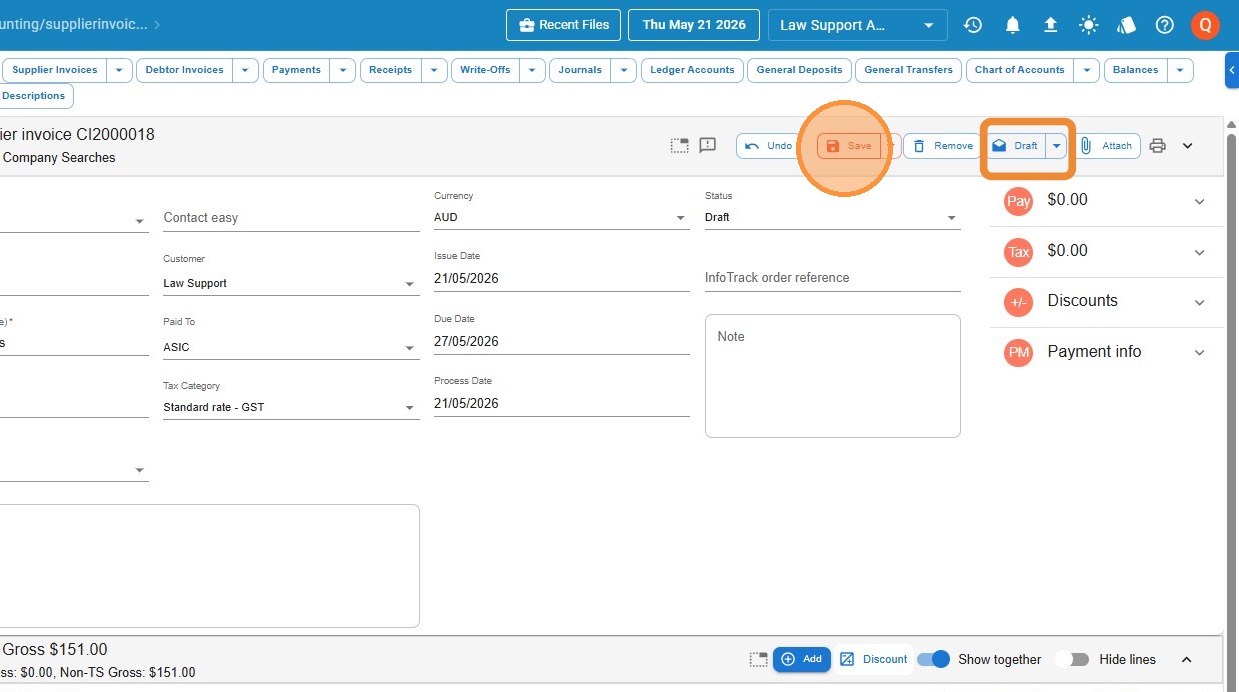
Save and finalise
- Click Save.
- Change the status from Draft to Finalise. This is the step that actually posts the invoice to the ledgers — until you finalise, the invoice doesn’t exist as a financial transaction.
Leave a Reply