
This page allows you to manage user access to the system. You can lock, unlock, or remove users, update their activation status, and check their employee records. Use this page to ensure that only current, authorised users have access, while maintaining necessary records for reporting and compliance.
1. Go to the left-hand menu and click on Admin.
- The left-hand menu is the vertical bar running down the left side of the screen.
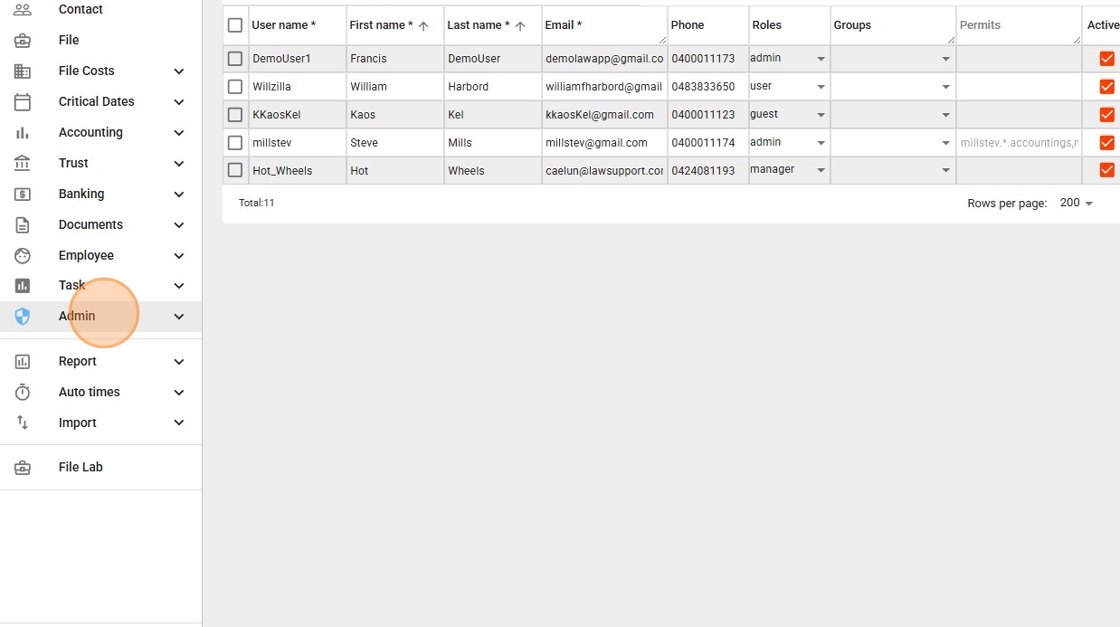
2. Then click the Users sub-menu.

3. You will see a list of your users.
To quickly lock out a user, click the vertical three dots (⋮) next to their name.

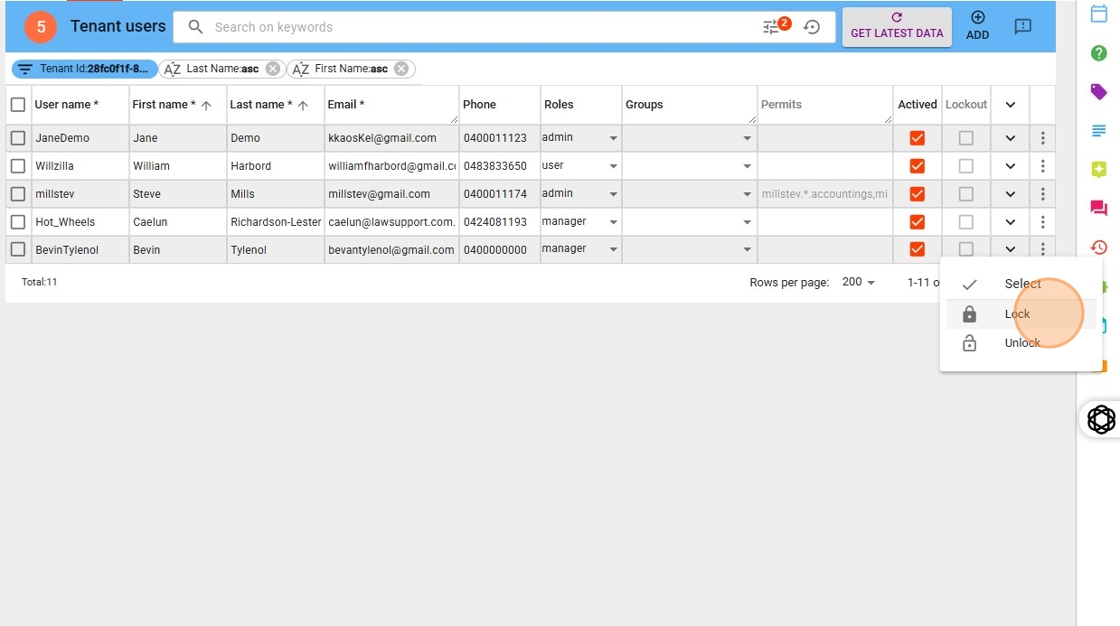
4. To quickly lock out a user:
- Click the vertical three dots (⋮) next to their name.
- Select the Lock option from the dropdown menu.
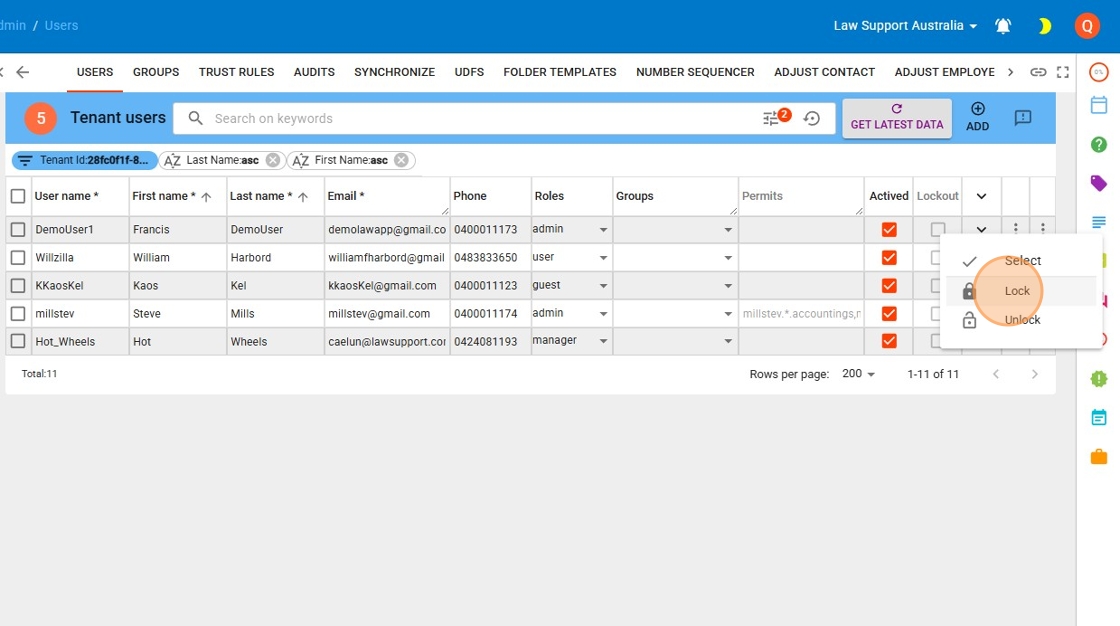
To unlock a user: follow steps 1–3 above, then choose Unlock from the same three-dot (⋮) menu instead of Lock. The user can sign in again straight away.
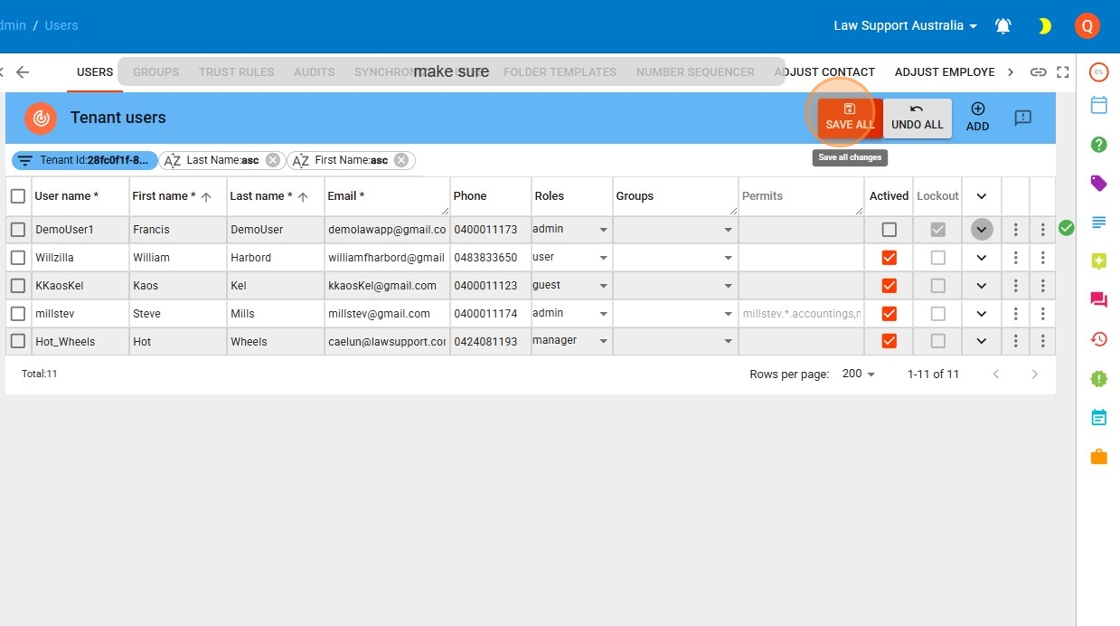
5. Uncheck the Activated box next to the user.

6. Make sure you press Save after deactivating.
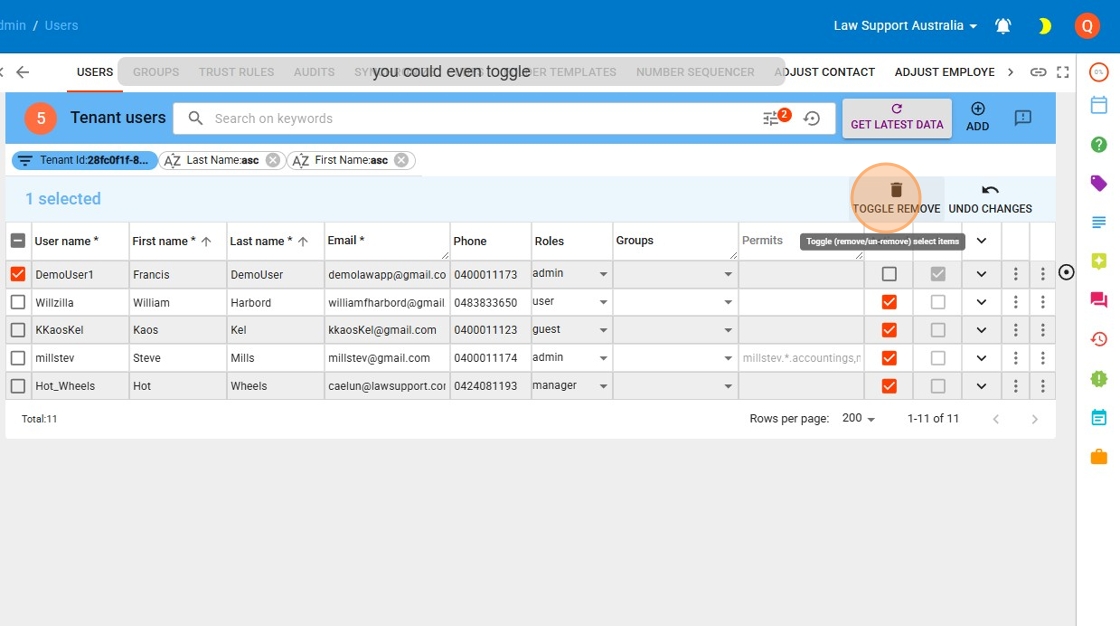
7. An extra step is to remove the user from the system:
- Flag the user by selecting the checkbox next to their name.
- Press Toggle Remove to mark the user for removal.
8. You must press the red Save All button to action this removal.
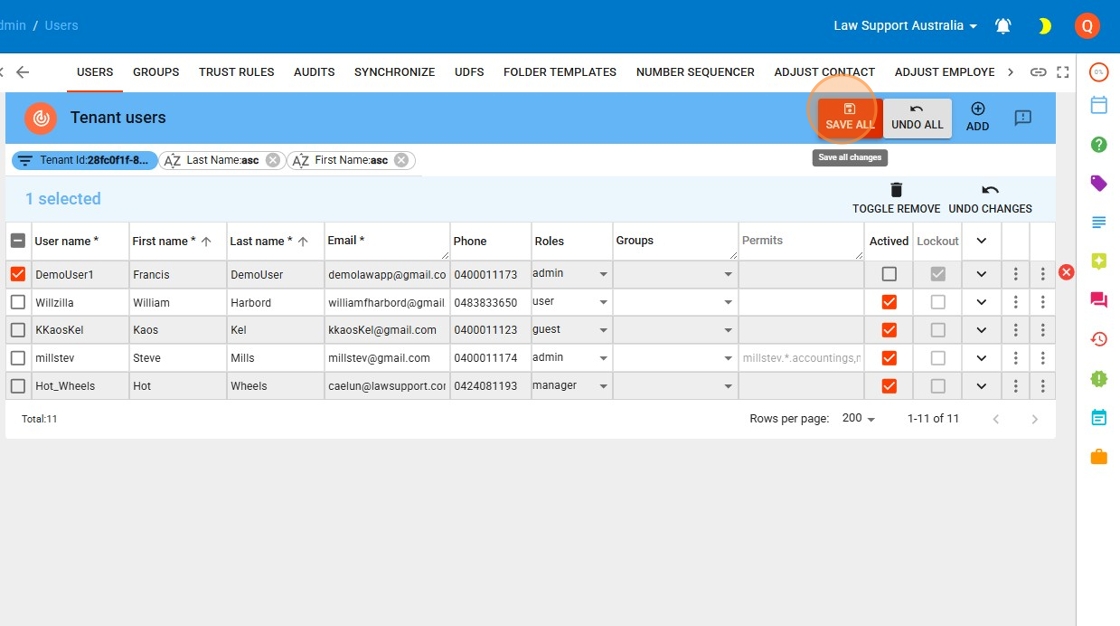
9. The users access is completely disabled.
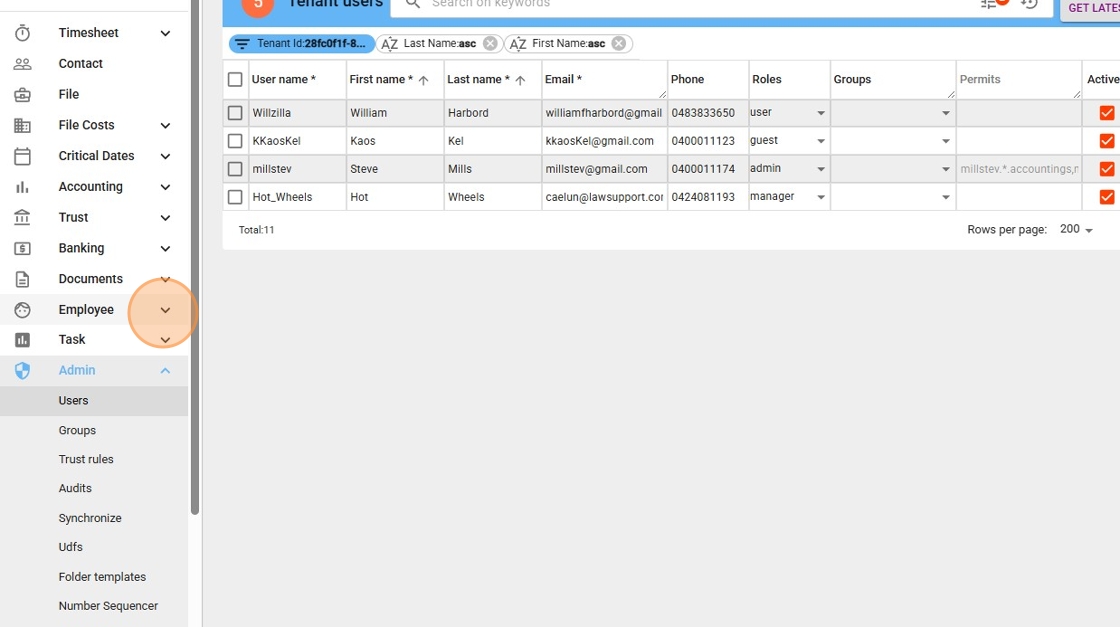
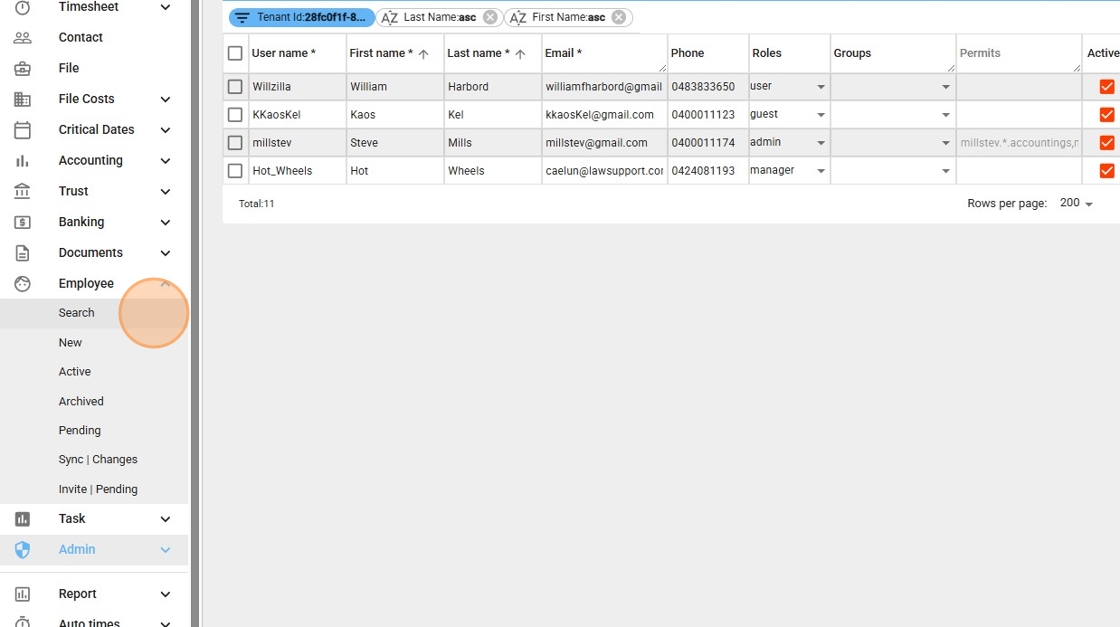
10. Next, check the Employee record:
- Go to the Employee area.
- Search for and open the employee in question.
Please note:
The person will remain listed as an Employee, as they may own documents, timesheets, or be linked to legal matters.
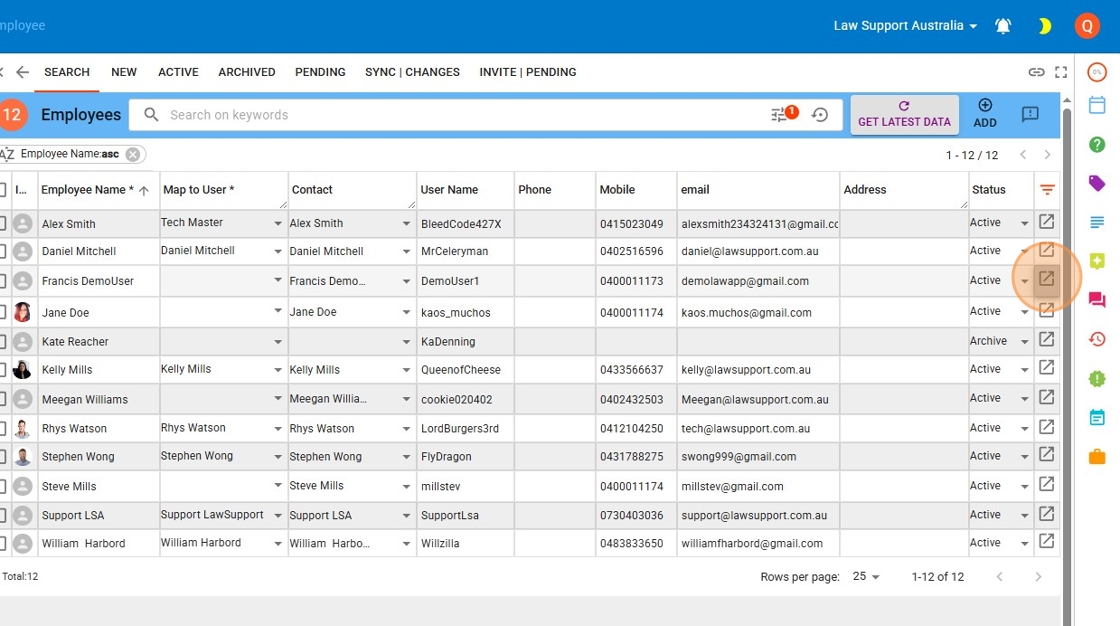
11. Select the icon circled in the image below to open the Employee for editing.
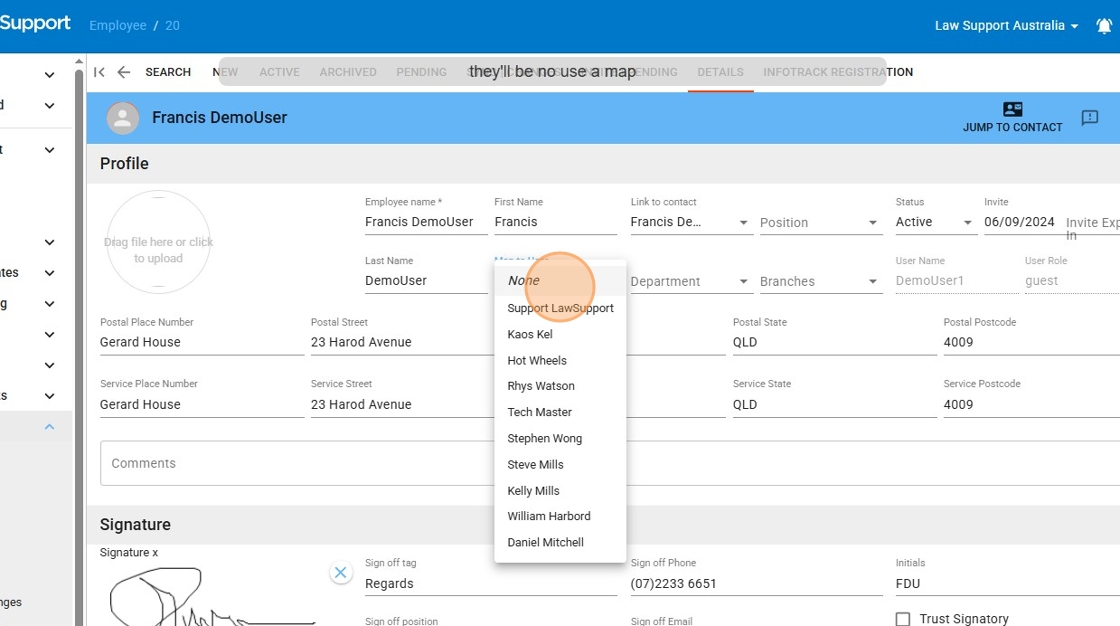
12. There should already be no mapping for this user — but please check to confirm.
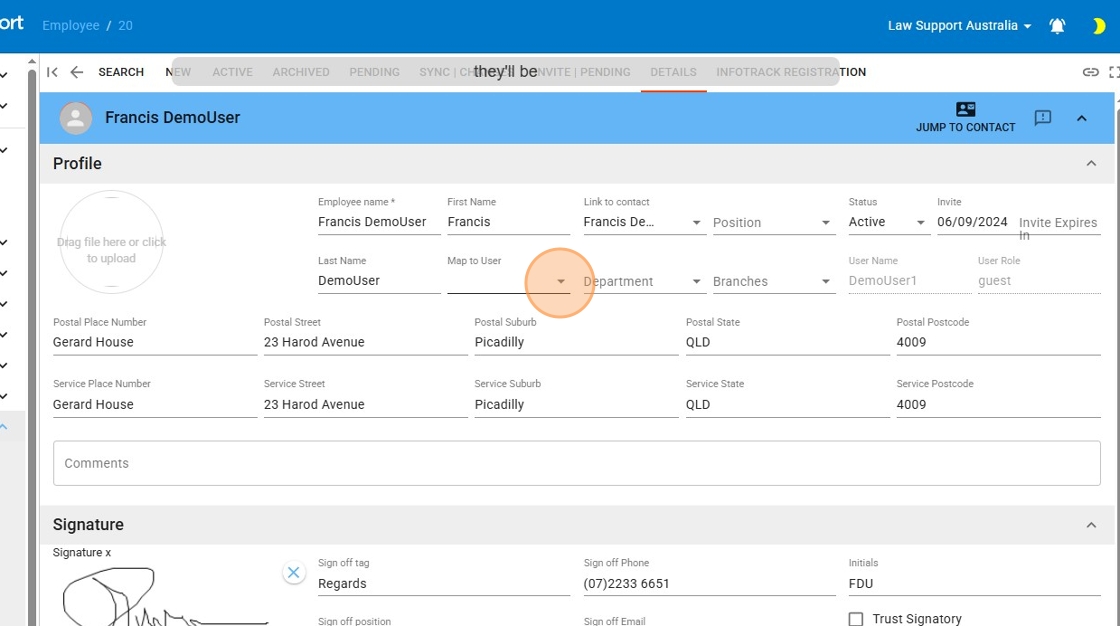
13. There will generally be no user mapped at this point. However, you can also check that the dropdown is set to None to confirm.
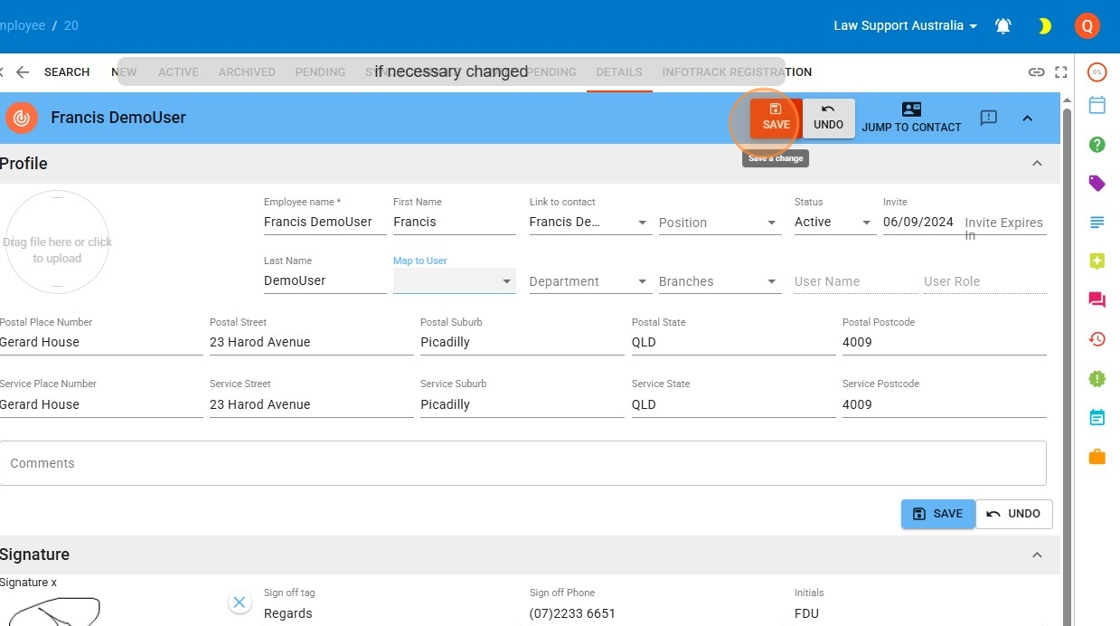
14. Press the red Save button to apply the changes.
Leave a Reply