Creating an invoice in Law App is straightforward once your time entries and disbursements are ready. This guide walks you through each step — from reviewing billable items to emailing the final invoice to your client.
1. Open the File
Navigate to: Files → Search → Open your matter → Accounting → Billing / Financials tab
Suggested image:
Screenshot of the file screen showing the Billing/Financials tab highlighted.
2. Review Time Entries
Before you create an invoice, ensure your time entries are correct.
Check the following:
The date of each entry
The narration
The rate
Units/time are accurate
Blue tick for Finalised
Suggested image:
Screenshot of the “Time Entries” screen displaying “Billed” is unflagged and Blue tick for Finalised.
3. Review Disbursements
Go to Disbursements in the file.
Confirm:
Items intended for billing are marked Billable = Yes
GST and totals are correct
Any non-billable items are marked accordingly
Suggested image:
Screenshot of a typical disbursement list showing Billable/Non-Billable.
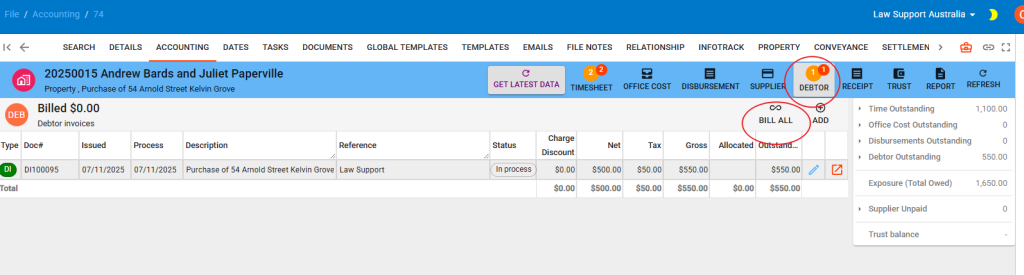
4. Create the Invoice
You can invoice from two places.
Option A — From the File (most common)
Open your file
Go to Debtors Button
Click Create Invoice / New Invoice
Law App will automatically display:
All unbilled time entries
All unbilled disbursements
Tick or untick items as required.
Suggested image:
Animation or screenshot of the “New Invoice” item selection screen.
Option B — Global Invoicing (Batch Billing)
Navigate to: Billing → Invoices → New Invoice
Useful for firms that bill monthly across many files.
Suggested image:
Screenshot of the global invoicing list.
5. Apply a Discount (Optional)
To add a discount:
Click Add Discount
Choose:
Dollar amount, or
Percentage
Law App automatically spreads the discount proportionally across billable items.
Suggested image:
Screenshot showing the “Add Discount” button and discount fields.
6. Preview the Invoice
Review:
Time totals
Disbursement totals
GST
File details
Layout selection
Any notes or extra narration
You may:
Save as Draft (if the file needs review)
Finalise / Issue Invoice (locks the invoice and generates the invoice number)
Suggested image:
Preview screen showing totals and the Finalise/Issue button.
7. Email or Print the Invoice
Once finalised:
Click Send Email
Select the Client Invoice Email template
Law App attaches a PDF using your firm’s letterhead
or
Click Print / Download to save a local PDF.
Suggested image:
Screenshot of the “Send Email” modal showing invoice attached.
8. Apply a Payment (Optional)
To record a payment:
Go to: Receipts → New Receipt → Client Payment
Allocate the payment against the invoice.
Suggested image:
Screenshot of the “New Receipt” screen.
Troubleshooting
❗ My invoice picked up the wrong mailing address
Law App uses the File Mailing Address unless you use Bill 6 or 6A for third-party billing.
(You can still press Populate to refresh the file’s address list.)
❗ Items aren’t appearing on the invoice
Check that the entries are:
Saved
Dated correctly
Marked Billable = Yes
Belong to the same entity/account
Not already billed
❗ Discounts look incorrect
Discounts apply proportionally — this is intentional. If you want a specific line discounted only, edit the narration and manually adjust the line.


Leave a Reply