A clear, step-by-step guide to adding timesheet entries in Law App, including selecting the matter, choosing the correct rate, entering units or time, marking entries as billable, and saving or editing existing entries.
Quick Timesheet for Clock or Units
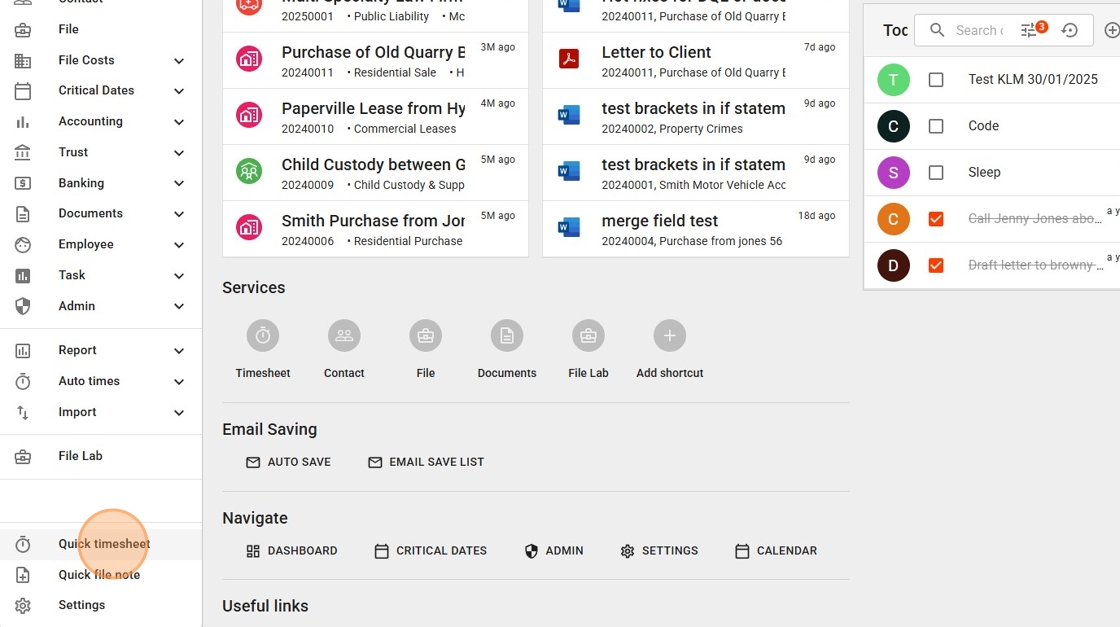
1. You can access Quick Timesheets from the left-hand menu at the bottom of the final section. The menu is organized into sections, with Quick Timesheets located in the last section for easy access.
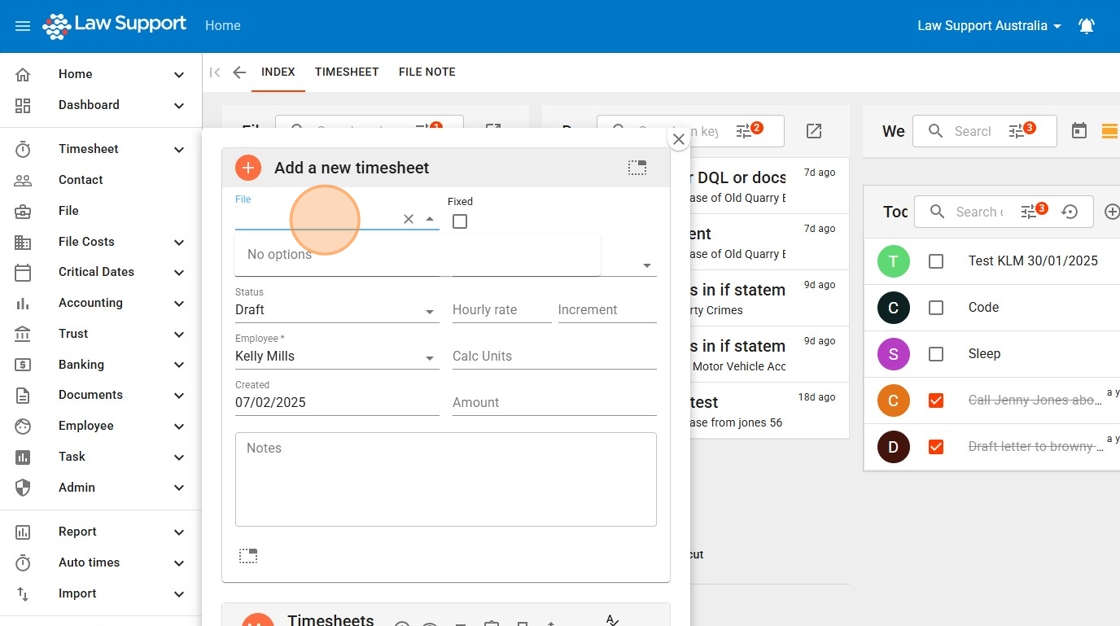
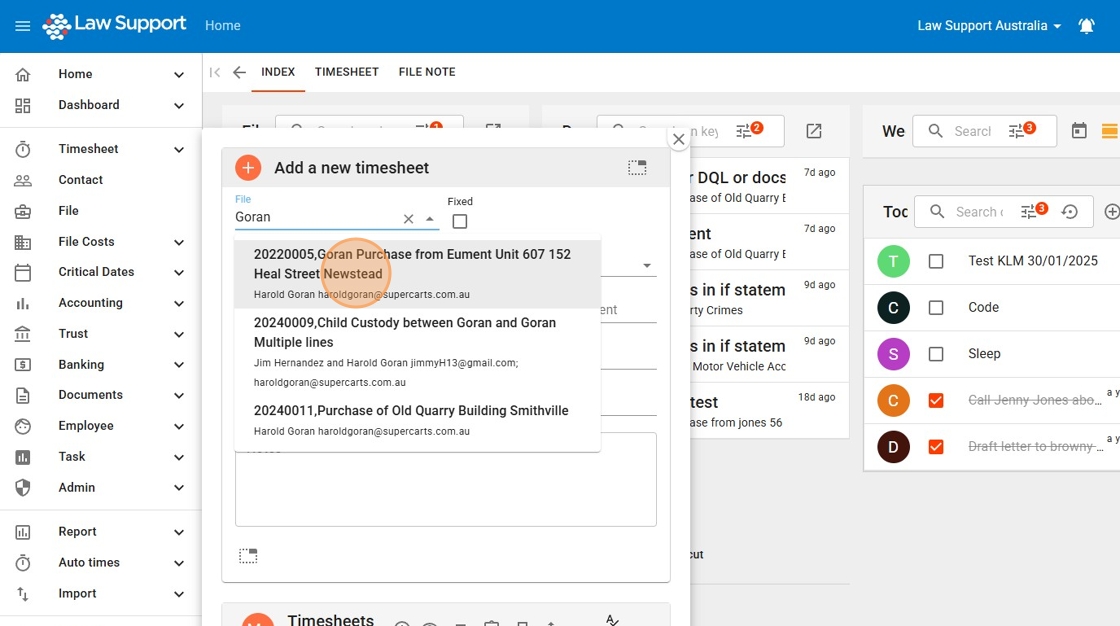
2. Type a few letters of the client name or matter to search for a file number. If you’ve already worked on a file today, the system will automatically insert the last used file.
3. Left-click on your selected file to choose it.
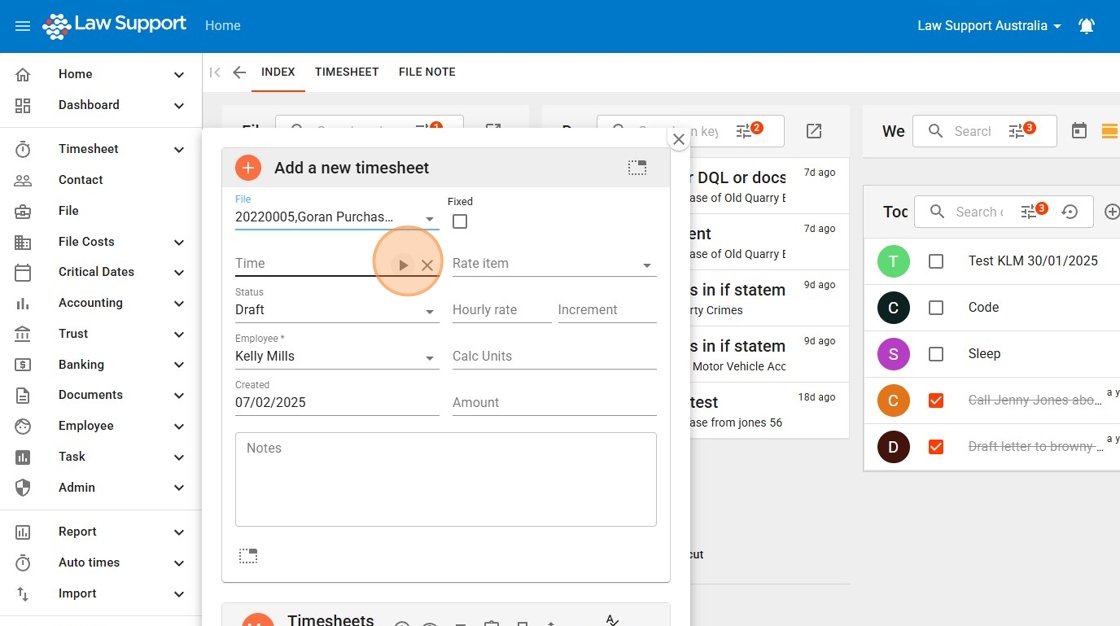
4. Settings control whether a Quick Timesheet time entry starts the clock automatically or requires you to manually enter the Calc Units.
Regardless of your settings, you can always start the clock by pressing Play. If you prefer not to use the clock, simply avoid clicking this button.
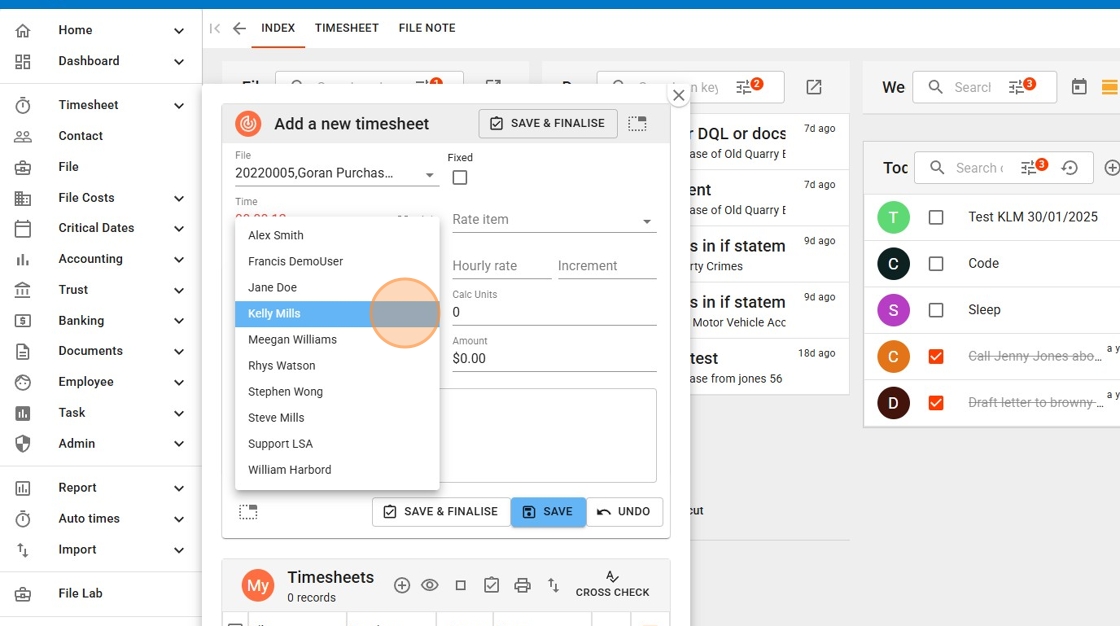
5. You can choose any employee from the drop-down list.
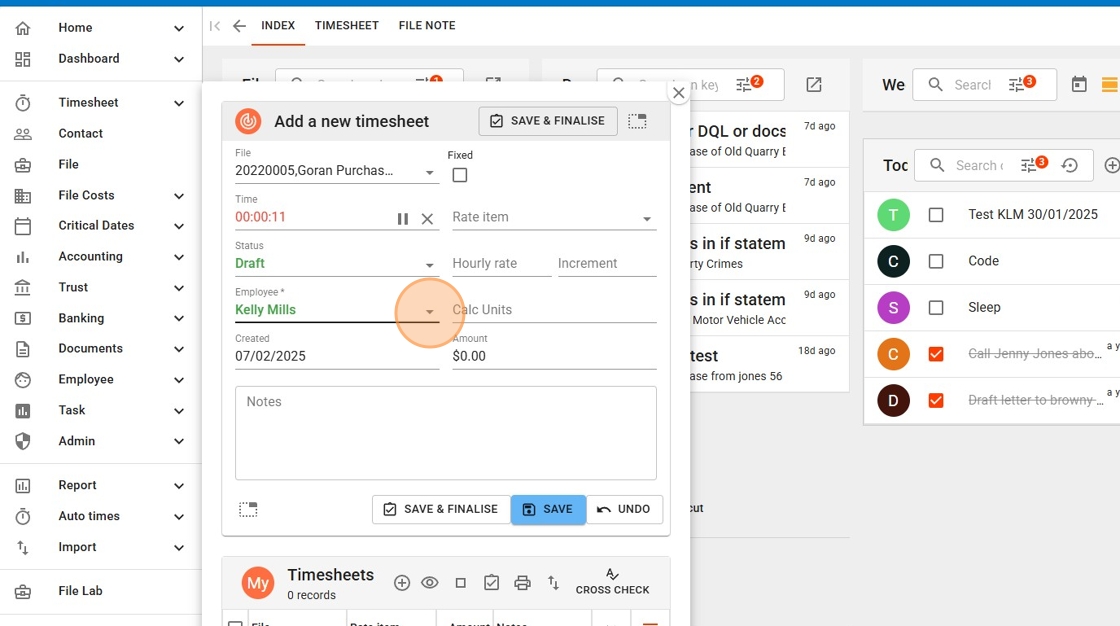
6. Click “your employee choice” however The default is your own employee.
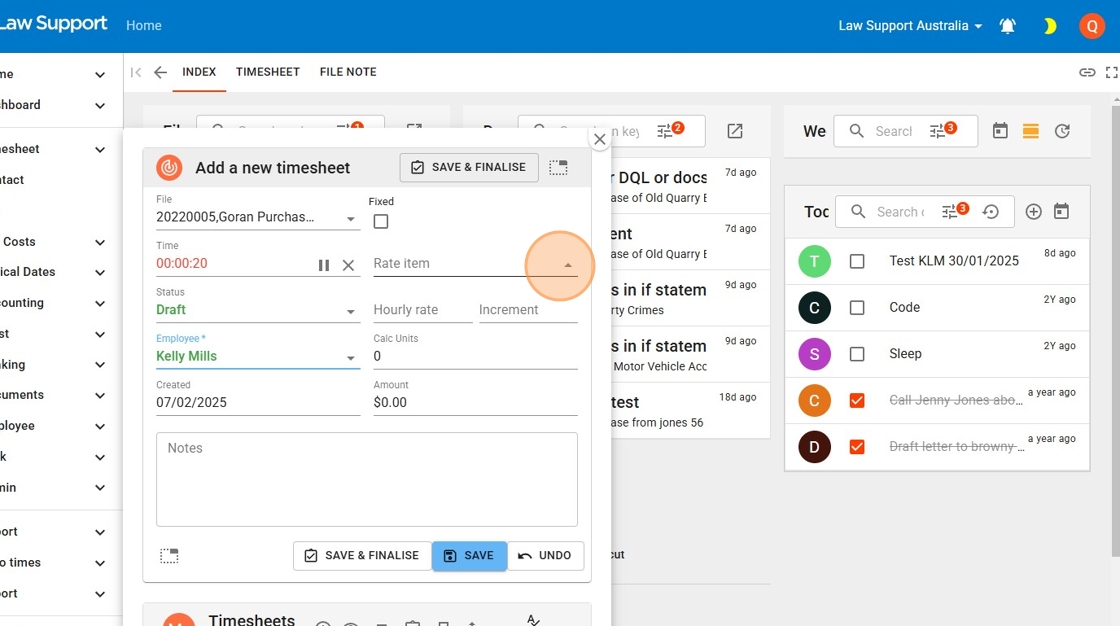
7. Settings determine whether a default Rate Item is automatically populated in the Rate Item field. If a default is set, it will be pre-filled, but you can override it by selecting a different option from the drop-down list.
If no default is set, choose the appropriate Rate Item from the drop-down list based on the type of work you are recording, such as an email or phone call.
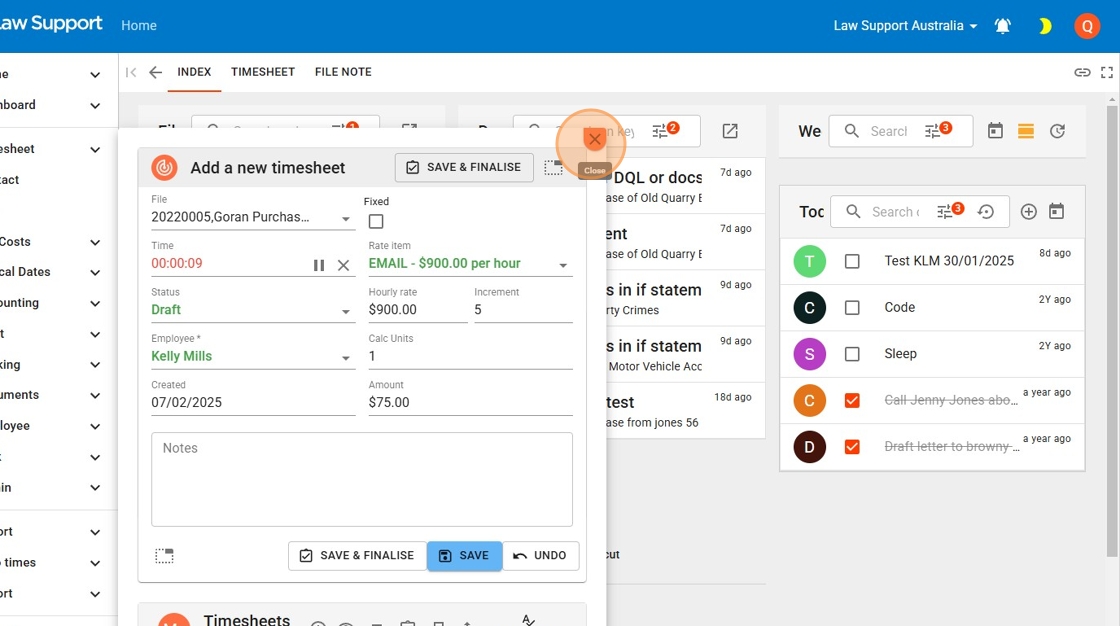
8. In this example, Email is selected at $X per hour.
You can set different Hourly Rates for various types of work, such as emails, phone calls, or meetings. These rates must be configured in the Timesheet Settings.
If no specific rates are set for different tasks, your default rate will be applied to each item
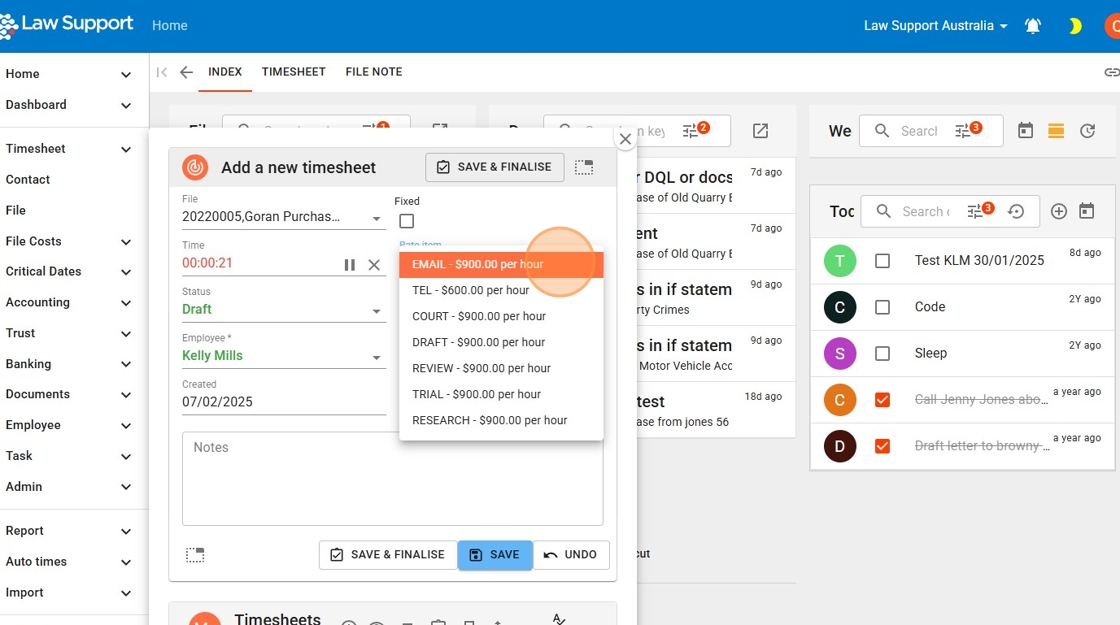
9. Calc Units are determined based on your set increment (e.g., 5 or 6 minutes) or a portion thereof, depending on the elapsed time on the counter. You can manually override this by pressing Pause and editing the Calc Units value.

10. Modify the notes section to clearly describe the specific work being recorded.
To complete the time entry, select “Save and Finalize.” If you prefer to leave it in draft form for later review, simply select “Save.”

11. A new Quick Timesheet will automatically open in anticipation of additional work. You can either complete this new timesheet or manually start a new one.
To exit, click the X icon.