
Learn how to access, filter, and export billing reports using the Dashboard in Law App, including tips for viewing line items, outstanding filters, and generating PDF or print outputs.
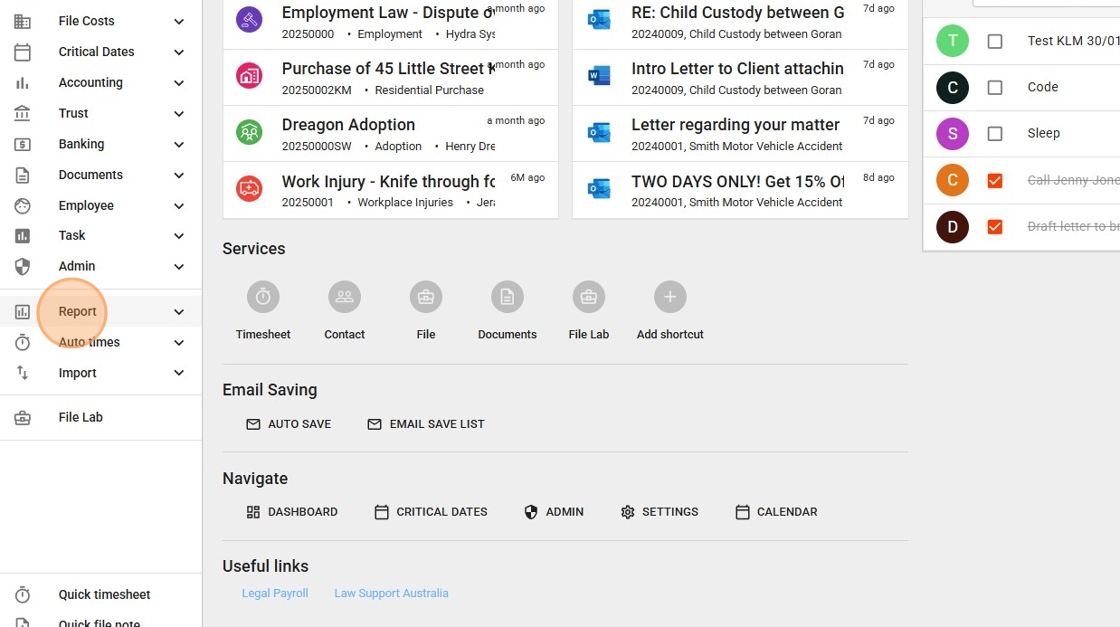
1. Click Reports from the left-hand menu.
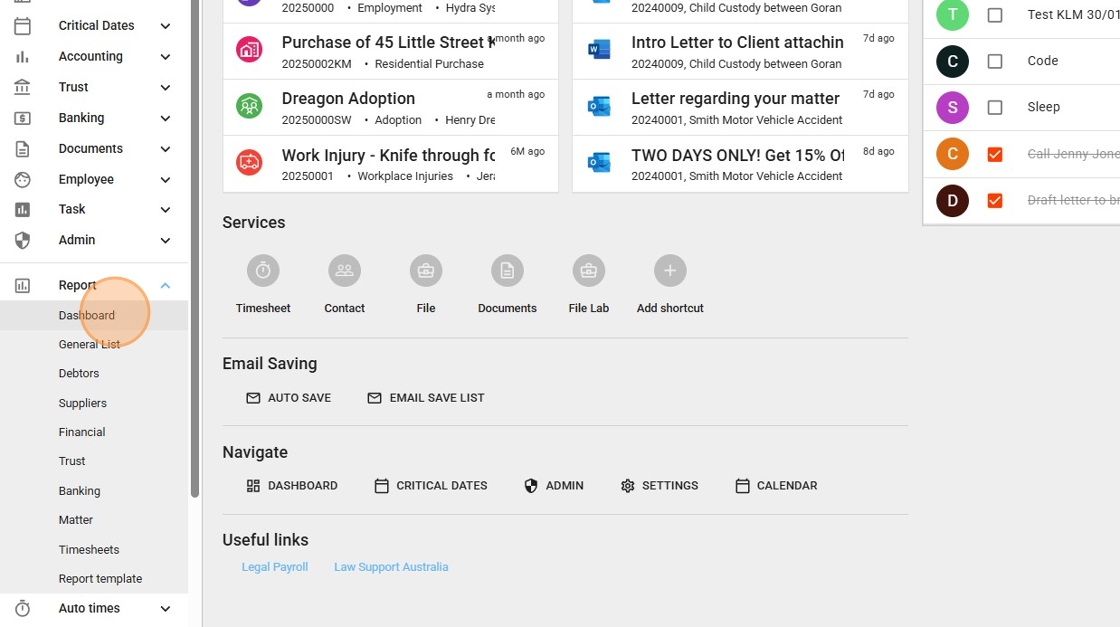
2.Select Dashboard from the list of available report options.
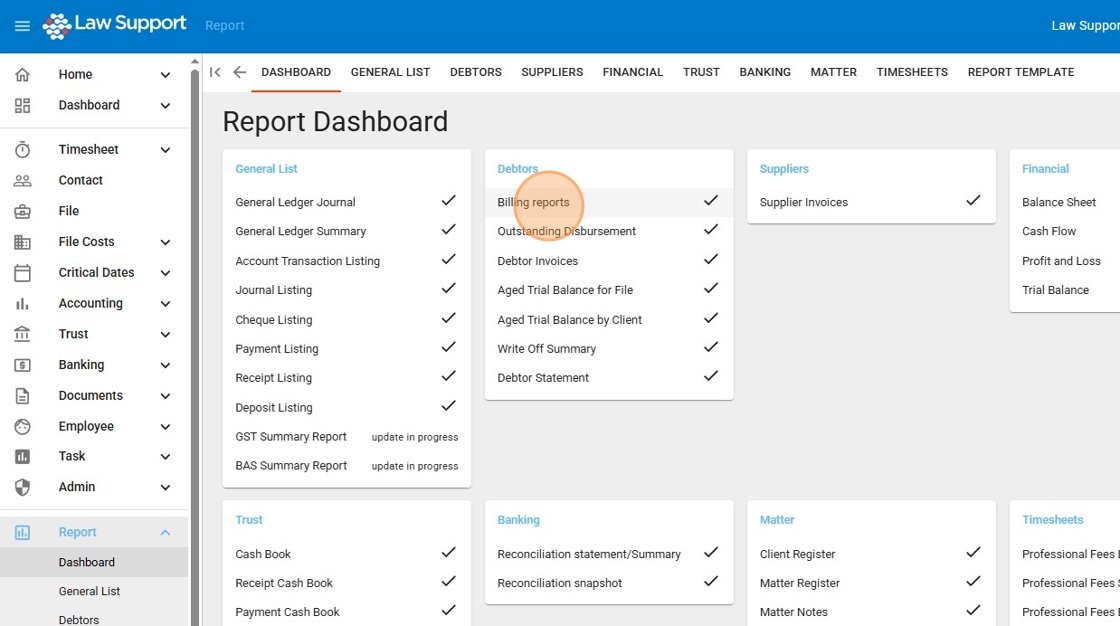
3. In the Debtors section
Select Billing Reports.
Please note: The reports visible in your dashboard will depend on your user access level. Not all reports shown in this screenshot may be available to every user.
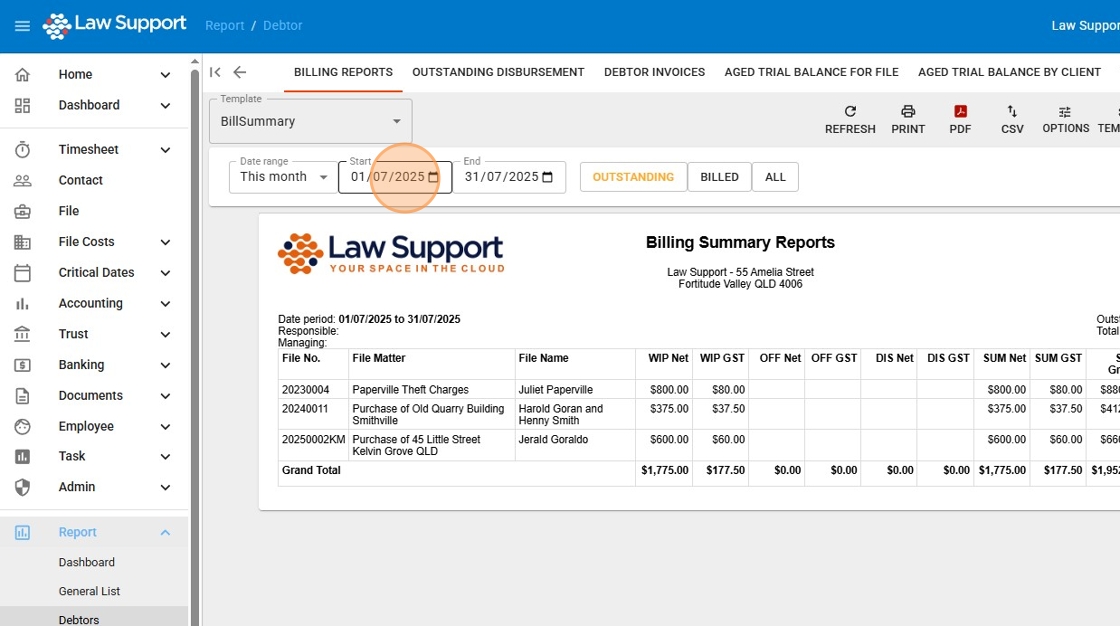
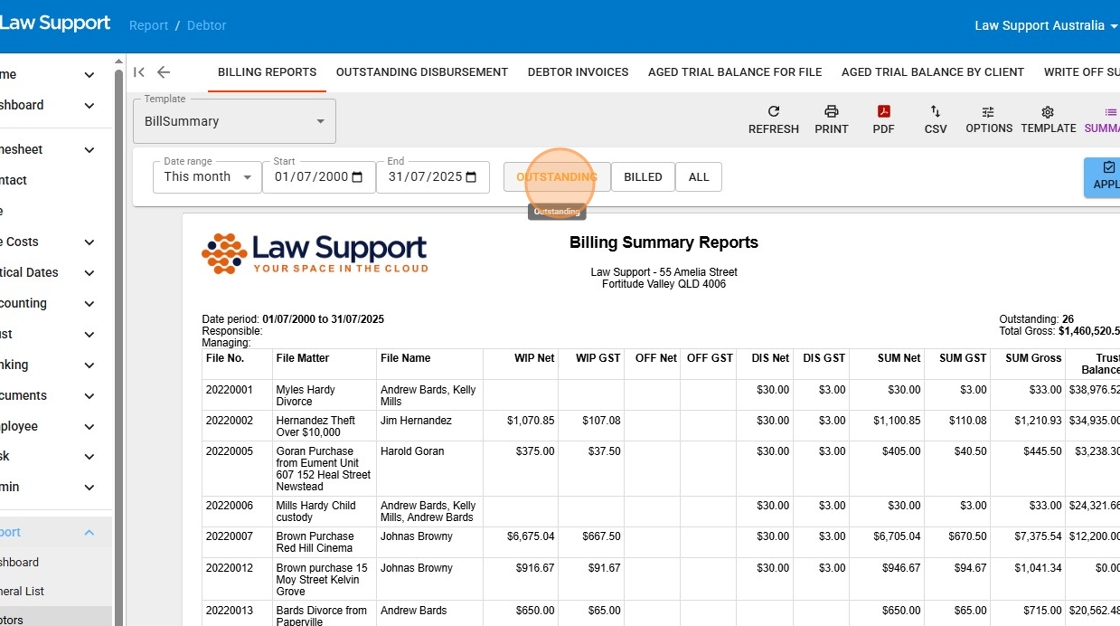
4. Be aware that this report functions as both a “from” and “to” report. You will need to set a start date if you’re looking to filter for outstanding items to date.
If you want to see all billable or outstanding items for a specific period, make sure to select both a start and end date that cover the full time range you’re interested in.
Choosing a large date range and selecting “All” may result in a very large report, which can take time to generate.
To focus only on outstanding items, ensure you flag the “Outstanding” filter first. If you’d prefer not to view outstanding items, you can leave this unselected.
Please note: A new dedicated Outstanding Report, which includes a two-day buffer for recent items, will be available by the end of July 2025.
5. You can apply the filter by clicking Apply Filter.
If needed, click Filter again to select or adjust additional filter options.
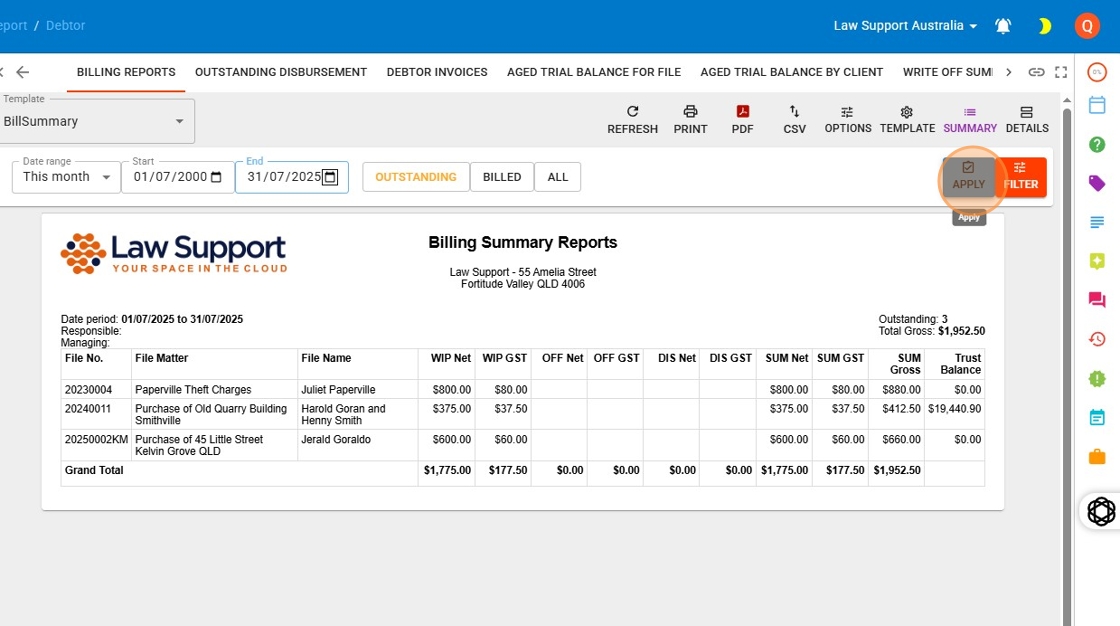
6. Don’t forget: If you only want to see outstanding items, make sure to flag the “Outstanding” option before applying the filter.
If “Outstanding” is not selected, the report may include all items over a long period of time, which could result in a very large report that takes time to generate.
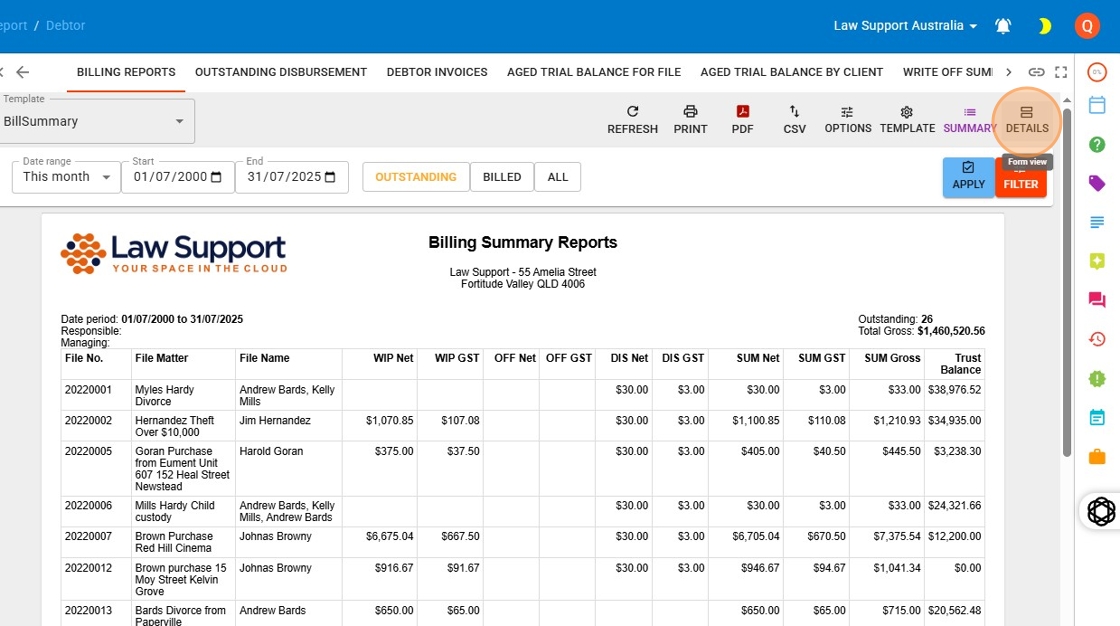
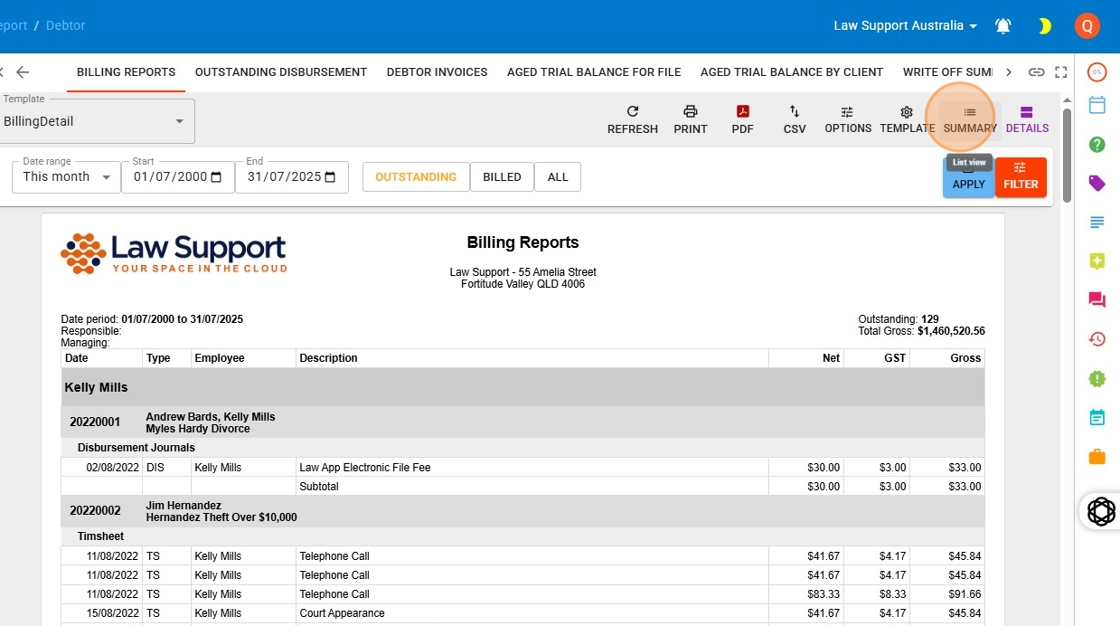
7. If you want to see the breakdown of the items in the report, click the Details button.
By default, the report displays a summary view, showing each file and the total amount that would be generated if an auto bill were created for that file.
If you’d like to review individual line items—such as timesheets, disbursements, and office costs—click the Details button at the top right (as shown in the image). This will expand the report to show each item separately.
8. Clicking the PDF button will generate a file that includes each file along with its individual time entries and disbursements.
The Print button, located just to the left of the PDF button, allows you to print the report directly.
[[Ask ChatGPT]]
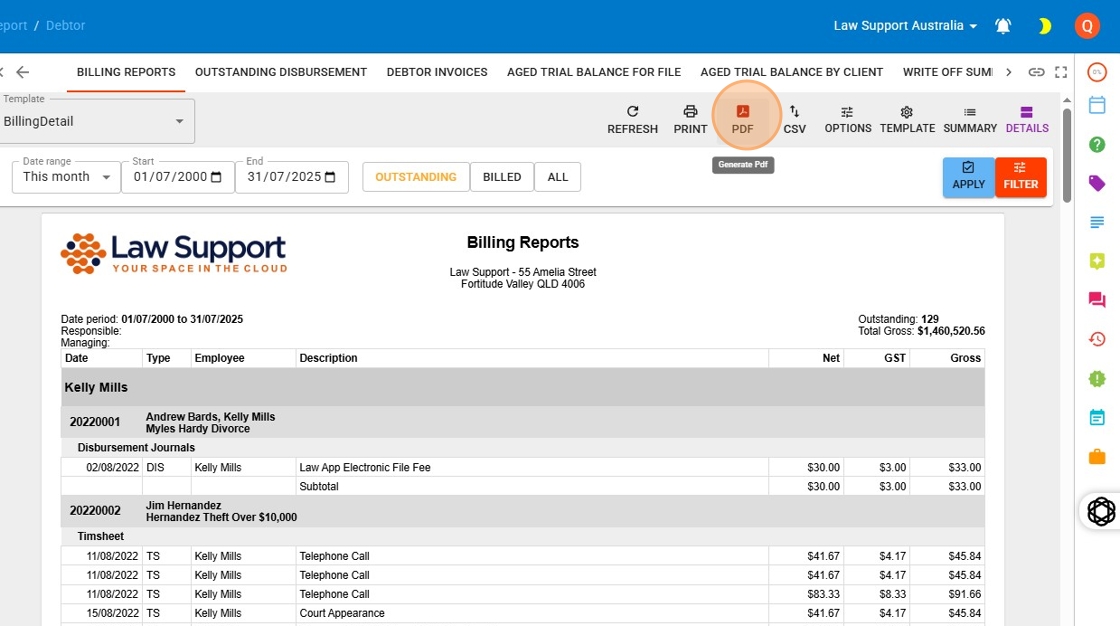
9. To return to the summary view, click the Summary button as indicated in the image.
Please select an FAQ Group to display