
The Settlement Calc in Law App calculates property settlement figures for you — council rates, water, transfer duty, and more — and produces a print-ready statement for your client and the other side. This guide walks through every section from start to finish.
Opening the Settlement Calc
The Settlement Calc is available on any property file. To get there:
- Open the property file and click Settlement Calc in the file navigation menu.
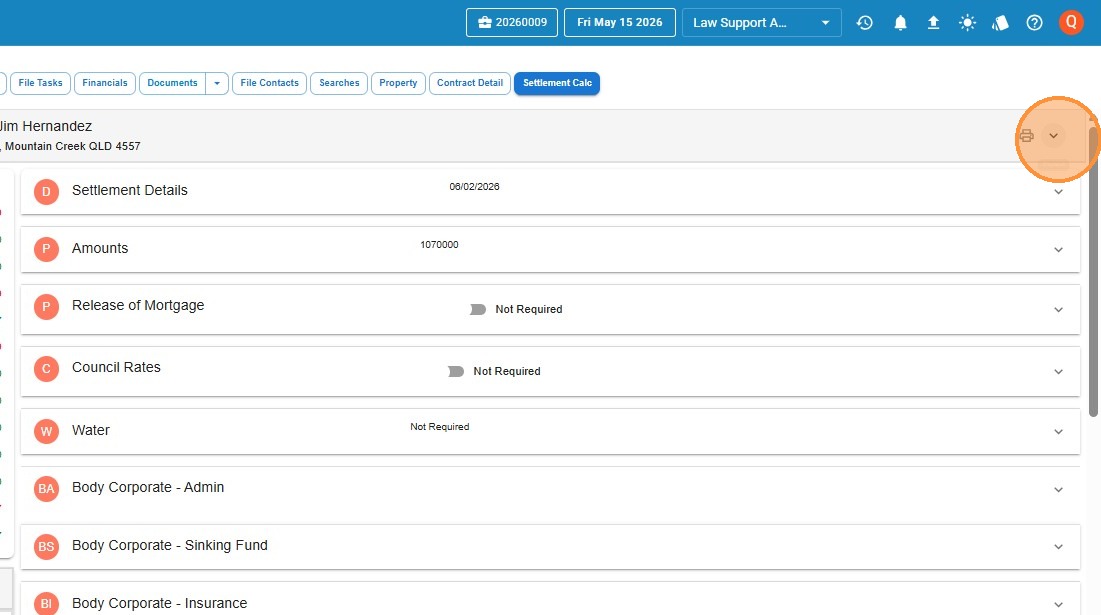
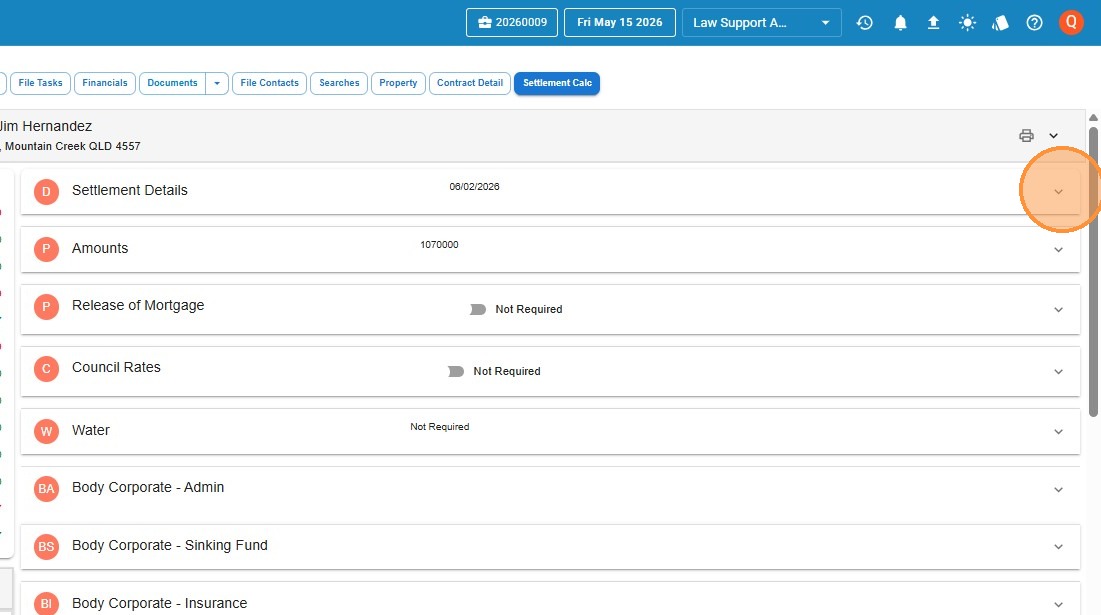
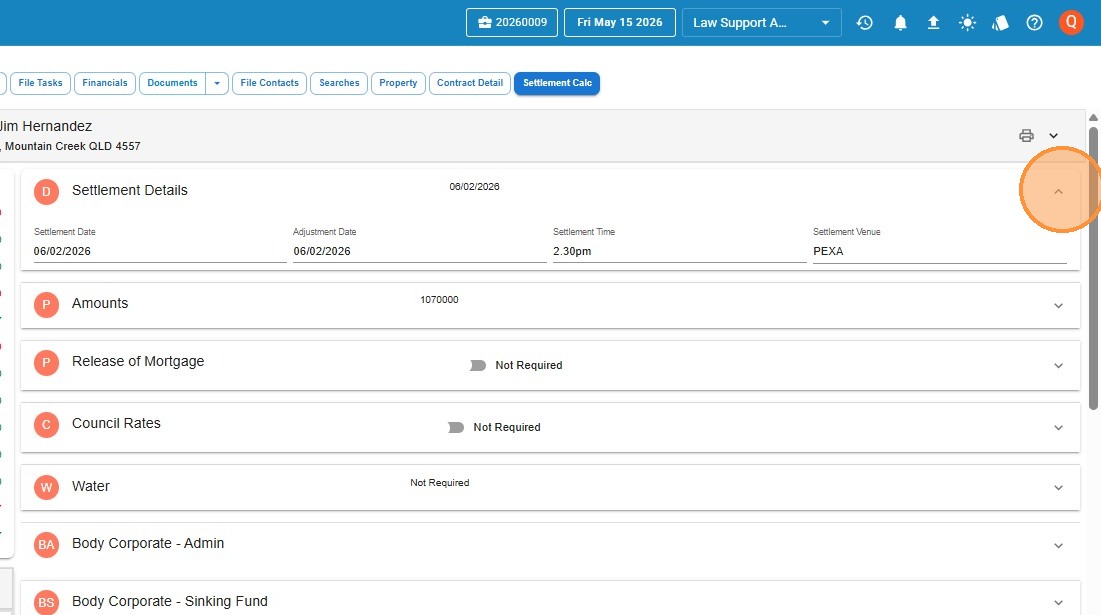
- Use the dropdown arrows on each section to expand or collapse it — helpful for keeping your view manageable as you work through the adjustments.
Region and adjustment date
Before you enter any figures, check two things at the top of the calc.
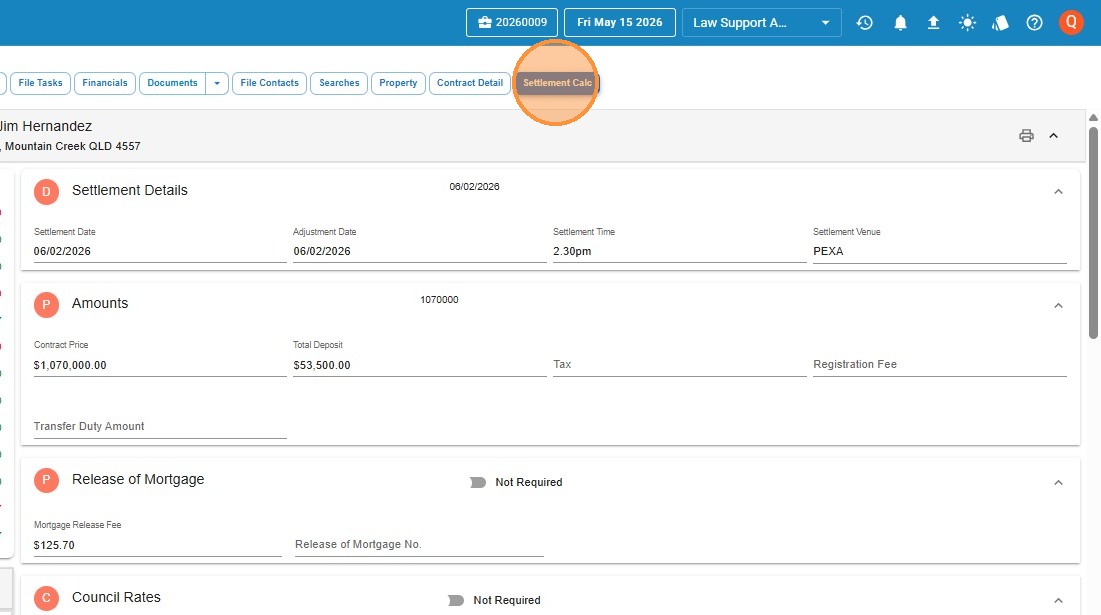
In the settlement timing panel, enter your key dates.
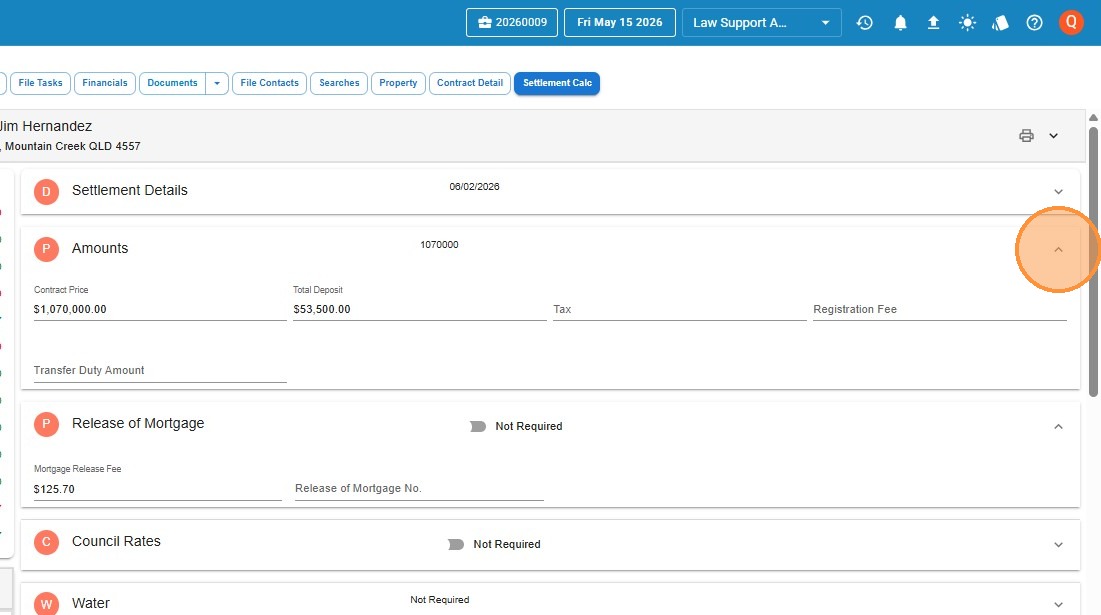
Amounts and mortgage release
Key amounts
Enter the core financial details for the transaction:
- Enter the Contract Price and Total Deposit.
- Enter Tax, Registration Fee, and Transfer Duty Amount.
Mortgage release
If a mortgage release is required, enter the Mortgage Release Fee and Release of Mortgage number. If there’s no mortgage to release, toggle Not Required.
Council rates
- Enter the Current Period Start and Current Period End dates from the rates notice, plus the Amount. Law App calculates the pro rata adjustment automatically from the adjustment date.
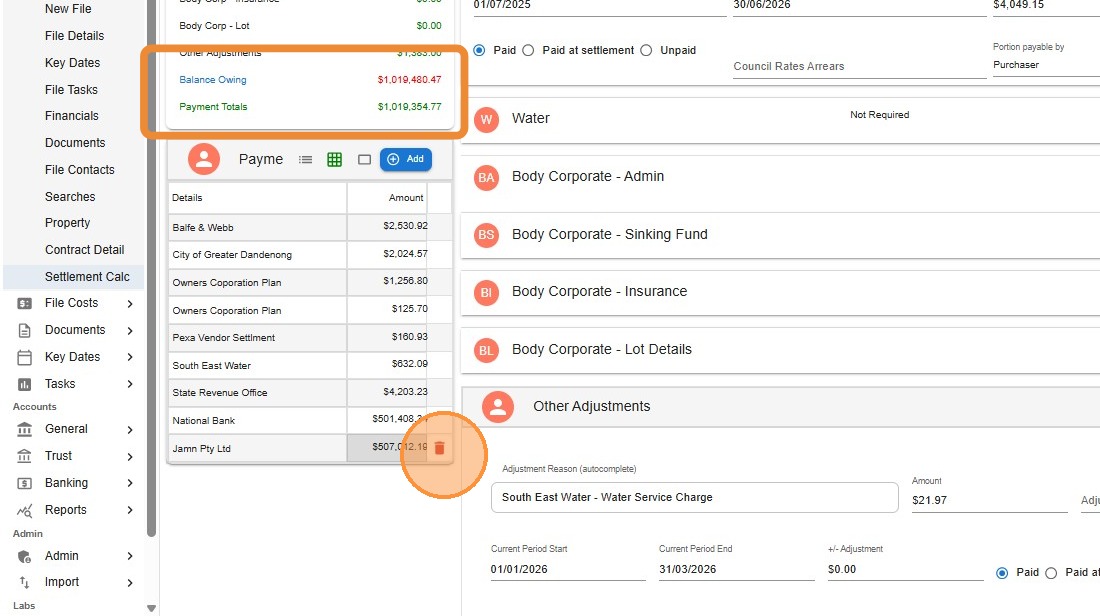
- If there are arrears, enter the total in the Council Rates Arrears field. Make sure this figure includes the current rates notice — it will be added as an outstanding payment in the payments panel at settlement. Use the Delete button if you need to remove it.
- Select the payment status: Paid, Paid at Settlement, or Unpaid.
- Choose the Portion Payable By — Purchaser or Vendor.
- Select the Council from the dropdown. Options shown will reflect the property’s region.
If council rates don’t apply, toggle Not Required and optionally enter a reason for the statement.
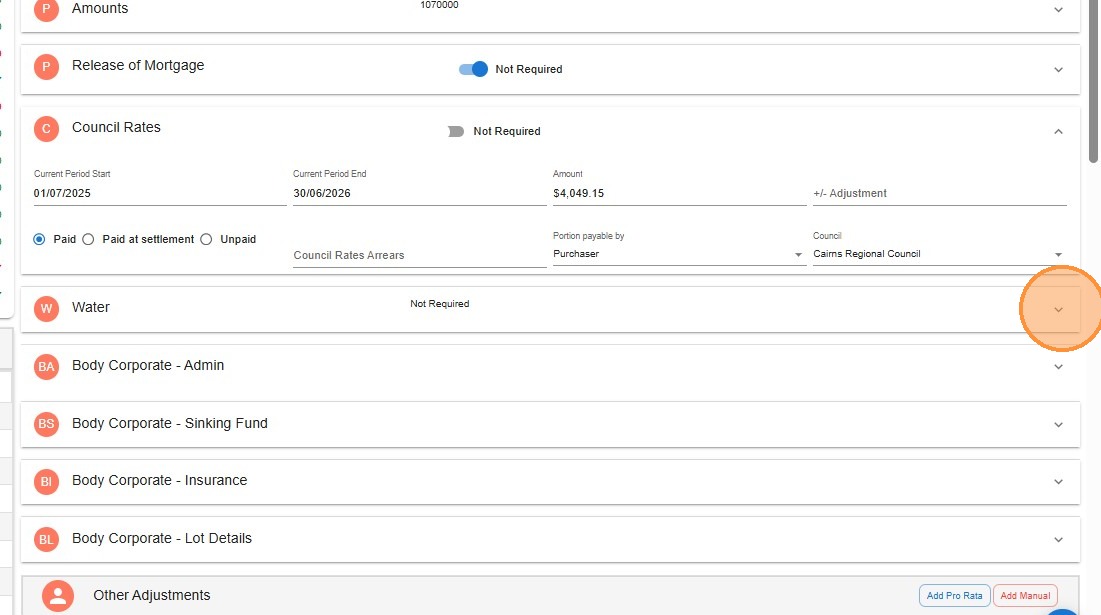
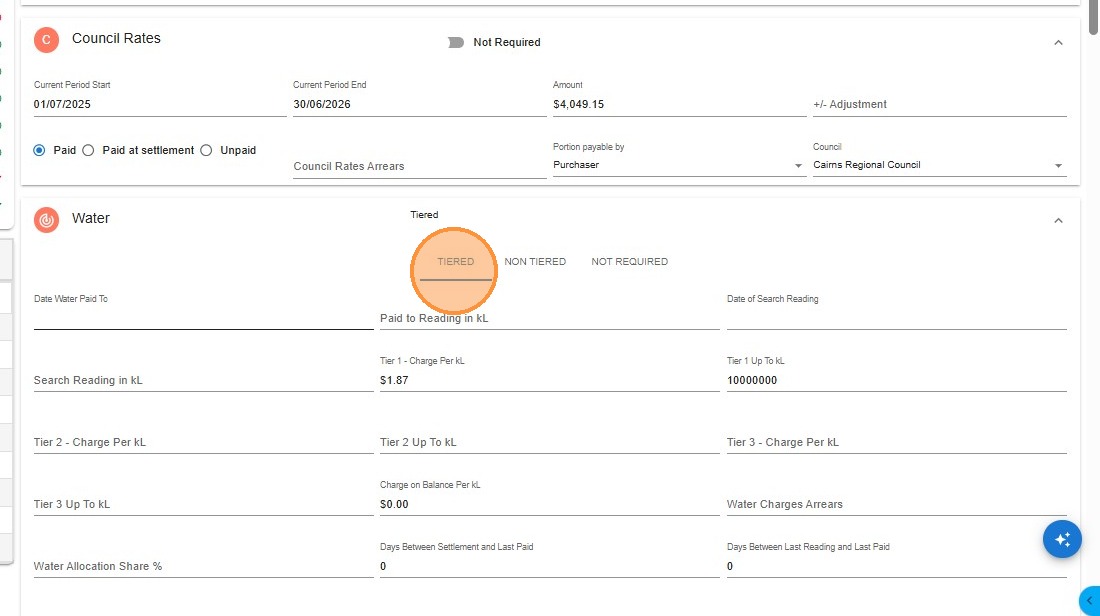
Water charges
Select the tab that matches how your region calculates water.
Usage-based pricing
Enter the meter readings and dates from the water search. If the council is registered with Law App, tier rates populate automatically — otherwise enter them manually. Law App calculates the pro rata charge and days between readings.
Flat rate pricing
For regions that charge a flat rate rather than by usage. Enter the amount and period dates — Law App handles the adjustment from there.
Tiered water — fields to complete
- Date Water Paid To — the date water has been paid up to.
- Date of Search Reading — when the water search was conducted.
- Paid to Reading in kL — meter reading as at the last paid date.
- Search Reading in kL — meter reading as at the search date.
- Enter any Water Charges Arrears shown on the search.
If water is not adjusted in your region or doesn’t apply to this property, select Not Required and optionally enter a reason for the statement.
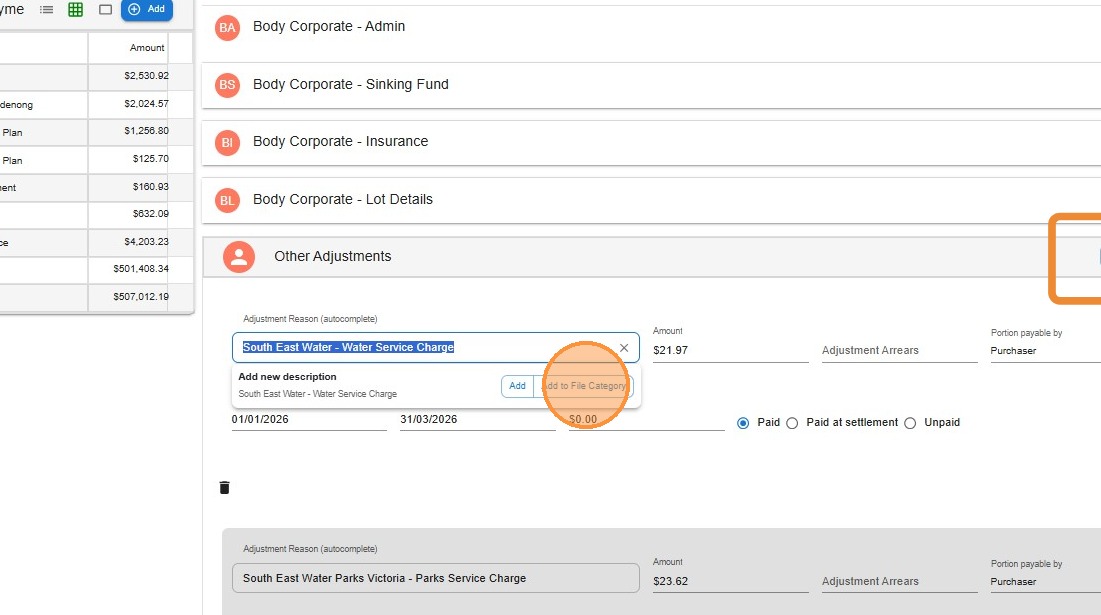
Other adjustments
Use this section for body corporate levies, service charges, and anything else not covered by the dedicated panels above. Three options are available:
Add Pro Rata
Law App calculates the adjustment across a date range — useful for any charge that needs to be apportioned between the parties based on the adjustment date. Enter the period and total amount and it does the rest.
Add Manual
You supply the description, amount, and which party (purchaser or vendor) is responsible. No date calculation — just a direct line item on the statement.
Add to File Category
Saves the description as a saved option for this file type, so it autocompletes next time you start typing it. Handy for recurring items like water service charges that appear on every settlement.
Balancing the statement
The usual workflow:
- Work through all the adjustment sections — council rates, water, body corporate, other — until the Balance Owing figure is right.
- In the payments panel, add each payee with their amount (e.g. vendor’s solicitor, mortgagee, agent).
- If a payment needs to be removed, click the red bin icon and save.
- Keep adjusting until Balance Owing = Payment Totals.
Saving and printing
As you enter details, all figures update live in the preview panel on the left — so you can watch the statement take shape in real time.
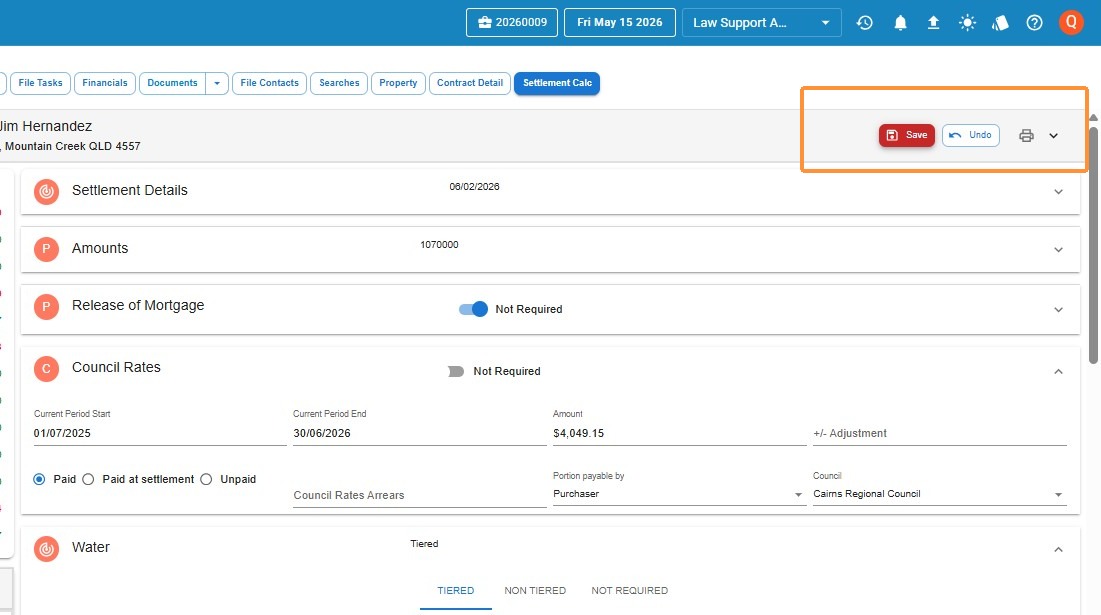
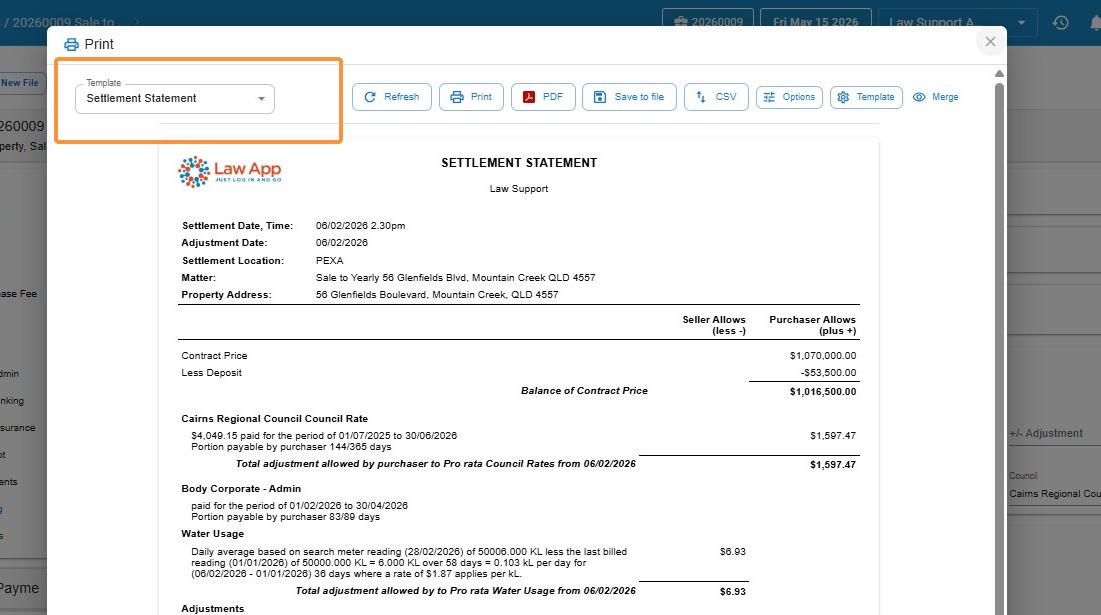
Once saved, click Print to open the print preview. From here:
Output options
- Print — send directly to your printer.
- PDF — download as a PDF file.
- Save to File — attach a copy to the file record.
- CSV — export the settlement data in CSV format.
- Template — switch between statement formats (vendor statement, purchaser statement, or other firm variations).
- Refresh — reload the preview if you’ve made changes since opening it.
Leave a Reply