
Including Settings for Archive location, and Archive number set up
1. Step 1: Prepare File for Archiving
- Navigate to the Accountant area of the file.
- Confirm that all financials are at zero:
- Disbursements: Fully billed, written off, or settled.
- Outstanding Debtors: Cleared.
- Trust Balances: Refunded or transferred appropriately.
- Note: It is the firm’s internal policy to either:
- Void unbilled time entries, or
- Delete unbilled office costs.
- Once all financial items have been correctly finalised, go to the file in question and click the Archive button (as shown in the image).
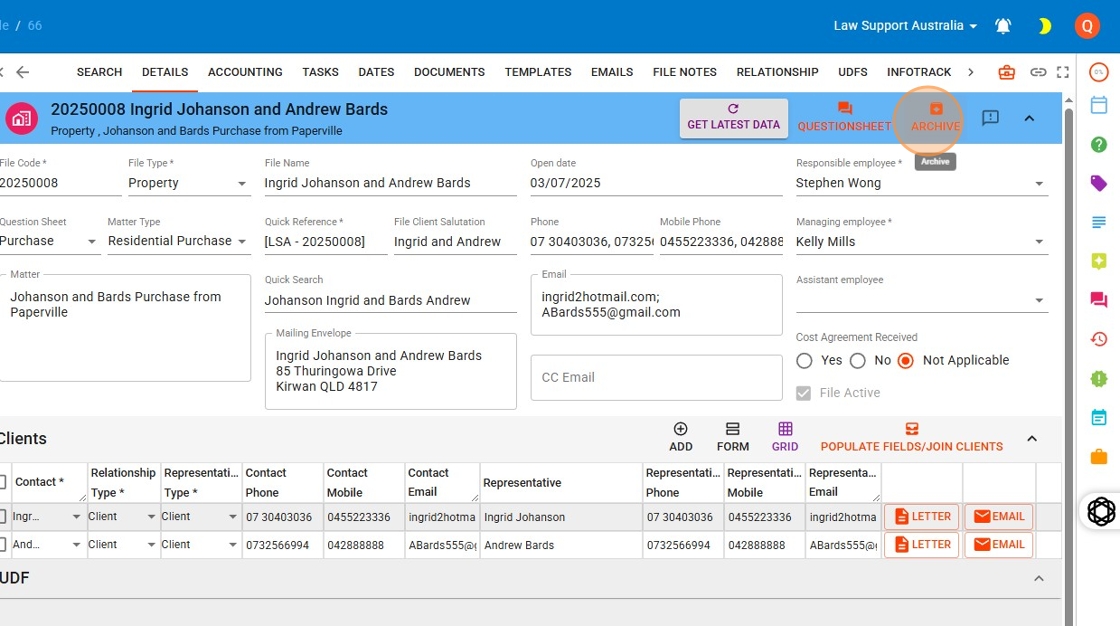
2. Step 2: Configure Archive File Options
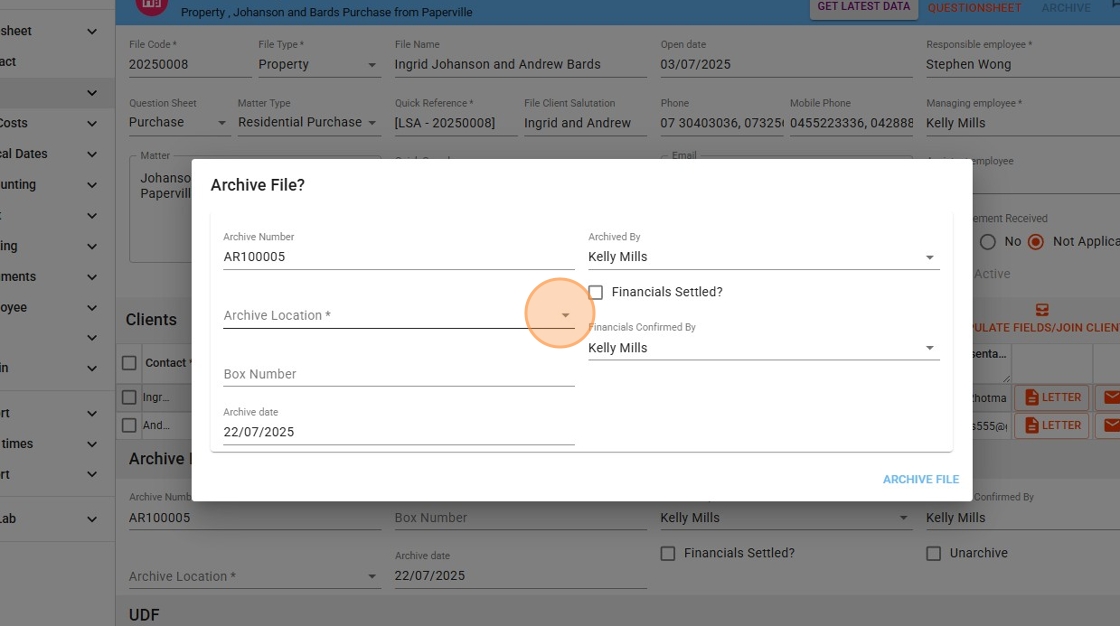
- After clicking the Archive button, the Archive File Options window will appear.
- The Archive File Number is automatically generated based on the firm’s settings.
- This setting can be managed under Admin > Number Sequencing.
- (Refer to the instructions at the bottom of this help sheet for more details.)
- You may manually overwrite the generated archive number; however:
- Doing so will not use the next number in the sequence.
- The original sequential number will reappear the next time an archive is created.
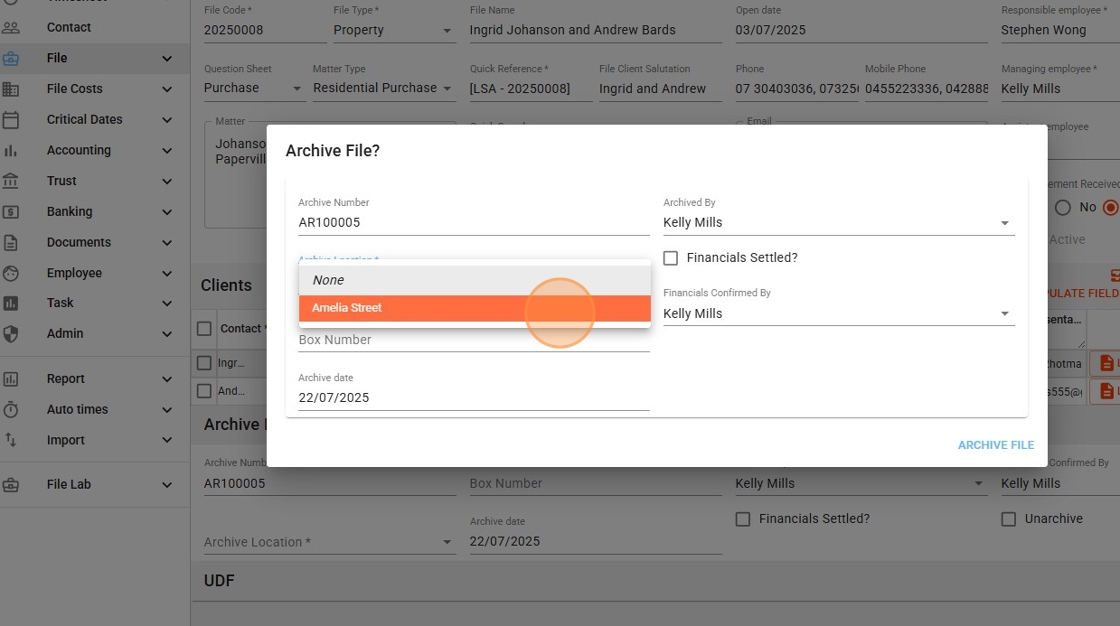
3. Step 3: Select Archive Location
- In the Archive File Options window, choose an Archive Location from the drop-down menu.
- If no archive location appears:
- Navigate to Settings > File Settings > File Archive Location to create one.
- (Instructions for this are provided at the bottom of the help sheet.)
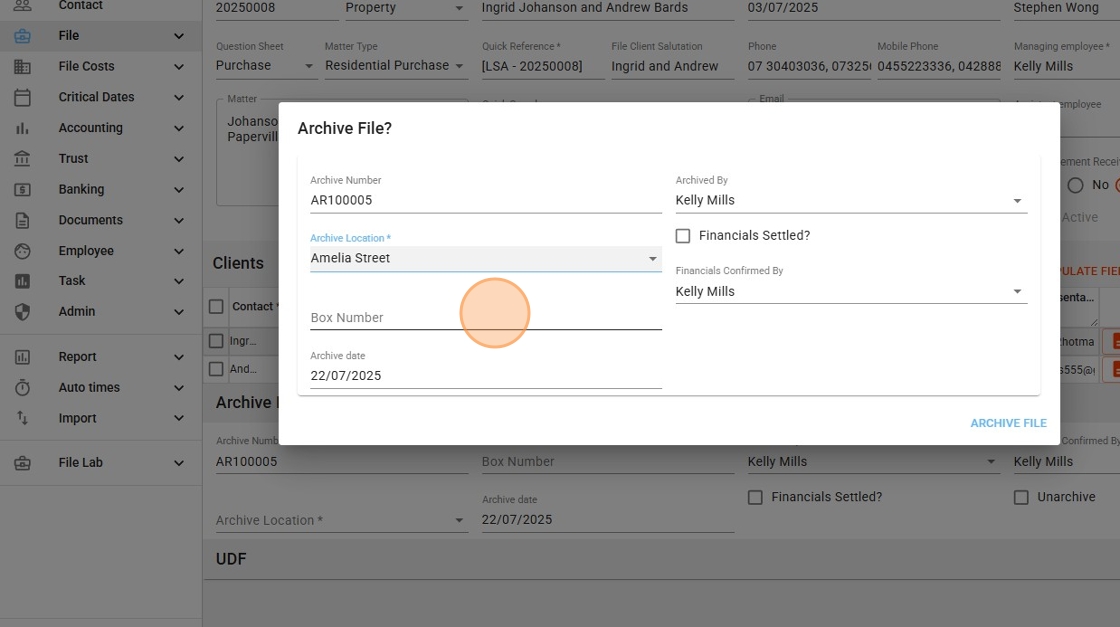
4. Step 4: Enter Box Number (if applicable)
- Law firms may use a Box Number to group multiple archived files for easier physical retrieval from storage.
- If your firm follows this practice:
- Enter the relevant Box Number in the designated field now.
5. Step 5: Confirm Financials Are Settled
- Click the “Financials Settled?” checkbox.
- Important: Only tick this box after you have confirmed that all financials are fully settled.
- A log record is created showing the user who:
- Flags this field, and
- Archives the file.
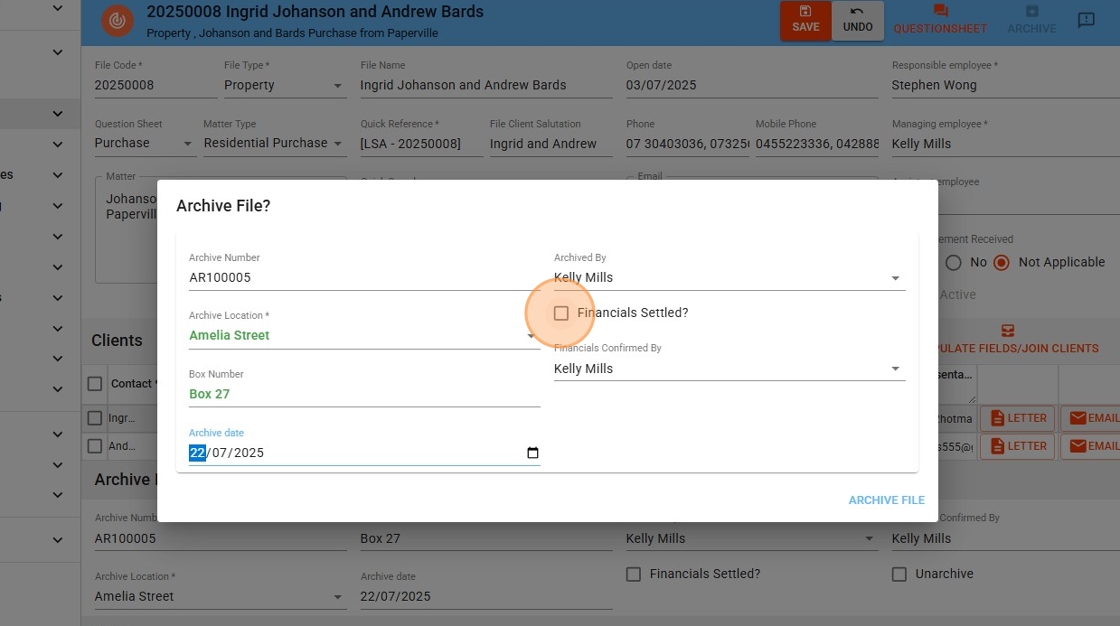
6. Click “Archive File”

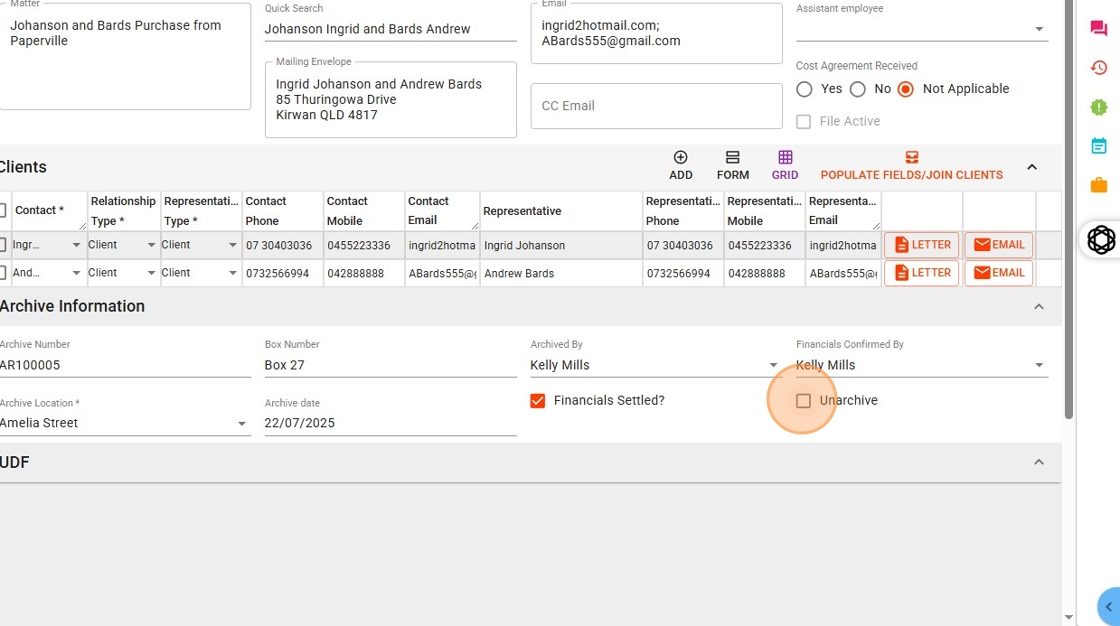
7. Step 6: Unarchiving a File
- To unarchive a file, click the “Unarchive” checkbox.
- After doing so, make sure to click Save to apply the change.
- Note:
- Archiving details (e.g., box number, archive location) will be retained unless you manually remove or update them.
- You may:
- Leave the original details intact if you plan to rearchive the file and return it to the same location, or
- Overwrite the details if the file’s storage location has changed.
- Always ensure the archive details accurately reflect the current physical location of the file.
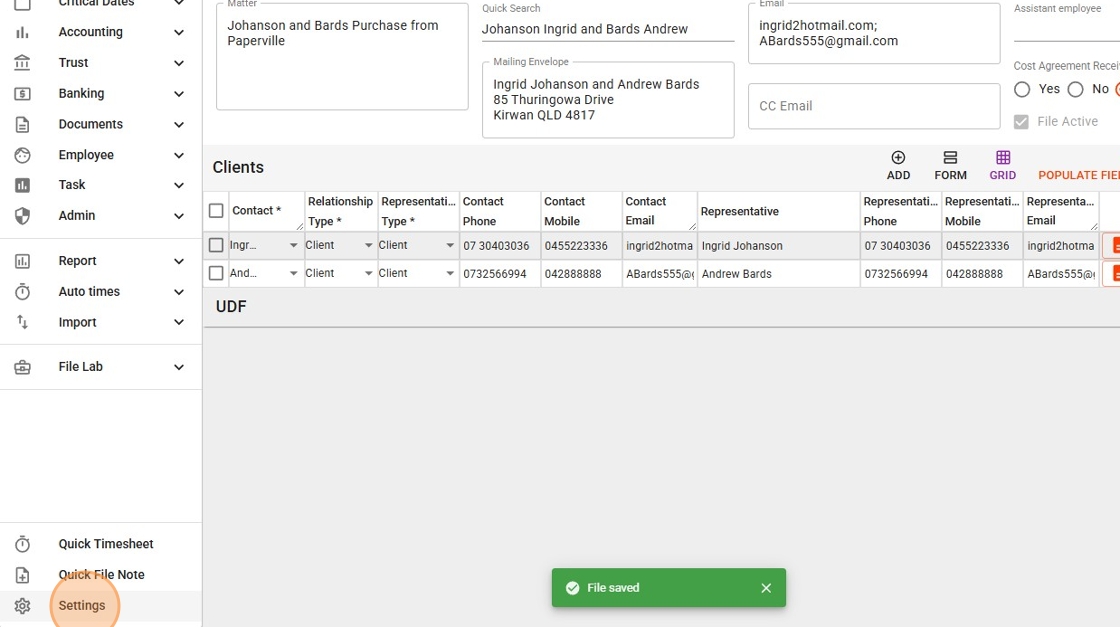
8. Step 7: Save Changes
- After flagging the “Unarchive” checkbox:
- Either press Tab or click elsewhere on the screen to activate the Save button.
- Once visible, click “Save” to confirm the change.
- Important: If you do not save, the file will remain archived.

9. Step 8: Add an Archive Location
- To create a new archive location:
- Go to Settings > File Settings > File Archive Location.
- From here, you can add and manage archive locations as required.
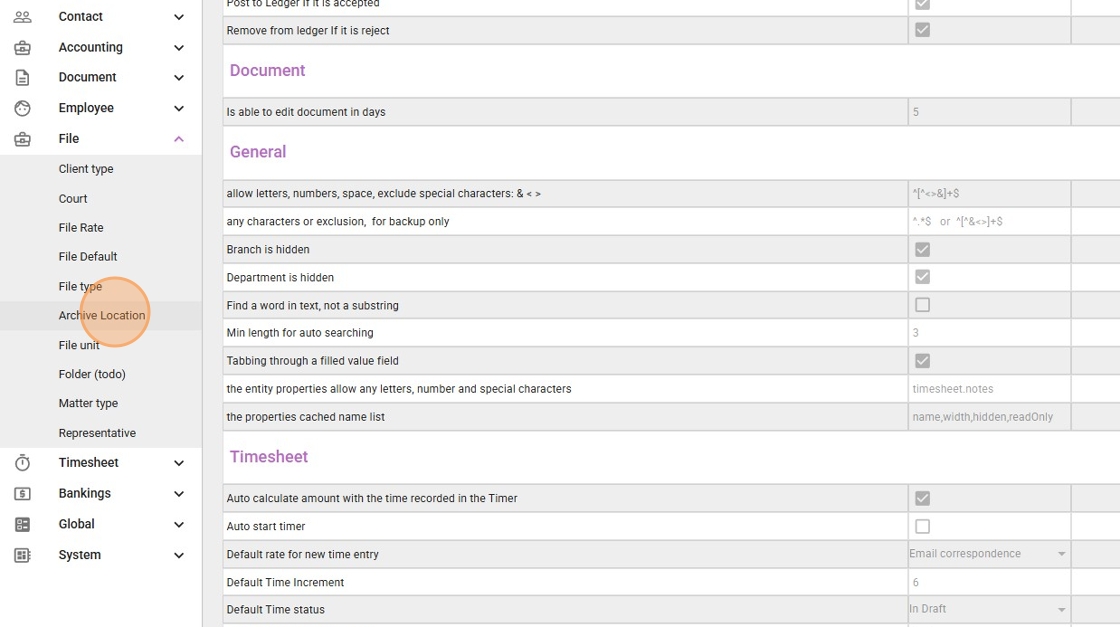
10. Step 9: Select Archive Location Settings
- In the Settings menu:
- Click on File, then select Archive Location.
- This will open the area where you can view, add, or edit archive locations.
11. Step 10: Add a New Archive Location
- Click the Add (+) icon.
- Enter the details for the new archive location in the fields provided.
- Save the new entry to make it available in the archive location dropdown.

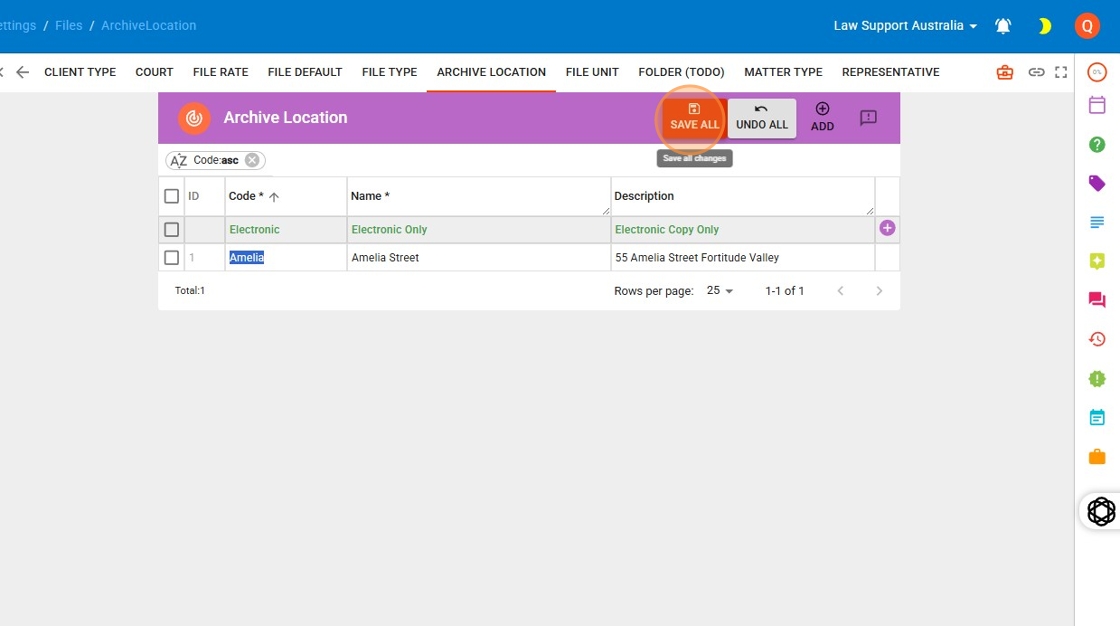
12. Step 11: Save the New Archive Location
- After entering the new location details, click “Save All” to apply the changes.
- Tip: Refer to the sample screen provided for guidance on setting up an “Electronic Copy Only” archive location.
13. Step 12: Edit the Archive Number System
- To modify the archive numbering system, please contact an admin on your team.
- The admin will need to:
- Go to the Admin section via the left-hand main menu.
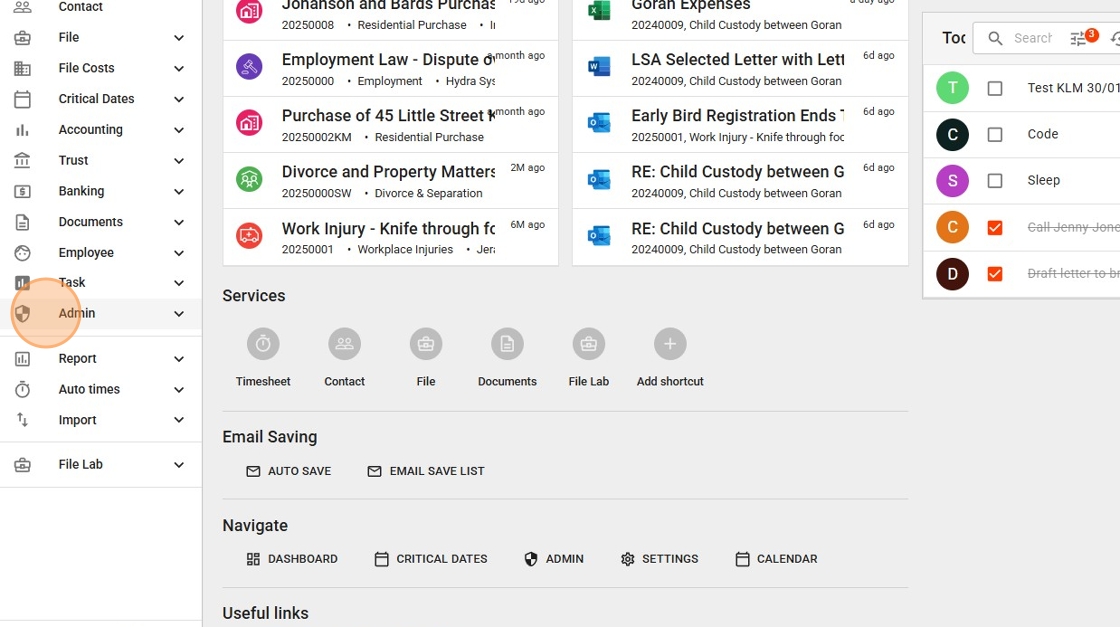
14. Click “Number Sequencer”
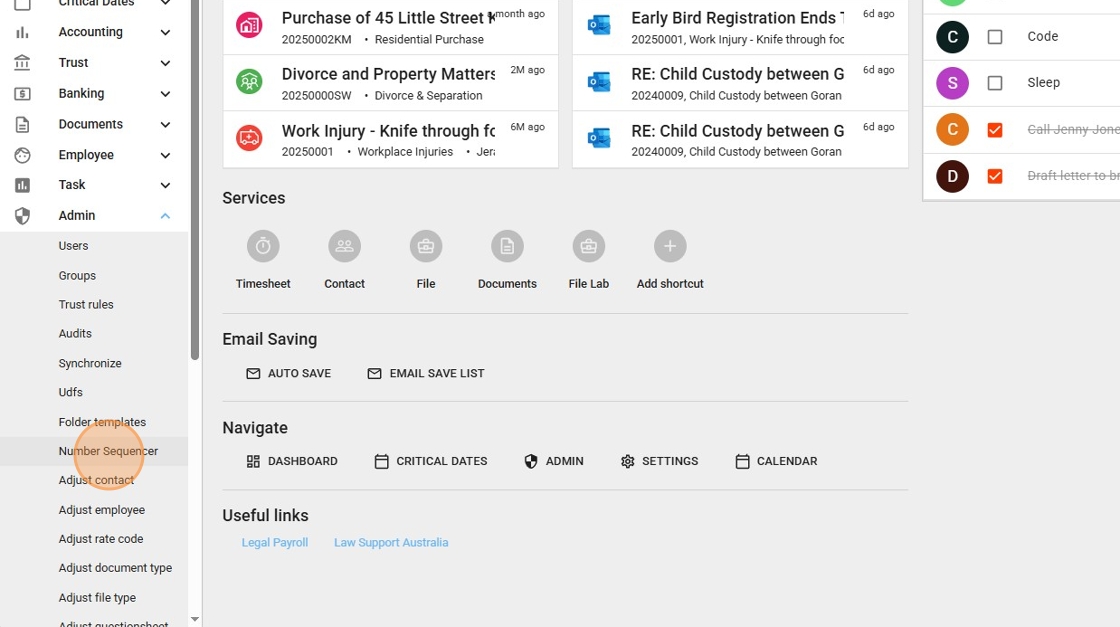
15. Step 13: Add Archive Numbering (if needed)
- In the Number Sequencing section:
- If no archive numbering appears in the list, click “Add” to create a new numbering sequence.
- If an archive numbering sequence is already listed, you can skip this step.
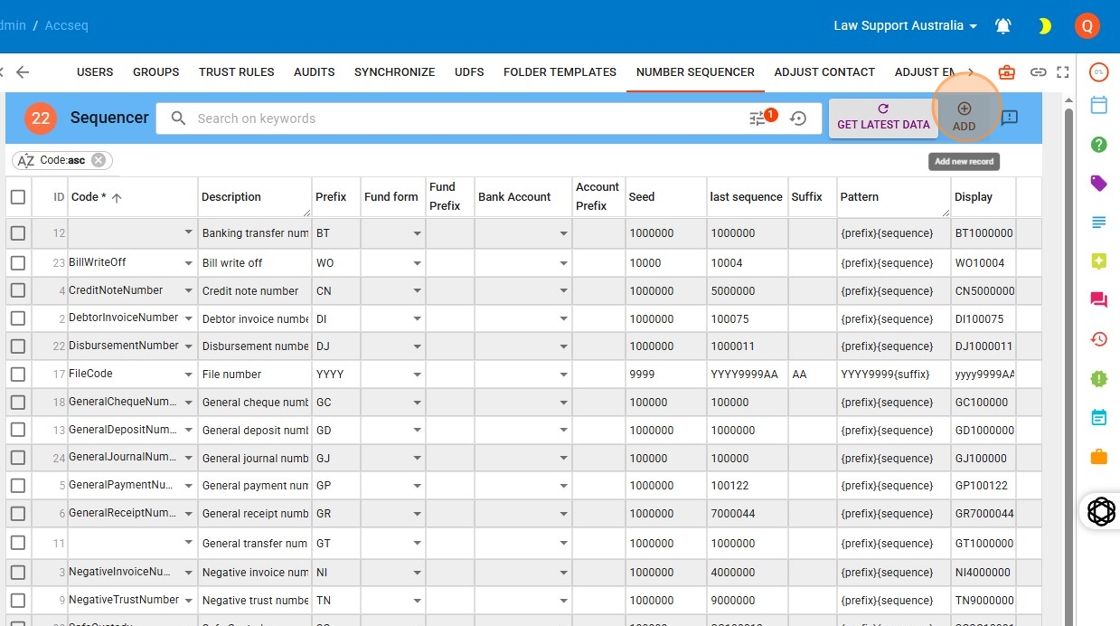
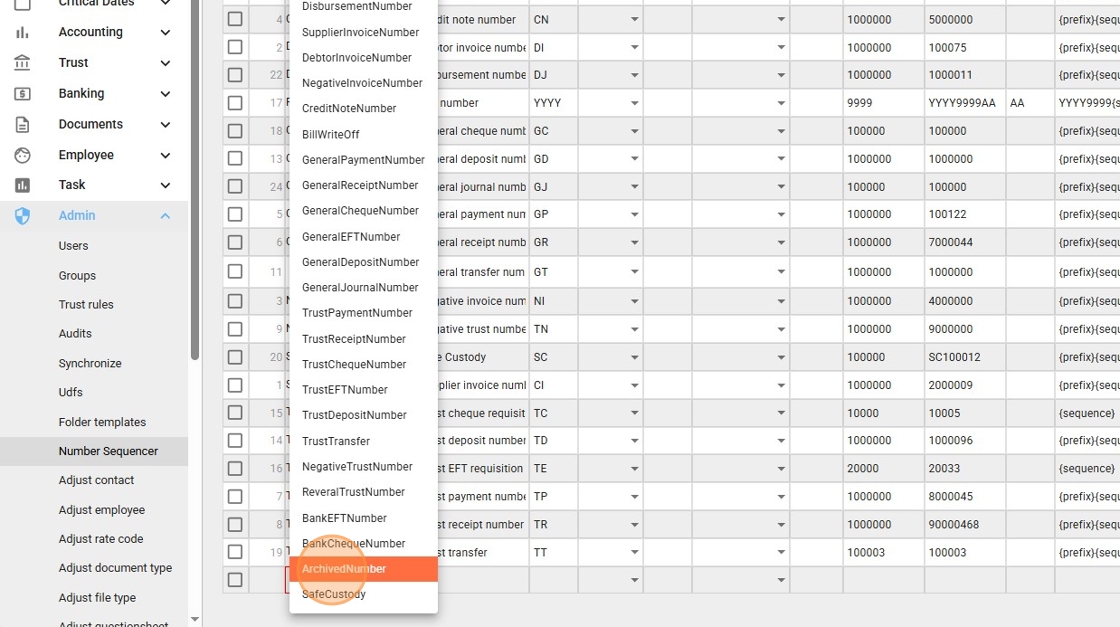
16. Step 14: Select Archive Number Type
- When adding a new numbering sequence:
- Choose “ArchivedNumber” from the Type drop-down menu.
- Note: Skip this step if an archive numbering sequence is already present.
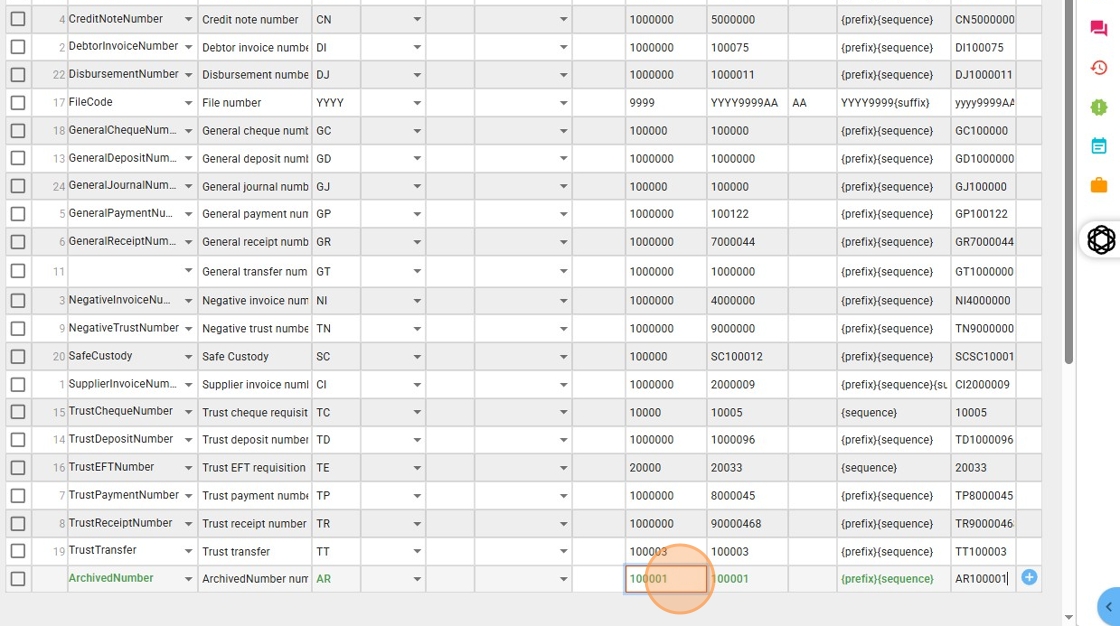
17. Click this text field.

18. Type a prefix of your choice I have selected AR as a sample and fill in your seed sequence

19. Step 16: Define the Number Format
- In the Format field, type or paste:
{Prefix}{Sequence}- This ensures the archive number will appear in the format AR100001, where:
- AR is the prefix, and
- 100001 is the sequence number.
- This ensures the archive number will appear in the format AR100001, where:

20. Type “AR100001”
21. Step 17: Example Format for Archive Number
- A complete example using the prefix AR and a starting sequence of 100001 will look like this:
Prefix: AR
Seed Sequence: 100001
Format: {Prefix}{Sequence}
Resulting Archive Number: AR100001
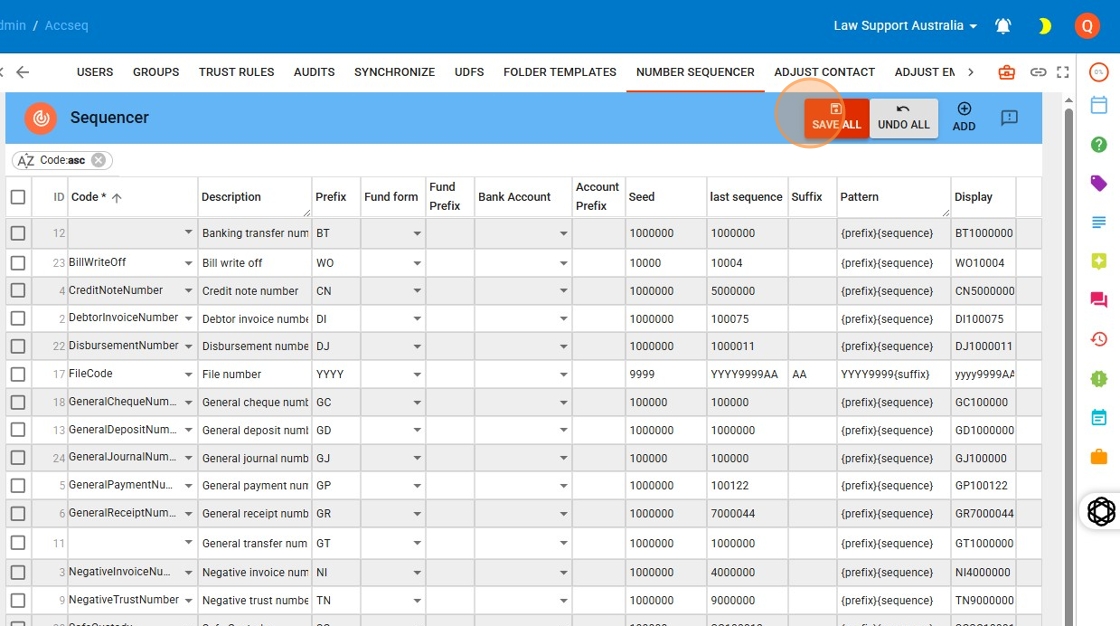
22. Step 18: Save and Refresh
- Click “Save All” to apply your changes.
- Press F5 to refresh the screen before proceeding with any new archiving.
- Best Practice:
- If you are setting up the numbering sequence for another user, ask them to also press F5.
- This ensures all new settings are fully applied, especially if they had the file area open while changes were made.
Leave a Reply