
Adding a Discount to a Bill The correct method for adjusting invoices up or down.
This guide simplifies the process of adding discounts to bills, ensuring that users can efficiently adjust invoices to meet client needs. It provides step-by-step instructions for applying a discount, including different options based on billing criteria, while clarifying important considerations such as maintaining compliance and the impact on disbursements. By following this guide, users can enhance their billing accuracy and improve client communication through clear invoice presentation.
1. Click “Debtor invoices”
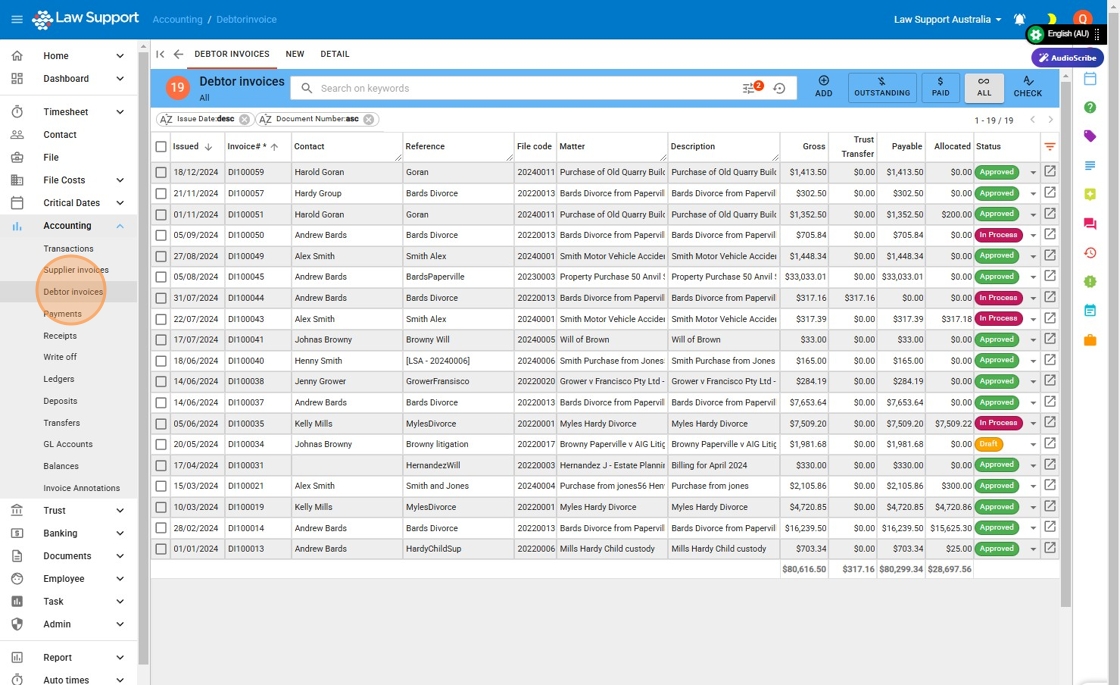
2. Open the bill by clicking on this icon, you can also open the bill from the File Debtors areas by using the same icon on the bill on the file.

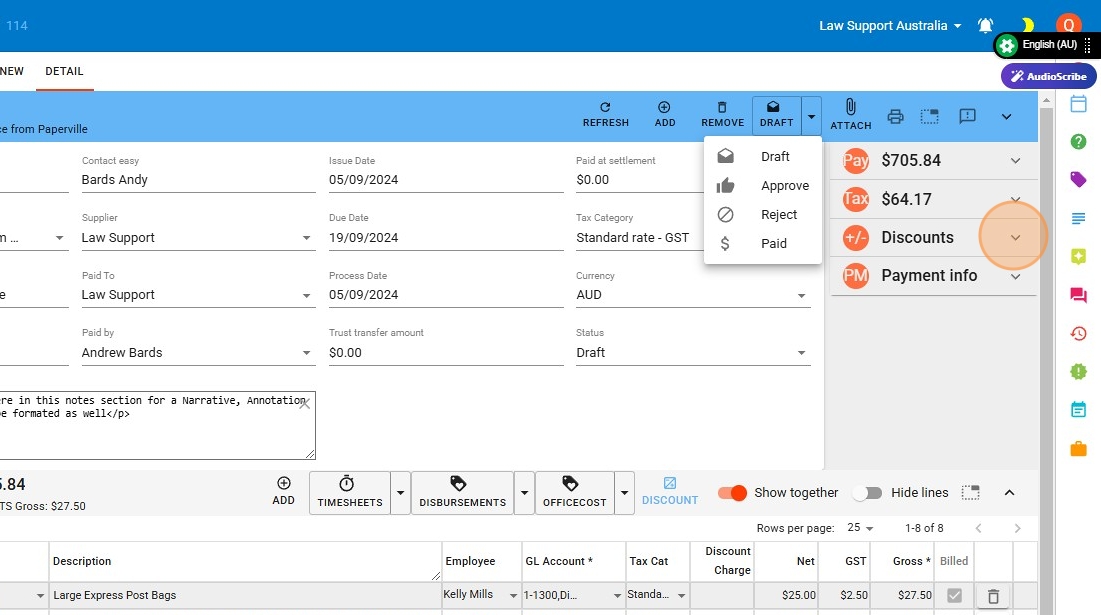
3. Ensure your bill is in “Draft”
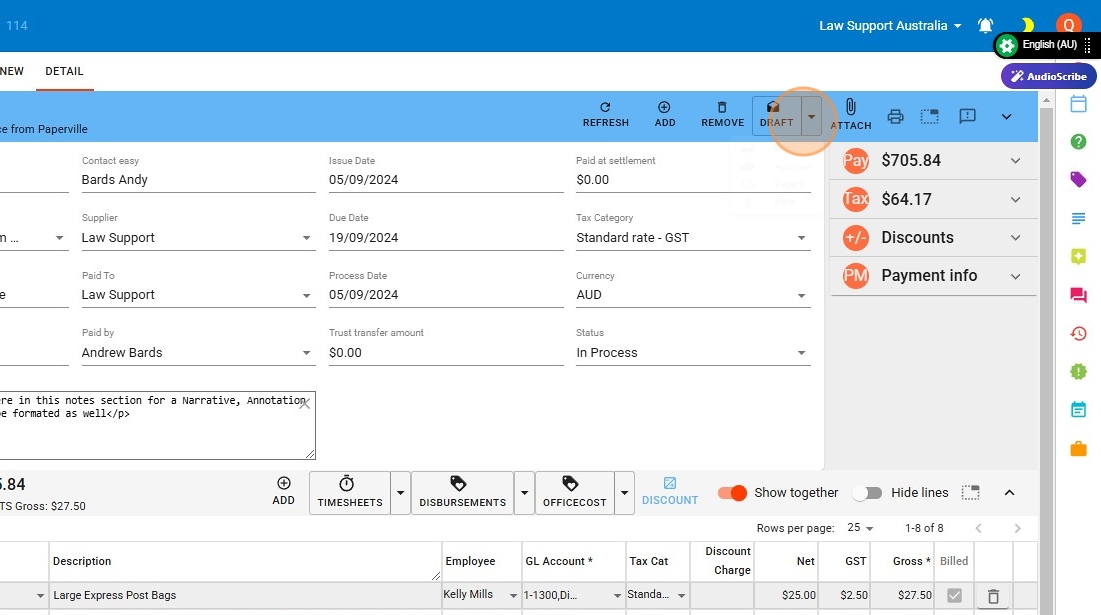
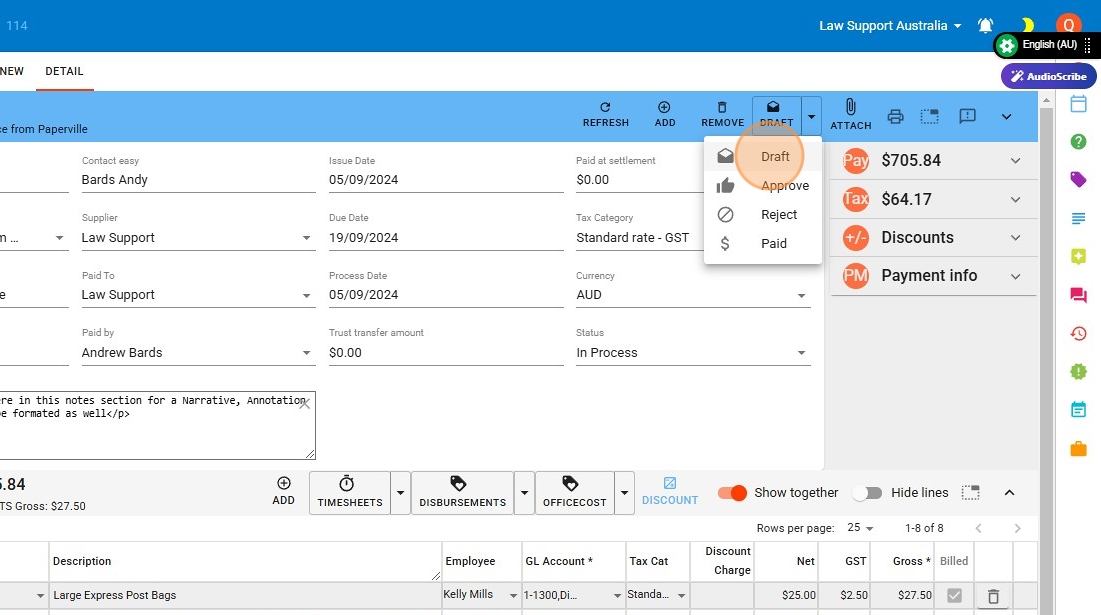
4. Click “Draft”
5. Click Discounts fold out section as indicated in image
6. Choose Adjust,
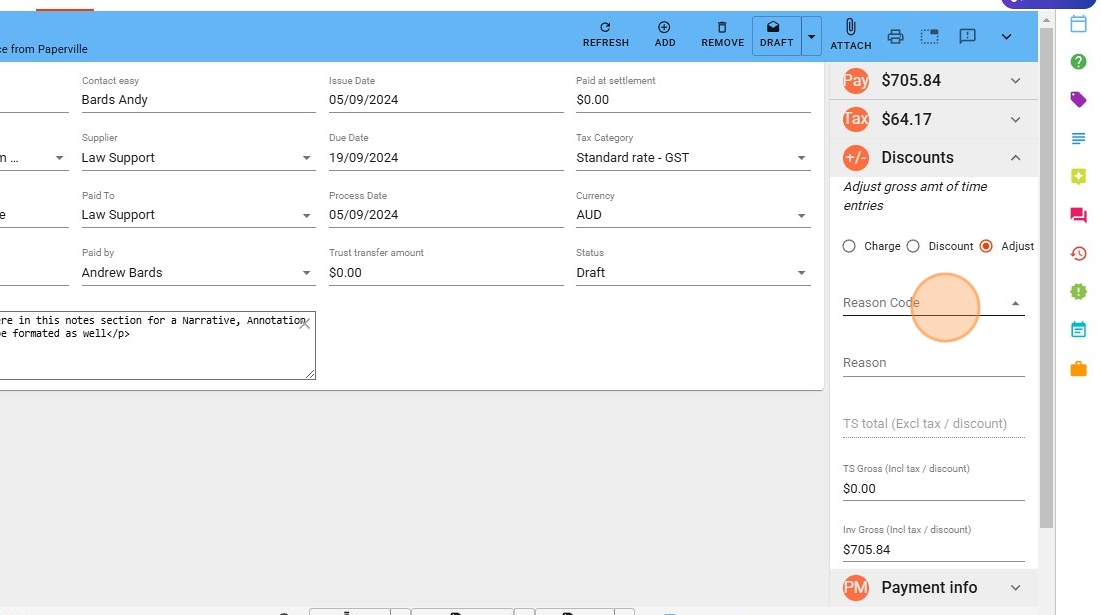
7. Click “Discount” or any reason code that relates
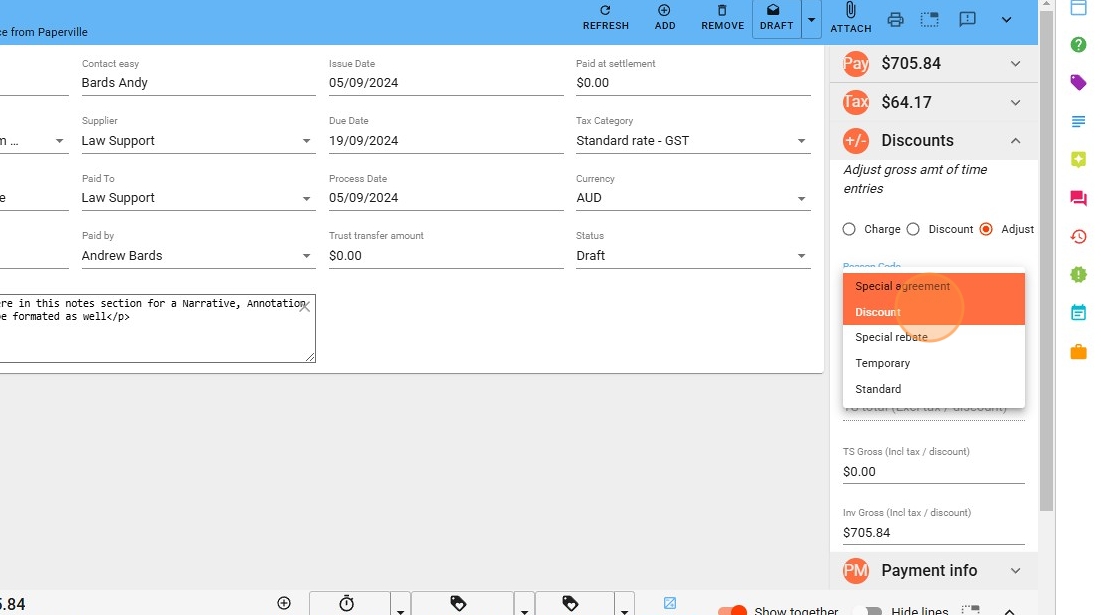
8. Reason field is optional

9. ### Applying Discounts
When entering a discount, you can choose to apply it based on:
- Timesheet Gross (Including Tax): This sets the total Professional Fees, inclusive of tax, to the specified amount.
- Invoice Gross Balance (Including Tax): This sets the total bill, inclusive of tax, to the specified amount. However:
- The total bill cannot be less than the Professional Fees on the matter.
- Disbursements cannot be discounted using this method.
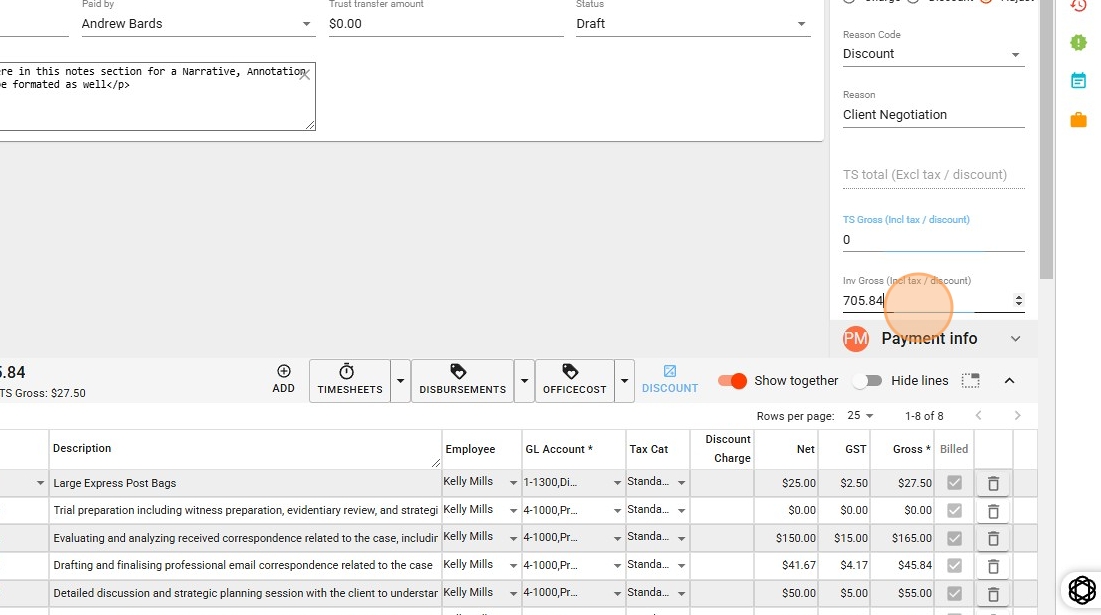
10. Type the gross value as required in either field
11. Click “Save” for calculation to process

12. Optional: You can still allocate payments from trust or at settlement for the remaining balance.
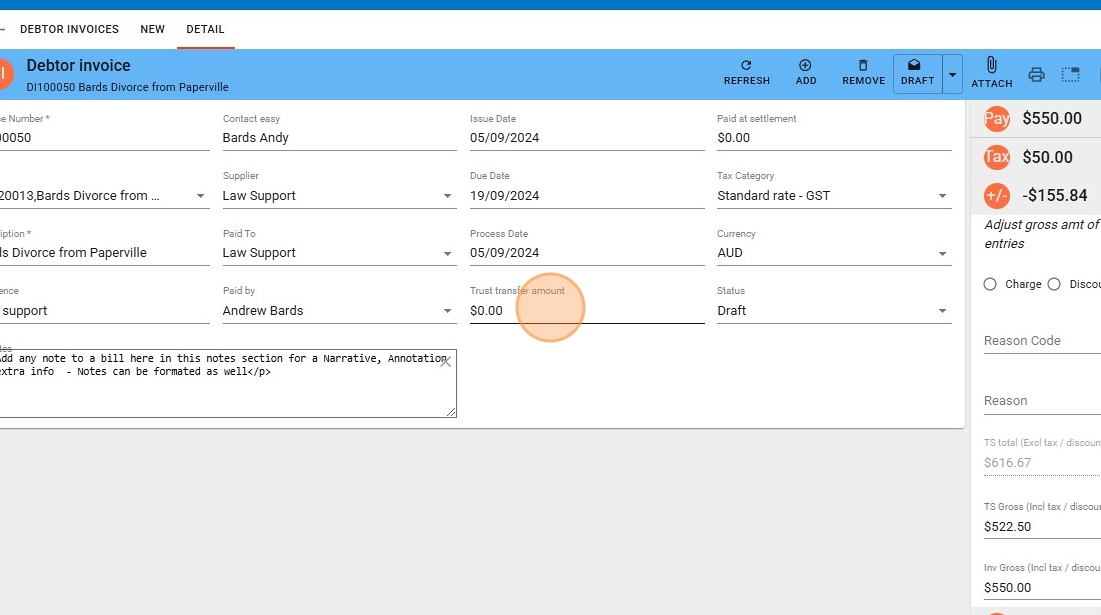
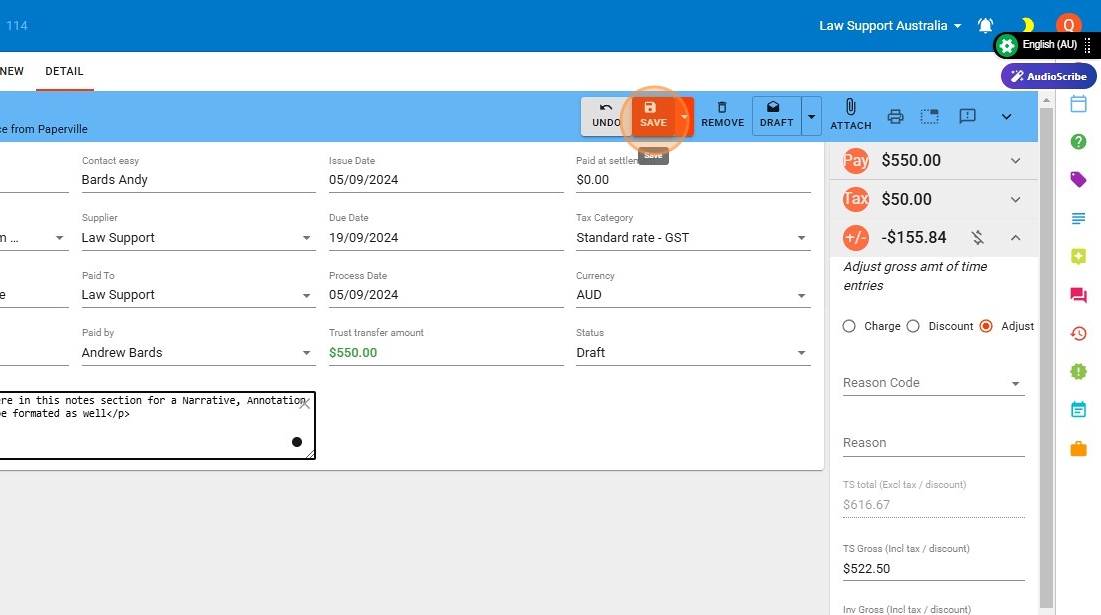
13. After typing in the monies to be transferred from Trust, click “[[tab]]”
Note: This does not actually transfer money from Trust—that is a separate transaction. However, it updates the invoice to show the client that the amount they need to pay is reduced by the trust transfer amount, which will be applied once the regulatory compliance wait time has passed.
14. Click “[[SAVE]]” to apply the calculation
15. See in this total for the client to “Pay” is zero in this example
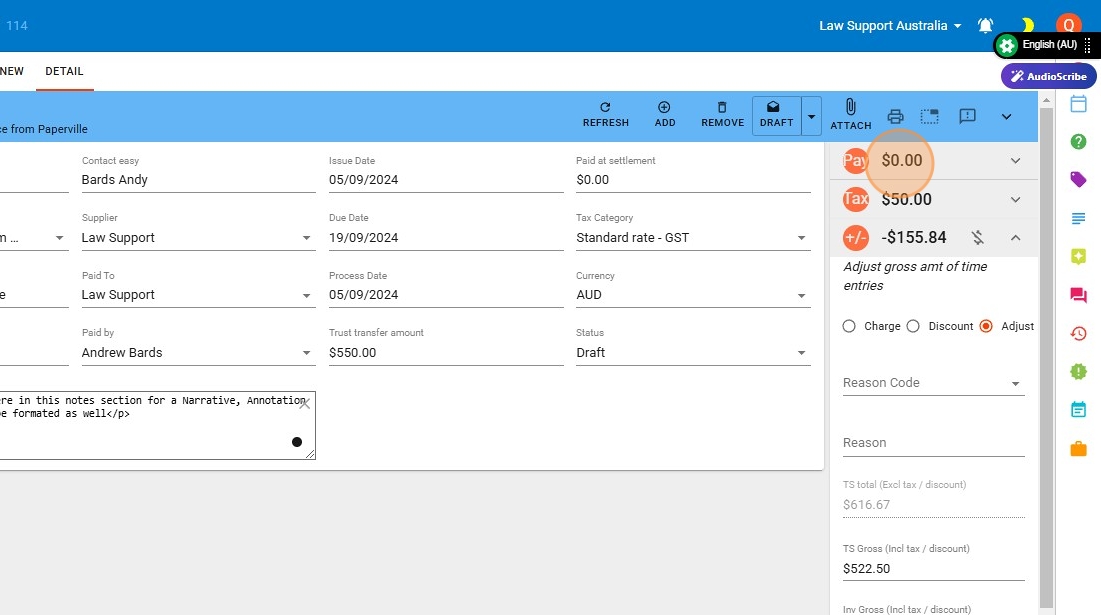
16. To print or email, choose the “printer icon”

17. Take care to choose the correct bill layout, if you choose “Invoice 1 Summary then Itemisation.” This layout will display the discounted amount as the new total.
However, to explicitly show the discount, you will need an alternative bill layout designed for discounts.
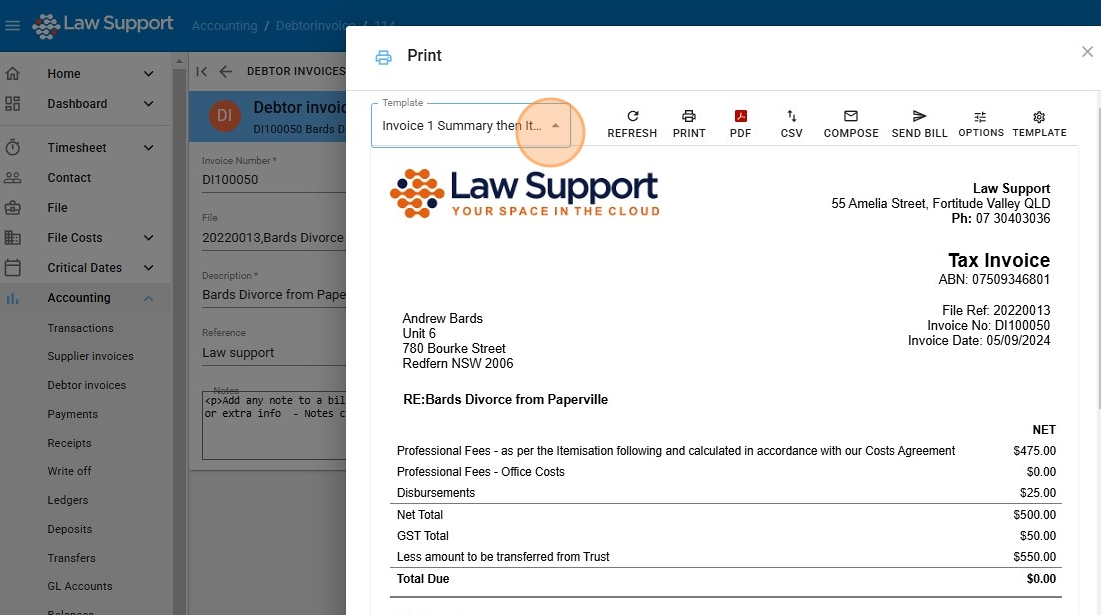
18. Click “Invoice 7 But Say Discount Detailed”

19. Choose “COMPOSE” to email the invoice to the client, from your outlook, and an email will open with your chosen bill layout attached as a PDF
