This helpsheet guides users through entering a general payment in Law Support, including how to correctly process a disbursement payment, supplier invoice, or general ledger expense. It explains how to select the appropriate payment type, link the correct file or supplier, allocate GL account codes, and apply the correct tax category. This ensures all payments are accurately recorded and properly coded within the system.
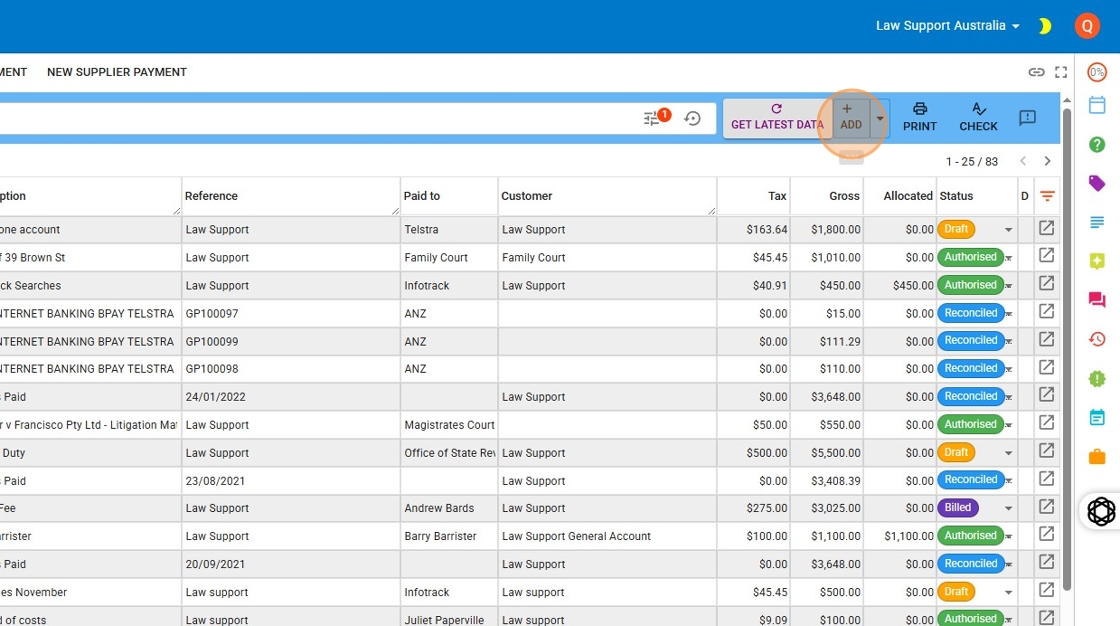
1. Navigate to https://app.lawsupport.com.au/accounting/payment/

2. Click “Add”
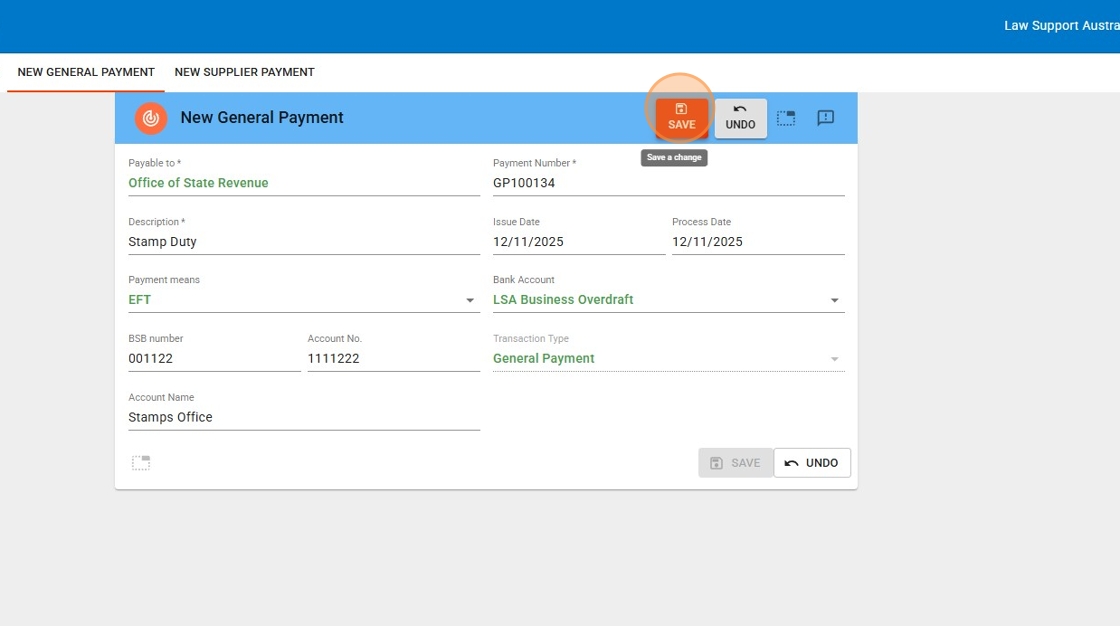
3. Entering Payee Details
- Type in the “Payable to” field
Enter the name of the person or organisation you wish to pay. - Select a contact (if available)
If a matching contact exists in your system, it will appear as a selectable option. Choose the appropriate contact to link them. - Auto-fill of bank details
If the selected contact has bank details saved in their contact card, the BSB and account number will automatically populate for EFT. - Enter a description
Fill in the Description field with the reason for the transaction. This field is mandatory.- If you’re processing a multi-line transaction, you can enter a different description for each line if needed.
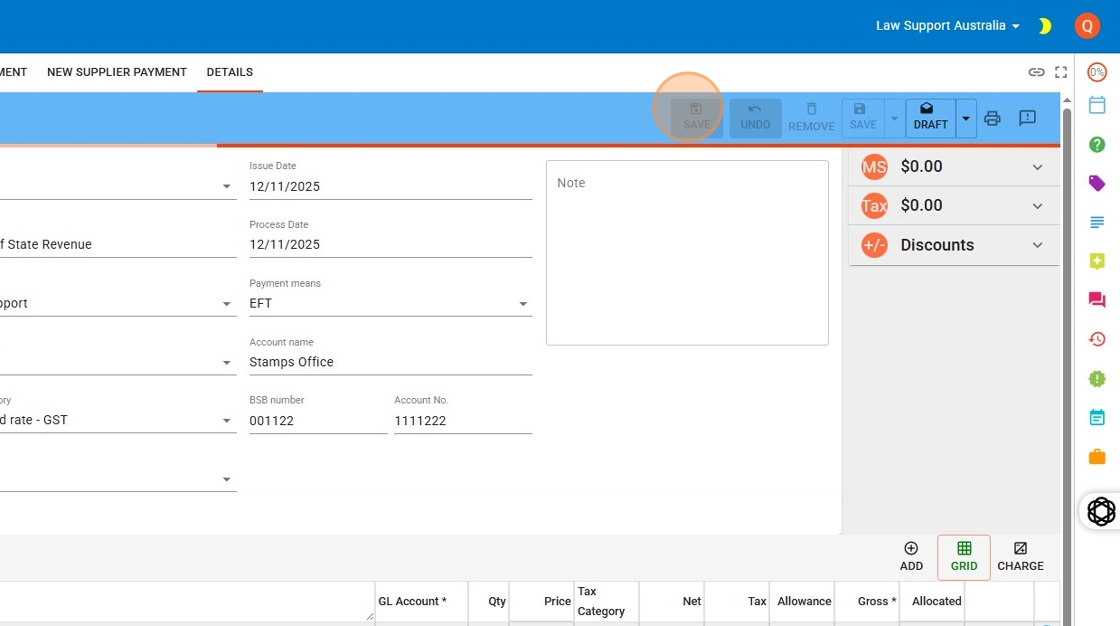
- Save the payment
Click the red Save button in the top-right corner to save the header section of the payment.
(See highlighted example below for reference.)
4. Click Add button to add lines to this transaction
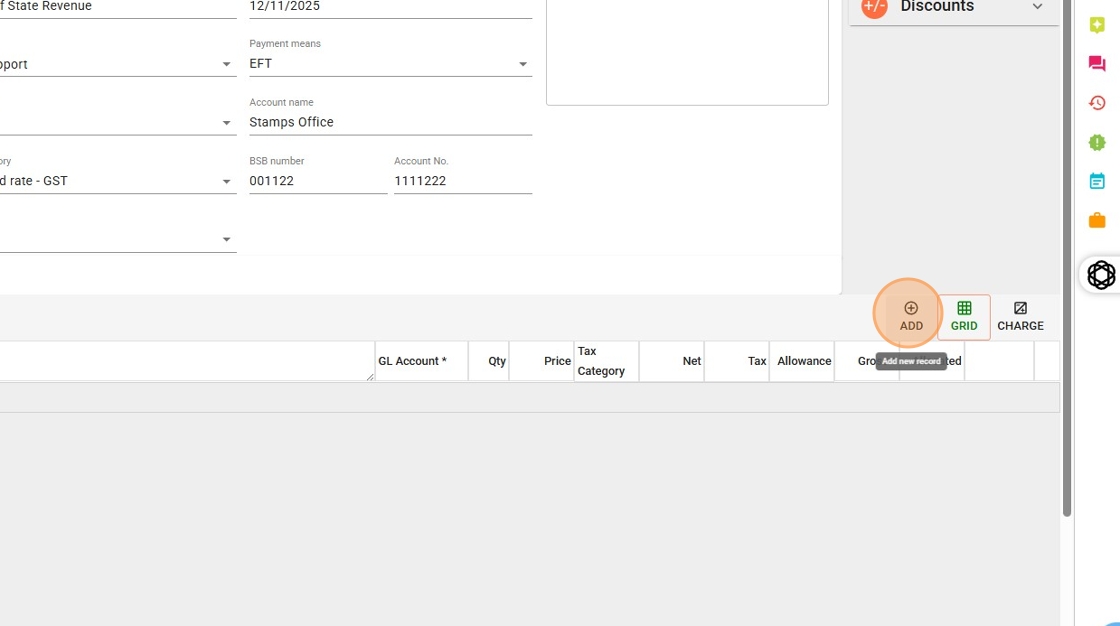
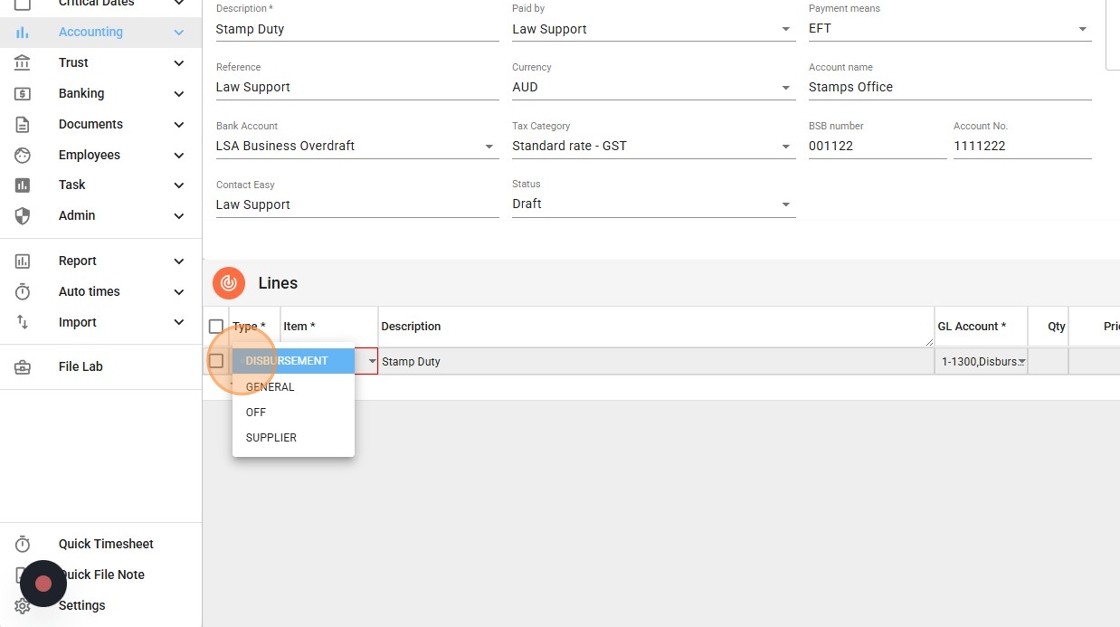
5. Select the Line Type
Use the Type drop-down to classify each line of the payment:
- Disbursement – for expenses that will be allocated to a client file.
- General – for general ledger expenses such as office or admin costs (e.g. telephone accounts).
- Supplier – for supplier payments (e.g. InfoTrack or other supplier invoices).
Each line can have a different type selected depending on what’s being paid.
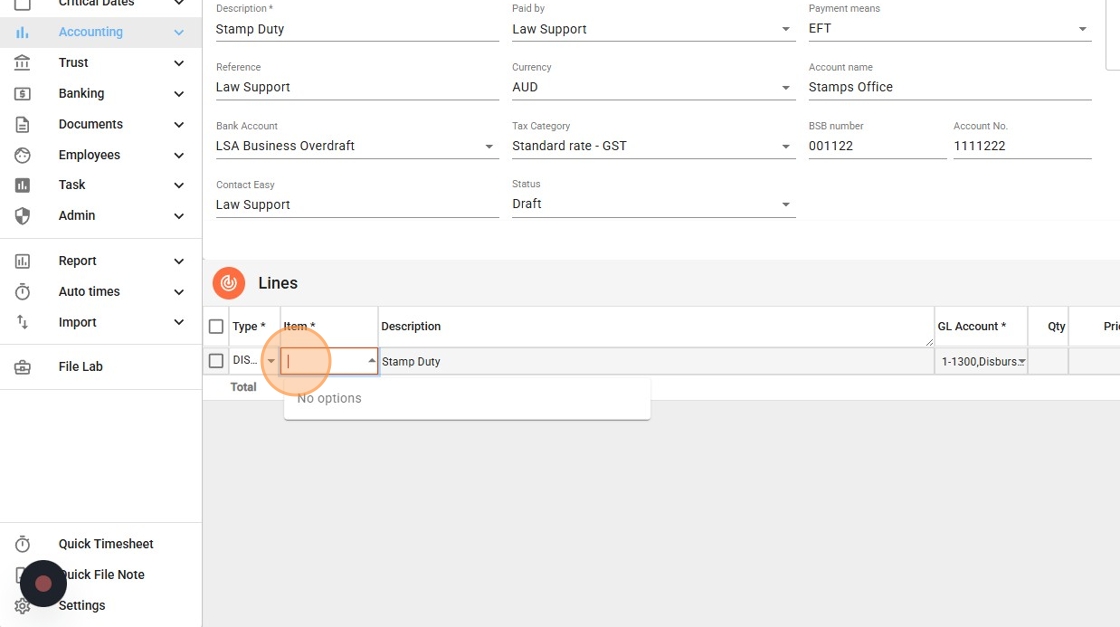
6. For Disbursement Type
Under the Item column, type the file name or number to search.
Once matching results appear, select the correct file from the drop-down list.
Item and GL Account Field Behaviour
The behaviour of the Item and GL Account fields depends on the selected Type:
- Disbursement
- The Item field will show the relevant file number.
- You do not need to edit the GL account — disbursements are automatically posted to the correct control account.
- General
- The Item field will remain set to Business.
- You must update the GL account code to reflect the appropriate general ledger category (e.g. Office Expenses, Telephone).
- Supplier
- The Item field will show the supplier name (e.g. InfoTrack).
- The GL account must not be changed — supplier payments are posted to the supplier control account.
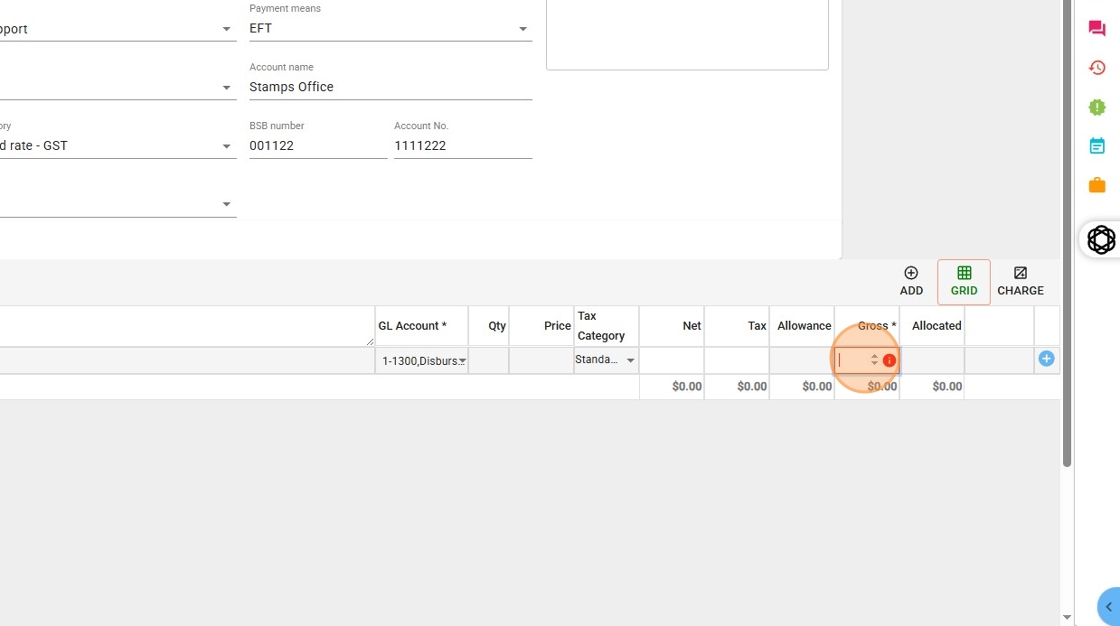
7. Tax and Gross Amount
- Check the Tax Category
Ensure the correct Tax Category is selected for this line (e.g. Standard rate – GST, GST free, etc.). - Enter the Gross Amount
In the Gross column, enter the total amount (inclusive of any GST, if applicable) for this disbursement or expense.
The system will automatically calculate and split the Net and Tax amounts based on the selected Tax Category.
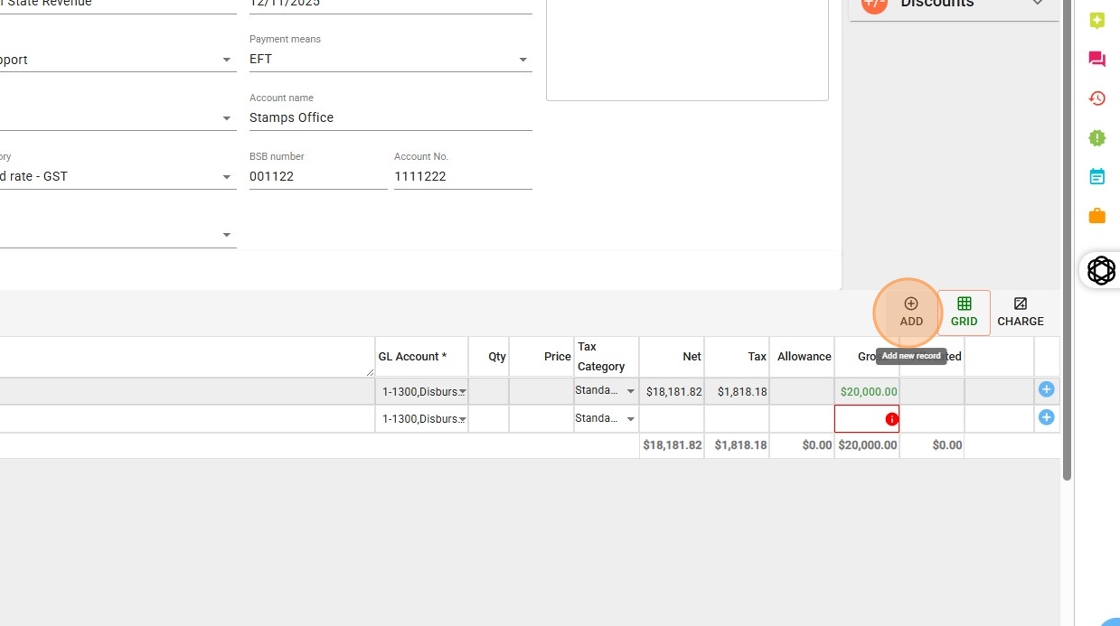
8. Add Additional Lines
To enter more payment lines:
Click the blue plus (+) button on the right side of the Lines section.
You can repeat this step to add as many lines as needed.
9. Save the Transaction
To finalise and save the transaction, press the red Save button at the top of the screen.
IMPORTANT: This step must be completed to ensure the payment is recorded.
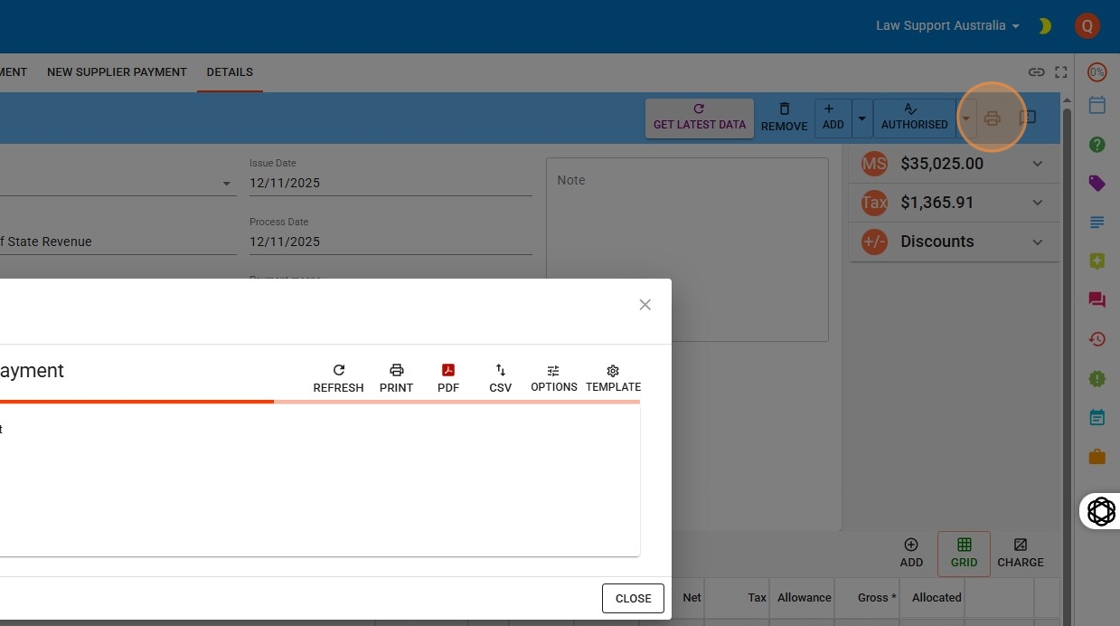
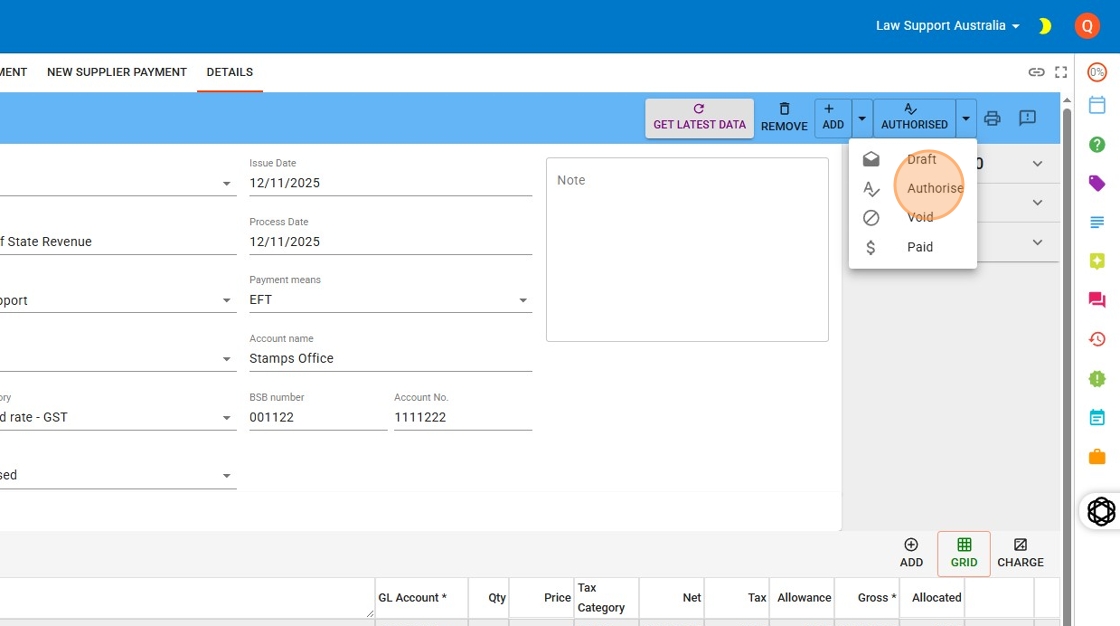
10. Click “Authorise”
11. Press print to explore printing payment slips