
A step‑by‑step workflow demonstrating how to add new contacts, enter address details, manage postal and physical addresses, and update linked file information using the Scribe for Windows interface. This guide covers Quick Add behaviour, primary and postal address rules, and how update options affect contact and matter records.
Video also available – at end of help guide
1. From the left-hand menu, select Contacts.
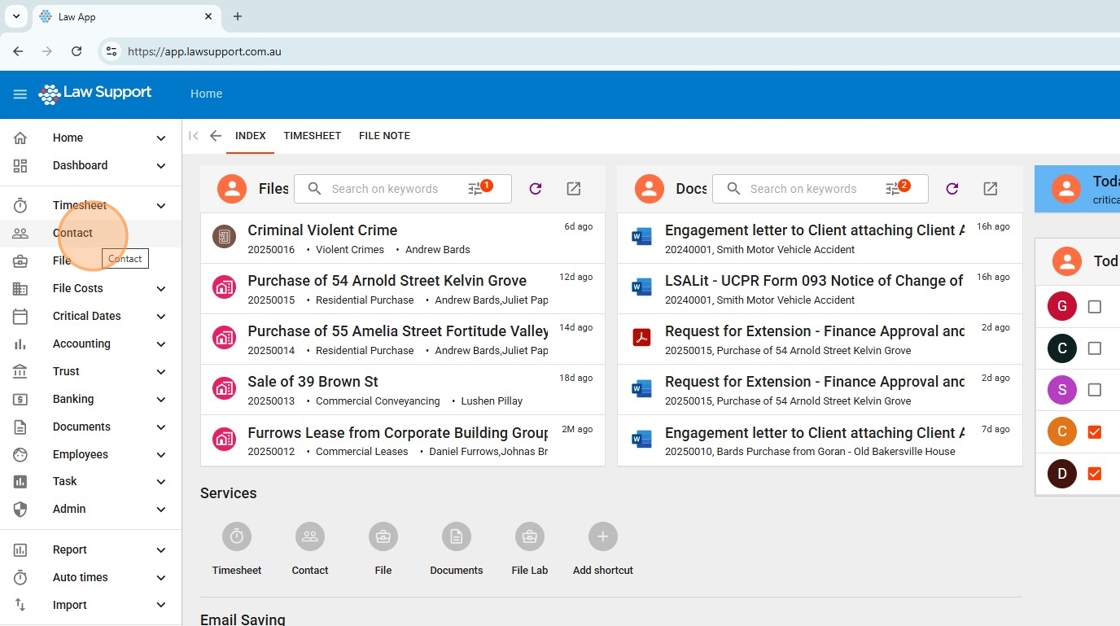
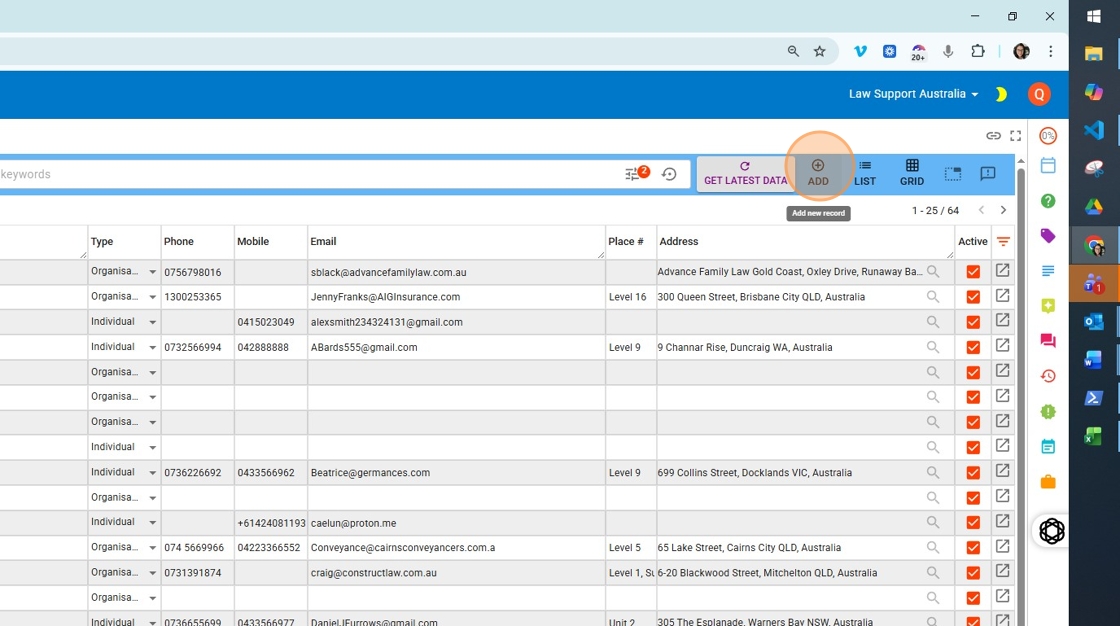
2. First, use the search bar to confirm the contact is not already in the database.
Once confirmed, click the Add button to create a new contact.
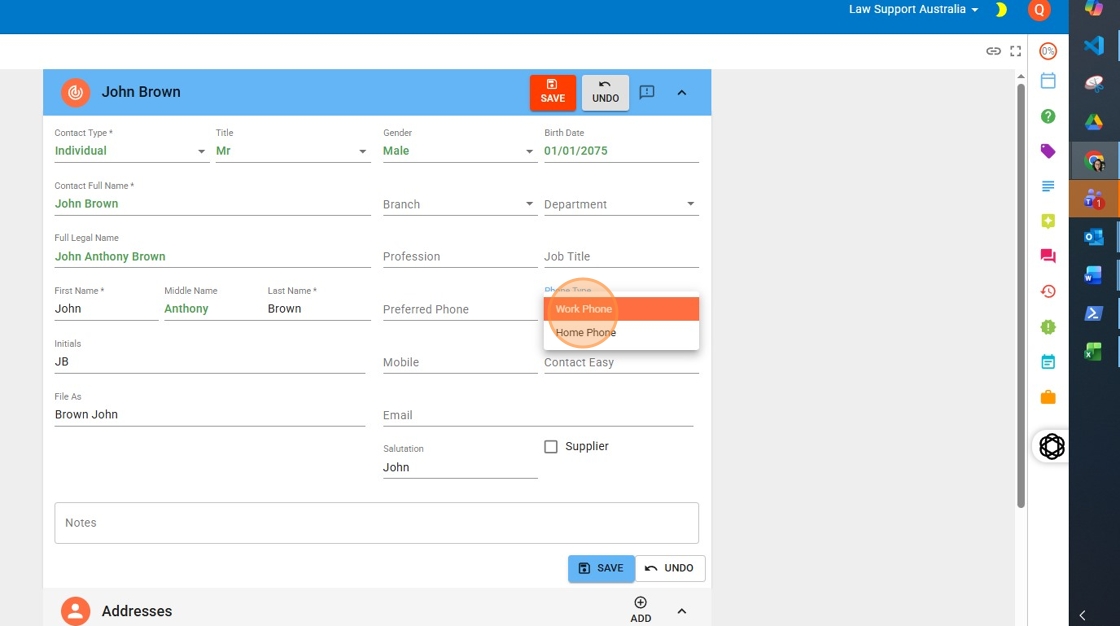
3. Select the Contact Type from the available options.
When completing the Contactful Name, enter the name the client prefers to be known by.
The Full Legal Name should reflect the exact name required for use in formal documents and legal correspondence.
To enter a preferred phone number:
- Choose the appropriate type (e.g. Work or Home).
- Enter the number the client prefers to be contacted on.
You can add multiple phone numbers in the main contact section, but clearly indicate which one is the preferred contact method.
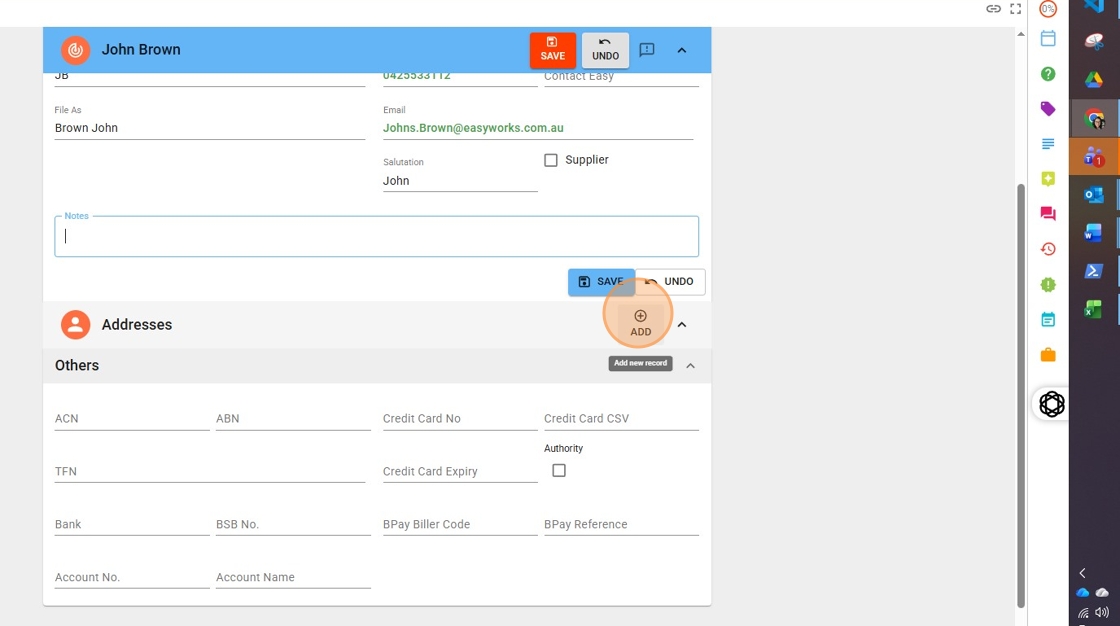
Important: It’s best to add addresses before pressing Save, as this keeps you within the Quick Add screen and allows for a smoother workflow. However, if you do press Save, that’s completely fine — the contact will be inserted, and you can reopen it from the Contacts list to add addresses or any additional information as needed.
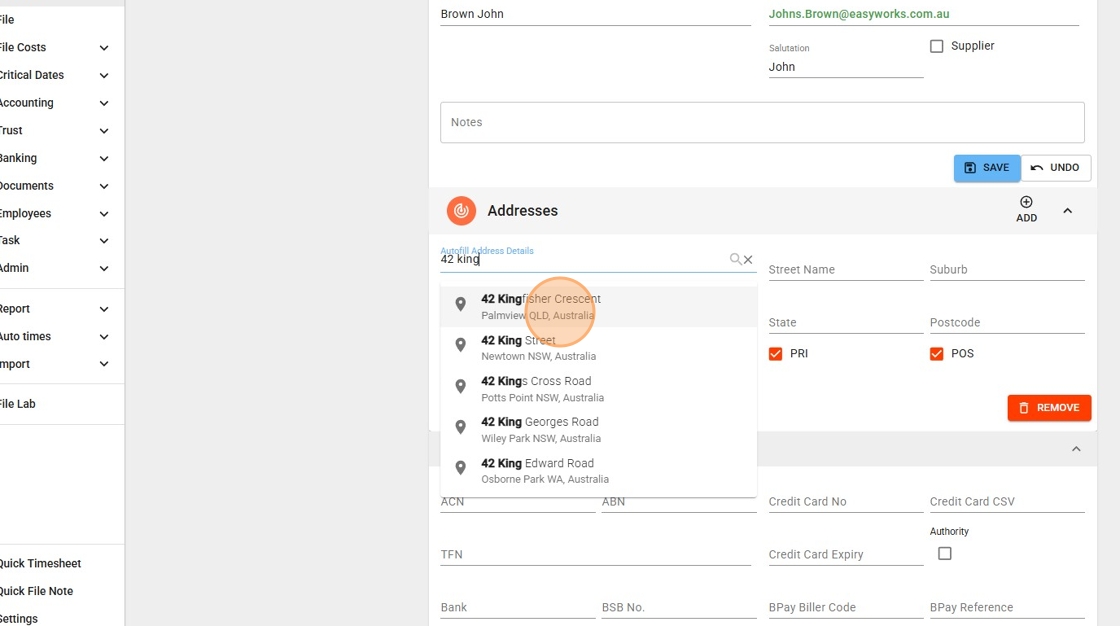
4. Click Add to enter address details for the contact.
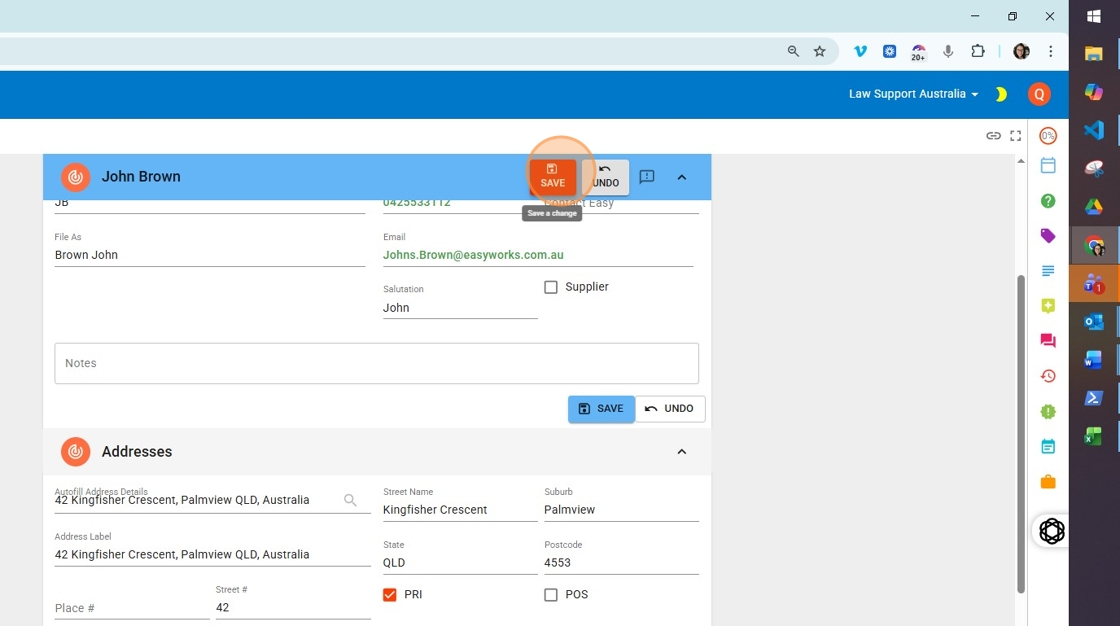
5. Use the Autofill feature to look up physical addresses from the Google address list.
If you’re entering a postal address (such as a PO Box or GPO Box), you can still add it here, but you’ll need to manually complete the Street, Suburb, and Postcode fields.
- PRI indicates the Primary address (used for physical location).
- POS indicates the Postal address (used for correspondence).
- The same address can be marked as both Primary and Postal, if applicable.
- Make sure only one address is marked as Primary and one as Postal.
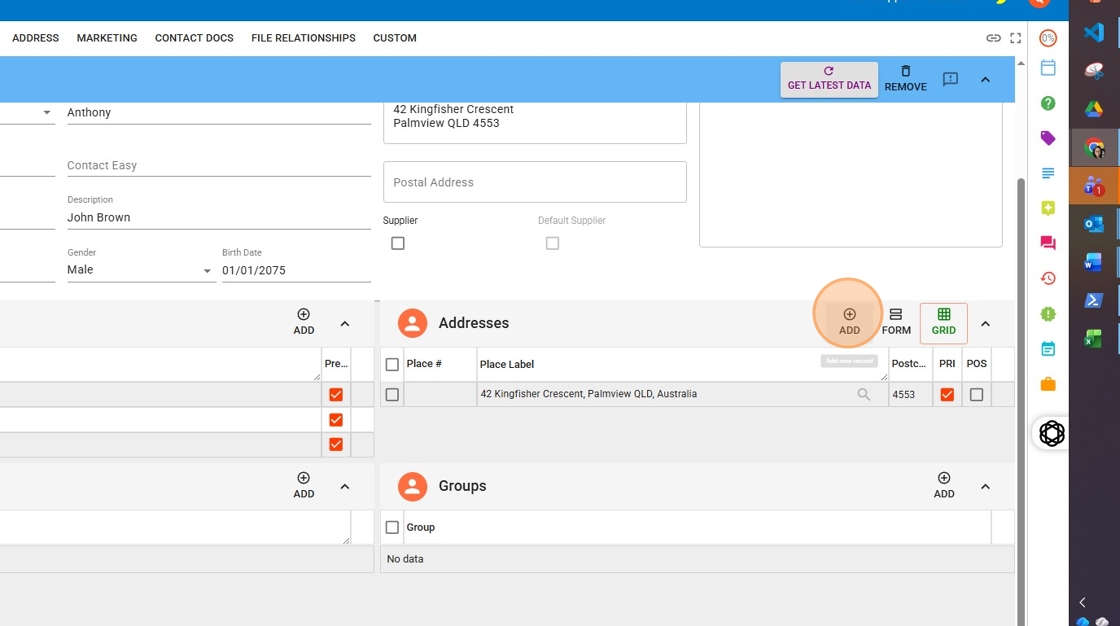
To add additional addresses later, go to the Address tab within the contact record.
6. Click Save button to finish adding the contact in the quick add section
7. You can add new addresses from this section of the contact after the contact is saved
8. If you make any updates to a contact after the initial entry from the Quick Add screen, you’ll be prompted to choose how those changes should apply. You’ll see three options:
- Update Contact Only
– Select this if the changes apply only to the contact record itself and are not relevant to any files the contact is linked to.
– Ideal for updates to standalone contacts or minor edits that don’t affect file relationships. - Update Relationship Contact
– Use this option if you want to update the contact details specifically in their relationship role on a file (e.g. client, referrer), but not in the main file details.
– This is useful when you’re adjusting a phone number or email that only needs to appear in the relationship section of the matter. - Update File Detail / Relationship / Contact
– Choose this if the updates should apply across all areas — the contact record, the file detail tab, and the relationship section of any matter the contact is linked to.
– This ensures consistency where the contact is actively involved in one or more matters (e.g. as a client).
In short:
- For brand new contacts, Update Contact Only is usually sufficient.
- If the contact appears on matters, carefully consider whether updates should also flow through to file details and relationships.
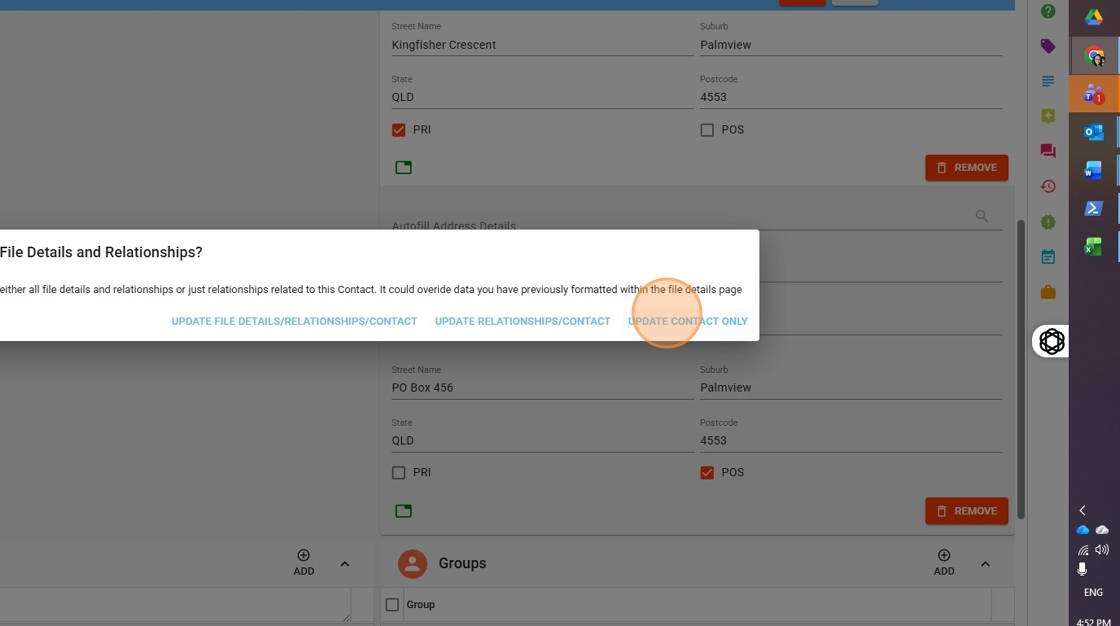
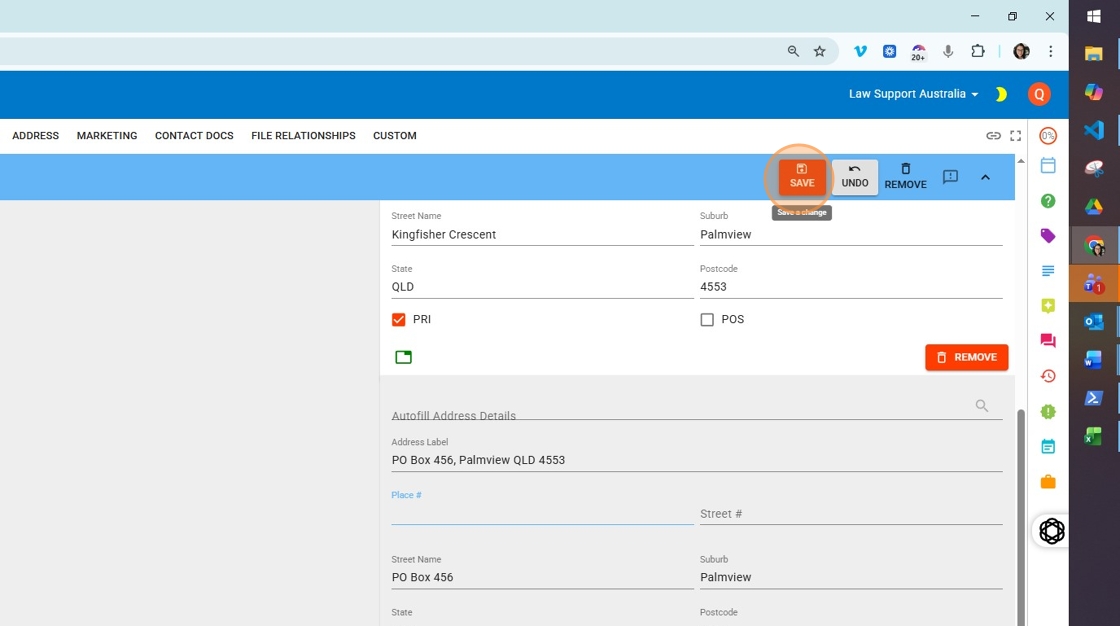
9. When adding a postal PO Box, it must be entered manually as shown in the reference image.
You cannot use the Autofill feature for PO Boxes, as it only supports standard physical addresses recognised by Google or Australia Post systems.
Be sure to complete the Street, Suburb, and Postcode fields manually for PO Box or GPO Box addresses.
Leave a Reply